Best Free Apps to Resize Photos for Passport and ID Requirements
 Apr, 21 2026
Use this tool to determine the exact pixel dimensions you need to set in your resizing app to meet official government standards.
Quick Takeaways for Fast Results
- For Quick Web Uploads: Use browser-based tools like Canva or Adobe Express.
- For Strict Government Specs: Specialized passport photo apps are better than general resizers.
- For Privacy: Offline apps like GIMP or native phone editors are the safest bet.
- The Golden Rule: Always resize from a larger image to a smaller one to avoid blurriness.
Why Regular Resizing Isn't Enough for Passport Photos
If you're looking for a free app to resize photos specifically for a government document, you aren't just changing the width and height. You're dealing with strict biometric requirements. A standard 2x2 inch photo isn't just about the size; it's about the head position, the background color, and the pixel density.
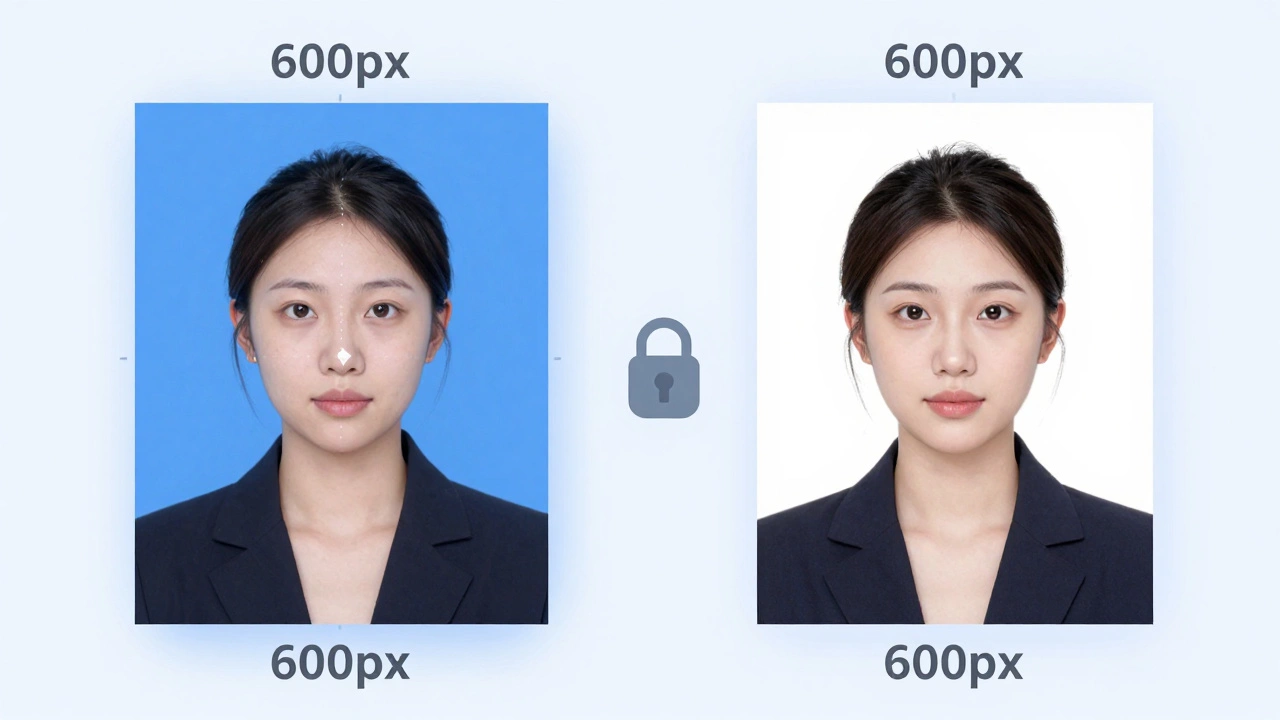
Most generic resizers simply stretch or squash the image. If you take a selfie and force it into a 600x600 pixel square, your face might look unnaturally thin or wide. This is why you need a tool that supports aspect ratio locking. This ensures that when you change the width, the height adjusts automatically, keeping your proportions human.
Government agencies often require a specific DPI (Dots Per Inch), usually 300 DPI for print. Many free web tools strip this metadata or default to 72 DPI, which is fine for a blog post but will get your application rejected at the pharmacy print counter.
Top Free Tools for Different Needs
Not all "free" apps are created equal. Some are totally open-source, while others are "freemium" (meaning they let you do one or two things for free and then ask for a credit card). Here is how they stack up based on what you actually need to achieve.
| Tool | Best For | Platform | Key Limitation |
|---|---|---|---|
| Canva | Custom Dimensions | Web/App | Some templates are paid |
| Adobe Express | Quick Resizing | Web/App | Requires free account |
| GIMP | Pro-level Control | Desktop | Steep learning curve |
| Passport Photo ID | Visa/Passport Specs | iOS/Android | Ad-supported free version |
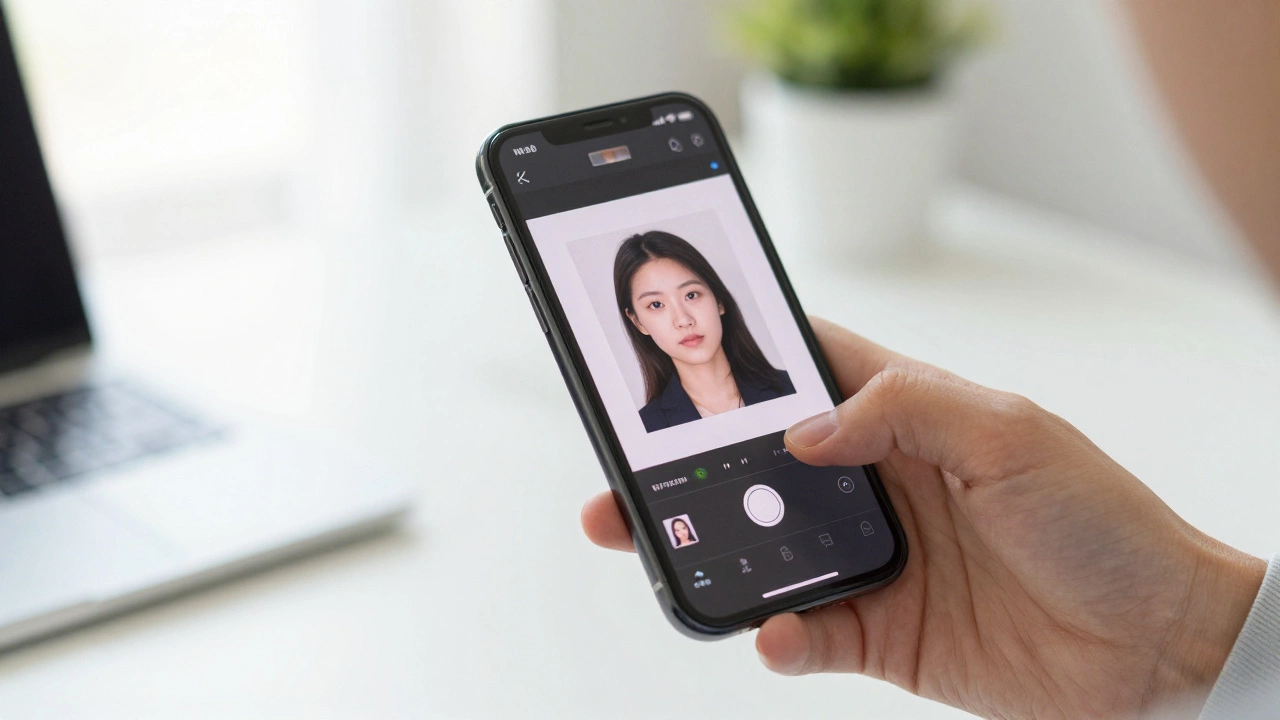
Step-by-Step: How to Resize for a Passport Photo Online
Since most people want a quick fix without installing heavy software, using a web-based tool is the go-to move. Here is the most reliable workflow to ensure your photo doesn't get rejected.
- Start with a High-Res Original: Don't use a screenshot of a photo. Use the original file from your camera. This prevents the "pixelated" look when you crop.
- Use a Dedicated Cropping Tool: Instead of a general resizer, look for a tool with a "Passport" preset. This will overlay a guide on your screen showing exactly where your eyes and chin should be.
- Set the Exact Pixels: For a US Passport, the digital image must be at least 600x600 pixels. If you use a tool like Adobe Express, set your custom canvas to exactly those dimensions.
- Check the File Size: Many government portals have a maximum file size (e.g., 240 KB). If your file is too big, use a JPEG Compressor to bring the size down without losing visible quality.
- Export as JPG: Avoid PNGs for official documents unless specifically asked, as JPGs are the universal standard for government upload portals.
Common Pitfalls to Avoid
I've seen people spend hours resizing a photo only to have it fail because of a simple mistake. The first is "over-compressing." If you use a free online tool that shrinks your 5MB photo down to 20KB, the image will look like a Minecraft character. Aim for a balance where the file is small enough to upload but clear enough to see your features.
Another mistake is ignoring the background. No amount of resizing can fix a cluttered background. Before you even open your app, stand against a plain white or off-white wall. If you use a Background Remover tool, be careful. Some AI removers leave a weird "halo" around your hair, which can look edited and may lead to rejection by strict examiners.
Finally, watch out for the "Aspect Ratio Trap." If you resize a rectangular photo into a square by dragging the corners, you'll distort your face. Always use the Crop tool first to create a square, and then resize the pixels.

When to Move from a Free App to a Professional Service
Free apps are great, but they aren't perfect. There are a few scenarios where you should probably just pay a few bucks at a pharmacy or a pro studio. If you are applying for a high-stakes visa (like a Schengen visa or a US Green Card), the margin for error is tiny. A professional knows the exact distance from the edge of the photo to your hairline.
Also, if you're struggling with lighting-like harsh shadows on one side of your face-no free app can truly fix that without making the photo look "fake." Professional lighting is the one thing a software tool can't replicate.
Will a free resizer lower the quality of my photo?
It depends on the tool. If you are "downsampling" (making a large photo smaller), quality usually stays high. However, if you try to "upsample" (making a small photo larger), the app has to invent pixels, which results in a blurry or pixelated image. Always start with the largest possible original file.
What is the best free app for iPhone and Android?
For general resizing, Adobe Express is excellent and free. For specific government IDs, apps like "Passport Photo ID" provide the necessary templates and overlays that general editors lack, though they may show a few more ads.
Can I resize photos for free without downloading any software?
Yes, browser-based tools are perfect for this. Canva, Adobe Express, and various online JPG resizers allow you to upload, crop, and download your photo entirely within your web browser.
How do I know if my resized photo meets official standards?
Most governments provide a "Photo Checker" tool on their official website. After using your free app, upload the result to the official government checker to ensure the head size and background are within the allowed margins.
Is it safe to upload my passport photo to free online websites?
Generally, yes, as long as you use reputable tools like Adobe or Canva. However, if you are concerned about privacy, use an offline tool like GIMP or the native photo editor on your smartphone, which doesn't send your data to a cloud server.
Next Steps and Troubleshooting
If you've resized your photo and it still looks a bit off, try these quick fixes:
- Blurry edges: Check if you accidentally exported the file as a low-quality JPG. Re-export it and slide the "Quality" bar to 100%.
- Wrong proportions: Go back to the cropping stage. Ensure you are using a 1:1 (Square) ratio before changing the pixel count.
- File too large: Use a dedicated compression tool instead of reducing the dimensions. This keeps the photo size (inches) the same but reduces the digital weight (KB).