Can You Use a Phone Photo for a Passport in 2025? Rules, Tips, and Country Specs
 Sep, 11 2025
Short answer: yes-your phone can produce a passport-ready photo that gets accepted first time. Longer answer: it depends on your country’s rules, and you need to shoot it the right way. If you ignore the basics (lens distortion, background, shadows, file specs) you’ll get a rejection and lose time. I’ve seen both outcomes-friends in Birmingham sail through UK renewals with a phone shot, and others get knocked back for tiny issues like glare in glasses or portrait mode blur.
Here’s what you actually want: a straight answer on whether your phone photo is good enough in 2025, a foolproof way to take it at home, precise country specs, and a checklist to de-risk the whole thing.
TL;DR: Can a Phone Photo Work for a Passport in 2025?
- UK: Yes. The Home Office accepts smartphone photos for online and paper applications if they meet the digital photo rules. Avoid selfies-have someone else take it.
- US: Yes for digital uploads and prints if you meet State Department specs. No glasses. White background only.
- Canada: Usually no home-taken photos. Photos must be from a commercial photographer with studio details on the back (for prints). Check if your specific process allows digital, but phone-at-home is typically rejected.
- EU: Mixed. Some countries require an approved e-photo code from a booth/photographer (e.g., France). Others allow uploads that meet ICAO specs. Check local rules.
- Bottom line: A passport photo from phone is fine where permitted-if you follow rules on lighting, background, lens choice, file size, and cropping.
How to Take a Compliant Phone Passport Photo at Home (Step by Step)
If your country allows phone photos, this is the safest way to shoot one that won’t get flagged. Don’t overthink it-focus on avoiding the most common rejection triggers: distortion, shadows, background, glare, and wrong file specs.
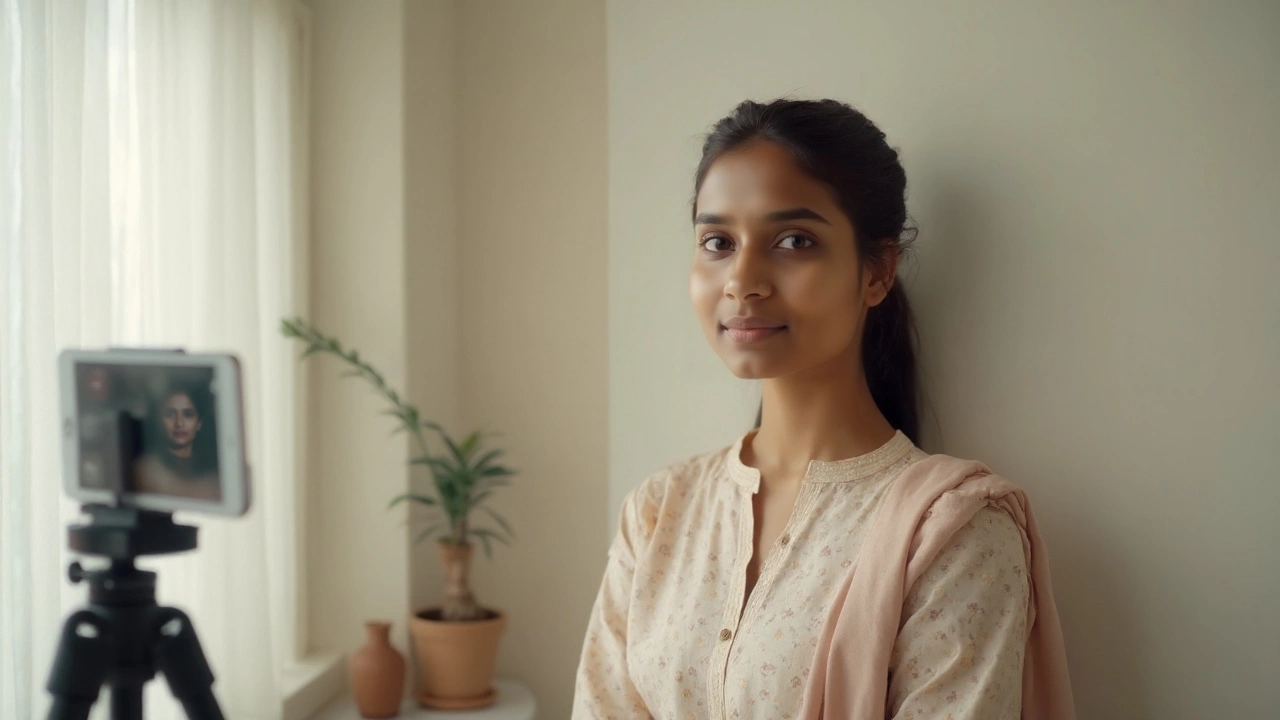
- Use the rear camera and a “tele” lens, not selfie mode. Selfie lenses are wide and distort faces (big nose, small ears). Step back 1.5-2 metres and use the 2x camera (around 50mm equivalent). Set a 3-10 second timer or ask someone to shoot.
- Pick a plain, light background. Light grey or cream works for the UK; pure white for the US. Stand 0.5-1 metre away from the wall to avoid shadows and texture showing.
- Light your face evenly. Daylight from a window is perfect. Stand facing the window; no hard sun. Turn off overhead lights if they create shadows under eyes or nose.
- Camera height and framing. Camera at eye level. Neutral expression, mouth closed, eyes open. Hair off the eyebrows. Keep shoulders visible. Leave space above the head.
- Turn off anything that edits the image. No portrait mode, no beauty filters, no smoothing, no skin retouching, no background blur, no AI enhancements. If your phone defaults to HEIC/Live photos, switch to JPEG/Most Compatible.
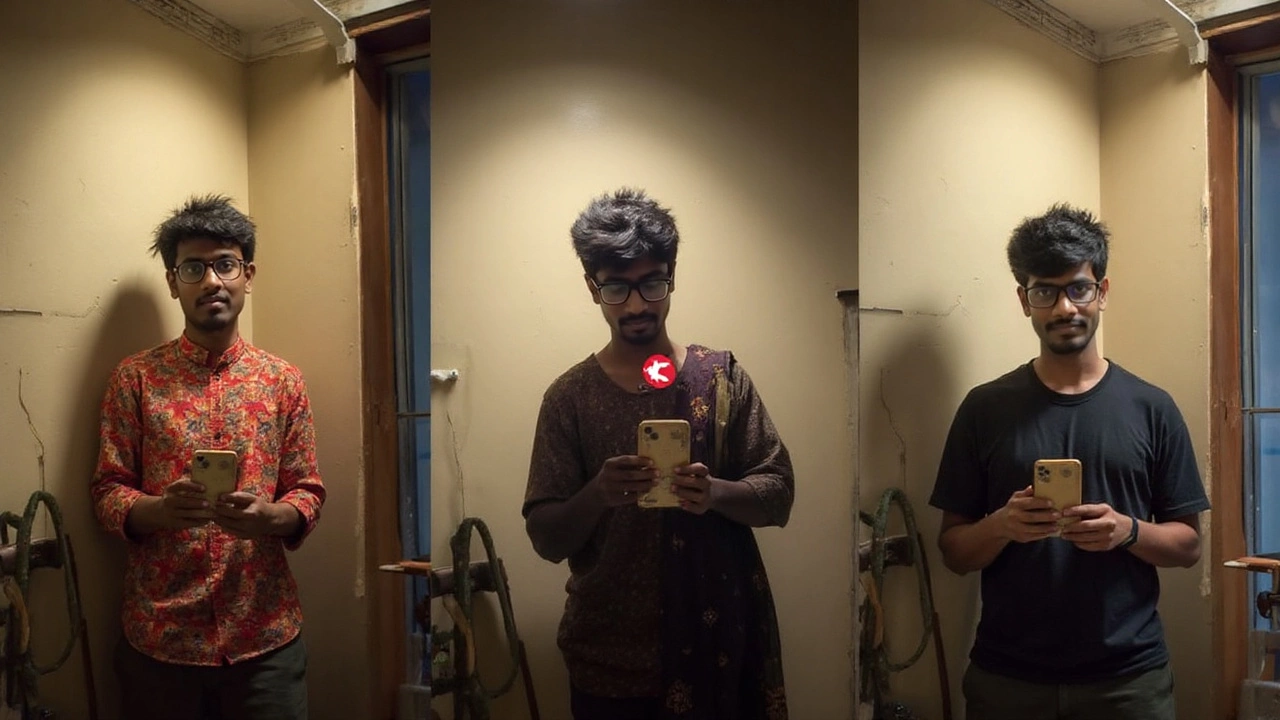
- Dress for contrast. A plain dark top is good against a light background. Avoid white tops-they blend into white/cream backgrounds.
- Glasses and headwear. UK: remove glasses unless you have a medical reason. US: glasses are not allowed. Religious head coverings are fine-keep the full face visible, no shadows.
- Crop to your country’s head-size rules. For the UK digital photo, use a 4:5 portrait crop and keep the full head visible with space around it. For the US, the head must be 50-69% of the image height. Don’t crop too tight.
- Export correctly. Save as JPEG, sRGB color. UK file size: roughly 50KB-10MB. US digital upload: 600-1200 pixels square, usually under 240KB. If needed, compress gently-don’t over-sharpen.
- Final check at 100% zoom. Look for glare, pixelation, heavy noise, or blown-out white backgrounds. If your hair blends into the background or shadows creep in, reshoot with better lighting.
Baby photos? Lay the baby on a plain white sheet, shoot from above, keep the face straight and eyes open if possible. No hands under the chin. No props. It may take a few tries-patience helps.
Common “do nots” that trigger rejections:
- Using selfie mode or a wide lens from too close (warped features).
- Portrait mode blur or any filter-even ones the phone applies automatically.
- Harsh shadows on the background or across the face.
- Glossy glare in glasses, shiny skin, or oily hotspots on the forehead.
- Wrong background colour (e.g., off-white in the US, dark patterns anywhere).
- Over-compressed images (blocky edges) or weird colour from heavy editing.
“You can take a digital passport photo using a smartphone or camera as long as it meets the guidance-ask someone else to take it for you.” - HM Passport Office (UK)
Country-by-Country Rules and Specs (2025)
Rules change. Always check your country’s current guidance before you submit. Here’s a practical snapshot for 2025 to set expectations and help you avoid wasted trips or delays.
| Country/Region | Can You Use a Phone Photo? | Digital Specs (Typical) | Background | Key Gotchas |
|---|---|---|---|---|
| United Kingdom | Yes, if it meets HM Passport Office rules; phone capture is fine (avoiding selfies). | JPEG, sRGB; aspect ~4:5; min ~600×750 px; file size ~50KB-10MB. | Plain light grey/cream; no shadows. | Don’t wear glasses unless medically necessary. No filters/retouching. Neutral expression. |
| United States | Yes, for uploads and prints; must meet Department of State specs. | 600-1200 px square; JPEG; sRGB; typically ≤240KB for upload. | Plain white or off-white. | No glasses. Head size must be 50-69% of image. No hats (religious exceptions with full face visible). |
| Canada | Generally no home-taken photos. Use a commercial photographer (printed) with studio info on the back. | Printed 50×70 mm; specific head size; high-quality photo paper; photographer’s details required. | Plain white or very light. | DIY phone shots are typically rejected. Follow IRCC rules for prints and signatures. |
| Australia | Phone capture is OK if printed to spec; selfies not accepted. Many use post offices/booths. | Printed 35-40 mm × 45-50 mm; head height strictly controlled. | Plain light background. | No glasses. No portrait mode. Keep mouth closed. Use matte prints. |
| EU (general) | Varies. Some require approved e-photo codes (e.g., France). Others accept uploads meeting ICAO standards. | Often 35×45 mm (print) or ICAO-compliant digital dimensions; head height 70-80%. | Plain light grey/white. | Country-specific portals may reject non-approved sources. Check local municipality’s rules. |
Sources referenced: HM Passport Office (UK), U.S. Department of State, Immigration, Refugees and Citizenship Canada, Australian Passport Office, and national EU portals following ICAO 9303 guidelines.
Examples, Pitfalls, and Quick Fixes
Here’s what goes wrong most often-and how to fix it in minutes.
- “My head looks huge; the frame feels weird.” That’s wide-angle distortion. Step back to 1.5-2 metres and switch to your phone’s 2x lens. Keep the camera at eye height.
- “There’s a shadow behind my head.” You’re too close to the wall or the light is too directional. Step away from the wall and face a big window. No direct sun.
- “The background looks textured.” Move further from the wall and expose for the face. If the wall has texture, pick a smoother area or hang a plain sheet.
- “The photo keeps getting rejected online.” Check file size, pixel dimensions, and head size. Many systems auto-check these first. Then look for retouching or portrait blur you forgot to disable.
- “My face looks too sharp” (or too soft). Avoid heavy sharpening or noise reduction. Use good light and a low ISO. Keep edits minimal-exposure and crop only.
- “Glare in glasses.” Tilt the glasses slightly downward, move the light source, or remove glasses entirely (UK strongly advises removal; US forbids glasses).
- “Baby keeps turning away.” Shoot right after a nap, lay the baby on a white sheet, and get help to hold a toy above the lens. You only need one clean frame.
Real-world tip from living rooms across Birmingham: if you’re fighting shadows, put the subject about one step back from a bright window and one step forward from the wall. That simple spacing kills most problems.
Checklist, FAQ, and Next Steps
Use this cram-friendly checklist before you submit. It’s ruthlessly practical and cuts down rejection rates.
- Rear camera, 2x lens, 1.5-2 m distance; camera at eye level.
- Plain light background; subject 0.5-1 m from wall.
- Window light, no harsh sun; even exposure on face.
- No portrait mode, no filters, no retouching or AI tools.
- Neutral expression, mouth closed, eyes open.
- No glasses (US: mandatory; UK: remove unless medically necessary with proof).
- Religious headwear: allowed; entire face visible, no shadows across features.
- Crop to the correct head size and aspect ratio for your country.
- Export as JPEG, sRGB; correct pixel dimensions and file size.
- Do a 100% zoom check for glare, shadows, and compression artifacts.
Mini‑FAQ
- Do I have to show my ears? No for UK and US. Your ears don’t need to be visible; your full face does.
- Can I smile? Keep a neutral expression. A subtle, natural look is fine; no teeth.
- Makeup? Natural is fine. Avoid extreme looks, shiny highlights, or heavy edits. No digital retouching.
- Beards and hairstyles? Both are fine. Don’t cover the eyes or eyebrows. Keep the face evenly lit.
- Jewellery and piercings? Allowed if they don’t cast shadows or obscure features.
- Headscarves or turbans? Allowed for religious/medical reasons. Keep the face fully visible, edges not casting shadows.
- Hearing aids? Allowed.
- Why did the system reject my upload? Usually head size, file size, wrong background, glasses, shadow, or evidence of filter/portrait blur.
Decision helper by region (2025):
- UK: Use a smartphone photo that meets HMPO rules. Don’t use selfie mode. The online checker flags most issues instantly.
- US: Smartphone is fine. No glasses. Use a pure white background and square image with correct head size.
- Canada: Book a commercial photographer for prints. DIY phone shots usually fail the doc requirements (stamps, sizes).
- Australia: Phone capture is OK if you print to spec. Many prefer post office or booth to avoid size/head-height mistakes.
- EU (varies): If your country uses an e-photo code system, you’ll likely need an approved booth or photographer. If uploads are allowed, follow ICAO-style specs closely.
Next steps
- UK applicants: Shoot with a phone and upload through the government portal. If it keeps failing, get a code from a UK photo booth or a pharmacist offering digital passport photos.
- US applicants: If applying online, prep a square 600-1200 px JPEG under the size limit with a white background. For mail-in, print a 2×2 inch photo on photo paper-no borders.
- Canada applicants: Book a photographer who knows IRCC specs (50×70 mm, studio info on the back). Bring the paper checklist; they’ll stamp it right.
- Australia/EU: Check your official portal first. If they require approved sources or codes, a home phone photo won’t fly.
Troubleshooting if your photo was rejected
- Head size wrong: Re-crop using the portal’s guide. Leave space above the head; don’t crop at hairline.
- Shadows or uneven lighting: Face a window, step away from the wall, and reshoot at eye level.
- White not white enough (US): Use a pure white poster board. Avoid cream/grey for US photos.
- File too big/small: Resize in a basic editor. Keep JPEG quality moderate (70-85%). Stick to sRGB.
- “Suspected filter/AI”: Reset camera settings, disable all enhancements, and re-shoot. Don’t edit beyond crop/exposure.
- Glare on skin or glasses: Powder shiny areas; tilt glasses slightly. Change your angle relative to the window.
If you want the zero-stress route: in the UK and US, a careful phone shot usually passes. If you’re in Canada or in an EU country that requires an e-photo code, save yourself the ping-pong and use an approved provider. If you’re somewhere in the middle, follow the steps above and you’ll be fine more often than not.
Why you can trust this: This reflects current (2025) guidance from HM Passport Office, the U.S. Department of State, IRCC, and national passport offices aligned with ICAO. I’ve also shot dozens of compliant photos at home for friends and family-what gets rejected in practice matches what the portals warn about: glasses glare, portrait blur, and head-size/cropping errors.