How Strict Are Passport Photo Rules?
 Apr, 8 2025
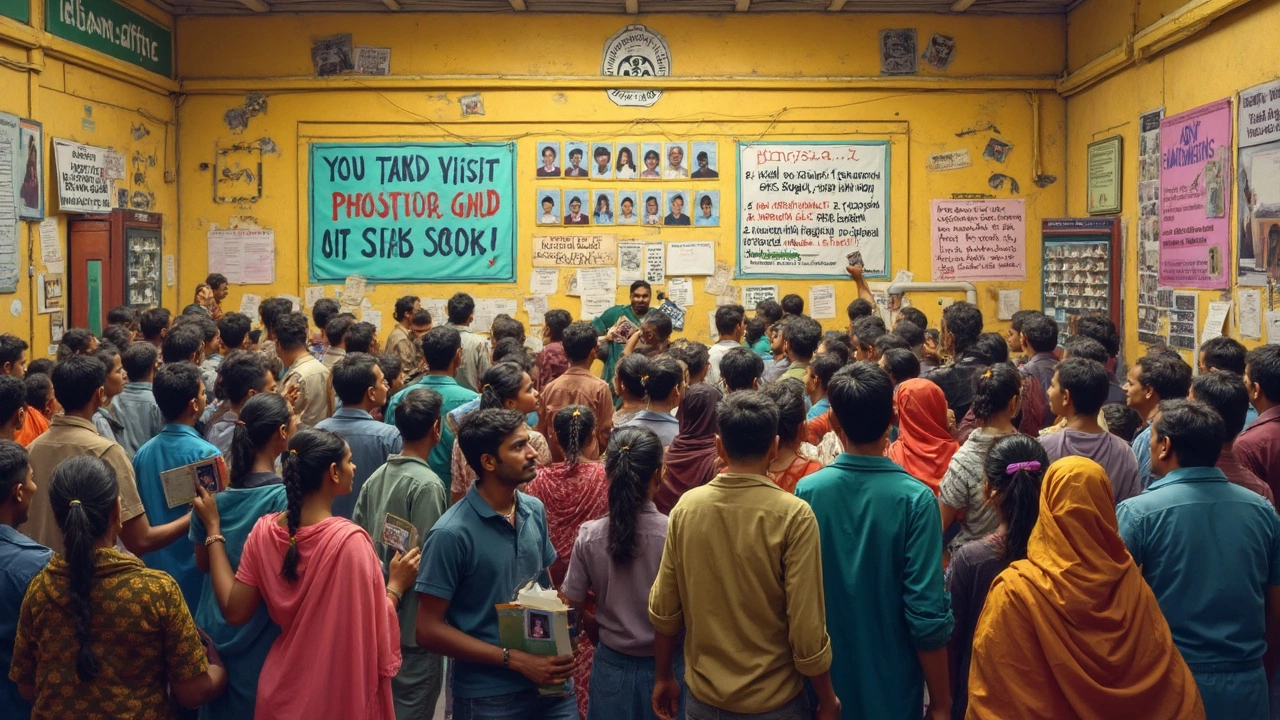
Have you ever felt your heart sink when your passport application gets sent back just because of a photo blunder? You wouldn't be alone. Passport photo rules might sound like small stuff, but mess them up, and your travel plans can hit a speed bump. These rules are not just picky for the fun of it—they ensure your photo meets international standards for recognition and security.
From the size of the photo to the background color, every detail counts. And honestly, could anyone have a perfect head size by instinct? So, before you start snapping away at your face, let’s dive into what makes a passport photo tick all the right boxes. You'll soon see why doing it right the first time is worth every bit of effort. No more stressing over those refund and re-application forms—sounds good, right?
- Understanding the Basic Rules
- Common Mistakes to Avoid
- Tips for a Perfect Passport Photo
- Specific Guidelines for Different Countries
- What to Do If Your Photo is Rejected
Understanding the Basic Rules
Getting the passport photo rules right can make the difference between sailing smoothly through your application process or getting stuck with delays. Let’s break down these rules so you know exactly what’s expected. It’s not rocket science, but it does pay to know the specifics.
First thing’s first, the photo requirements can vary a bit depending on where you're applying, but some basics hold true everywhere. You’ll need a recent photo—usually taken within the last six months. It should accurately reflect what you look like now, not twenty selfies ago.
- Background: A plain white or light-colored background is a must. Patterns, textures, or other distractions are a no-go.
- Size and Dimensions: Generally, passports require photos measuring 2x2 inches. Your head should be between 1 inch and 1 3/8 inches from the bottom of your chin to the top of your head.
- Expression: A neutral expression with both eyes open is the norm. Smiles are great, but save them for Instagram—the rules prefer more of a solemn look.
- Attire: Wear regular clothes. Avoid uniforms or anything with vibrant patterns. Glasses are usually a pass unless they cause glare or shadows.
Why all these specifics? Well, they need your photo to be easily recognizable by both human officers and facial recognition tech at borders.
Sound a bit overwhelming? It might be, but it's all about ensuring your photo helps prove your identity. If you ever feel like the rules are a bit questionable, remember it’s all about keeping international travel safe and secure. And if following these guidelines means fewer surprises later on, it seems worth it, right?
| Element | Requirement |
|---|---|
| Background | Plain white or light-colored |
| Head Size | 1 - 1 3/8 inches |
| Photo Age | Within 6 months |
Keep these basics in check, and you’re off to a great start with your passport photo game. Think of it as your first step on a new adventure!
Common Mistakes to Avoid
Getting your passport photo right can be a bit of a minefield. Here’s a rundown of blunders to steer clear of, to prevent your application from doing a U-turn back to your doorstep.
Bad Lighting and Shadows: Lighting is key. If you have harsh shadows across your face or the background, the photo won’t cut it. Aim for natural daylight or balanced indoor lighting to keep everything evenly lit.
Wrong Backgrounds: Your backdrop needs to be plain, usually white or off-white. Patterned, textured, or colored walls might seem cool in Instagram selfies, but they’ll bounce your photo out of contention.
Poorly Sized Photos: It sounds simple, but size matters! Photos should usually be 2x2 inches (51mm x 51mm), but always check the specific requirements for your country.
Unusual Facial Expressions: Keep your face neutral. Smiles or exaggerated expressions can interfere with the digital systems used for identification. Just think of it as your ‘can I have my passport?’ face!
Glasses and Headgear: Most places have strict no-glasses rules unless for medical reasons. Hats and headgear are a no-go unless it’s for religious reasons, and even then, your full face should be visible.
To wrap it up, here’s a quick checklist:
- Even lighting without shadows
- Plain, neutral background
- Correct photo size
- Neutral facial expression
- No glasses or hats unless specified
By sidestepping these common photo requirements no-no's, you’ll be on the right path to getting that passport in your hands without a hassle.

Tips for a Perfect Passport Photo
Nailing that passport photo might seem like a tall order, but it’s totally doable. It’s all about knowing what makes the cut and making sure you follow these must-do steps. These tips can take your photo game from risky to passport office-approved!
First things first, get the lighting right. Using natural light is the way to go—stand facing a window if you can. It'll help prevent any weird shadows which can mess up your whole application.
Next up, give some love to that plain, white background. It's not just a suggestion—it's a rule. A clutter-free backdrop ensures all focus is on you and nothing else. The fewer distractions, the better!
Ever wondered why photo size is such a big deal? Because it's specified for a reason. The usual 2x2 inches (51x51 mm) fits the bill for most countries, but double-check the requirements since a smaller size might be on the cards depending on where passport you're applying for.
- Make sure you’ve got a clear and straightforward expression. Smile without teeth or go for a neutral face—no frowns or raised eyebrows!
- Keep your whole face visible. Haircuts or 'do styles shouldn’t cover your features, and hats are a definite no-go unless for religious reasons.
- Worried about glasses? Make sure there aren't any reflections. If they cause an issue, take them off, but it’s best to photograph without them if you ask me.
Most importantly, trust the process. A strong starting point is to know that a well-liked passport photo shop really knows the drill. If you’re a DIY kind of person, online tools are a great fallback. They’re specifically designed to fit all the criteria and take out some of the guesswork.
With these easy tricks tucked in your back pocket, say goodbye to photo rejection. You'll have that passport in hand, stress-free!
Specific Guidelines for Different Countries
Passport photo rules can vary surprisingly from one country to another, and getting them right is crucial for a successful application. We've talked general guidelines, but let’s break down some country-specific quirks that might catch you off guard.
United States: The U.S. requires a 2x2 inch photo with a white or off-white background. Make sure your head is between 1 and 1.4 inches tall, and that your face is visible from chin to crown. Glasses used to be allowed, but now they're a big no-no unless medically necessary.
United Kingdom: The UK likes its passport photos in size 45mm x 35mm with a light grey or cream colored background. They’re pretty strict about no shadows—none on your face and none on the backdrop. Also, you have to keep a neutral expression (no smiles folks!) and have your mouth fully closed.
Canada: If you’re Canadian, your passport photo should measure 50mm x 70mm and the face height should be between 31mm and 36mm from chin to crown. Bright, plain white backgrounds are a must and strong contrast is essential, so avoid wearing anything white. Babies and kids have slightly modified rules; for example, one parent’s arms or hands can sneak into the shot while holding an infant.
Australia: Down Under, the photos should be just like Canada’s in size, but heads can cover 32mm to 36mm in height. Interestingly, a grey background is preferred here. They prefer very clear, natural lighting, and photos should have no flash reflection on the skin or red eyes.
India: In India, passport photos need to be 50mm x 50mm, with a light background, ideally white. The head should cover about 35mm of the image, and glasses without a glare are fine. You better not smile too wide—just a neutral expression here too.
| Country | Photo Size | Background |
|---|---|---|
| United States | 2x2 inches | White or off-white |
| United Kingdom | 45mm x 35mm | Light grey or cream |
| Canada | 50mm x 70mm | Plain white |
| Australia | 50mm x 70mm | Grey |
| India | 50mm x 50mm | Light, preferably white |
Keeping these specific guidelines in mind can save you a ton of headache from rejected applications. Before you get your passport photo taken, a quick check on your local government’s website for updates could save time and effort. And that’s something we can all appreciate!
What to Do If Your Photo is Rejected
It's a bummer when you get that letter saying your passport photo didn't make the cut. But hey, it's not the end of the world! Take a deep breath, and let’s figure out your next steps.
First off, don't panic. Check the reason why your photo was rejected. Most of the time, the authorities will tell you exactly what went wrong. Was it the improper size, the wrong background color, or perhaps a small smile? Once you know what needs fixing, it gets easier.
Here's a step-by-step guide on what to do next:
- Review the Requirements: Before you start retaking your photo, make sure you have a solid understanding of the passport photo rules. Check whether requirements have changed. Ignoring updates is a common mishap.
- Retake the Photo: Find a professional photo service if possible. These days, many online services can ensure your photo is 100% compliant with current guidelines. They often offer the perk of free retakes until you get it right.
- Double-Check Everything: Ensure your new photo meets all the specifications. Is your face fully visible? No shadows or strange lighting?
- Resubmit the Application: Once you have the perfect photo, resubmit your application. Some jurisdictions allow you to simply send in the new photo, while others might need the entire application again. Check with your local passport office.
If you're frequently traveling or have a trip coming up soon, keeping spare compliant photos ready can save you from unexpected delays. Remember, preparation is key to keeping things as smooth as possible!