How to Edit Photos Like a Pro for Free: The Ultimate Guide
 Jul, 21 2026
Free Photo Editing Tool Selector
You just took the perfect shot. The lighting is golden, the subject is sharp, and the composition is solid. But when you look at it on your screen, something feels off. Maybe the colors are too dull, or there’s an annoying shadow in the corner. You want to fix it, but opening expensive software like Adobe Photoshop feels like overkill-or worse, a financial burden you can’t justify right now.
Here is the truth: you do not need a subscription costing hundreds of pounds a year to make your images look stunning. In fact, some of the most powerful tools used by professionals today are completely free. The gap between 'amateur' and 'professional' isn't about the price tag of your software; it's about understanding light, color theory, and workflow efficiency.
If you are ready to stop taking snapshots and start creating images, this guide will walk you through the best free tools available in 2026 and teach you the specific techniques that transform good photos into great ones. We will cover mobile apps for quick edits on the go and desktop software for deep, detailed work.
The Best Free Photo Editing Apps for Mobile
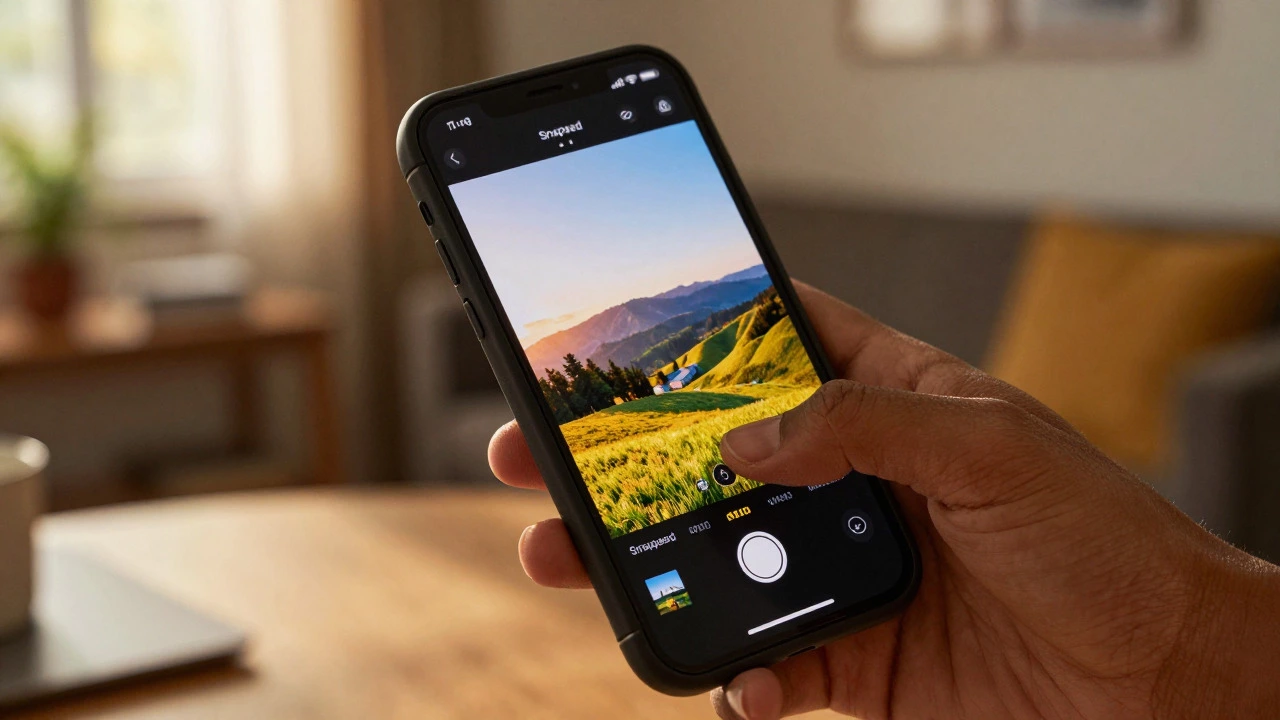
Most of us carry our primary camera in our pockets. If you are shooting on an iPhone or Android, your editing workflow should happen on the same device. There are two giants in the free mobile space that offer professional-grade control without hiding features behind a paywall.
Snapseed is a comprehensive mobile photo editor developed by Google that offers precise manual controls and healing tools. It is widely regarded as the gold standard for free mobile editing because it does not force watermarks on your exports and allows non-destructive editing. This means every adjustment you make is stored separately from the original image, so you can always go back and tweak a setting without ruining your file.
Another essential tool is Adobe Lightroom Mobile, which provides industry-standard color grading and RAW processing capabilities directly on smartphones. While the full desktop version requires a subscription, the mobile app remains incredibly robust for free users. It excels at handling RAW files-the uncompressed data captured by your camera sensor-which gives you much more flexibility in recovering details in shadows and highlights than standard JPEGs.
| Feature | Snapseed | Lightroom Mobile (Free) |
|---|---|---|
| RAW Support | Limited | Excellent |
| Healing/Clone Tool | Yes (Healing & Clone) | No (Requires Subscription) |
| Color Grading Control | Good | Professional Grade |
| Batch Editing | No | Yes (Copy/Paste Settings) |
| Learning Curve | Low to Medium | Medium |
Desktop Powerhouses: Professional Results Without the Cost
When you need pixel-perfect precision, a mouse and keyboard beat a touchscreen every time. For desktop editing, you have two main paths depending on your operating system and needs.
For Windows, Mac, and Linux users, GIMP is the leading open-source image manipulation program that serves as a free alternative to Photoshop. GIMP has been around for decades and is incredibly powerful. It supports layers, masks, and complex compositing. However, its interface can feel cluttered and unintuitive if you are coming from a modern design background. Think of GIMP as a Swiss Army knife: it has every tool you could ever need, but you might spend the first few days figuring out where the scissors are.
If you prefer a more streamlined experience focused on color correction rather than heavy compositing, Darktable is an open-source photography workflow application and raw developer often compared to Adobe Lightroom Classic. Darktable is designed specifically for photographers who shoot in RAW format. It manages your library of photos, allowing you to catalog thousands of images and apply consistent edits across entire batches. Its node-based processing engine ensures that your edits remain high-quality even when you zoom in to 100%.
Mac users also have access to Darktable or Apple Photos, though Apple Photos is more suited for casual organization than professional retouching. For true pro-level work on macOS without paying Adobe, Darktable or GIMP remain the top choices.
The Professional Workflow: Step-by-Step
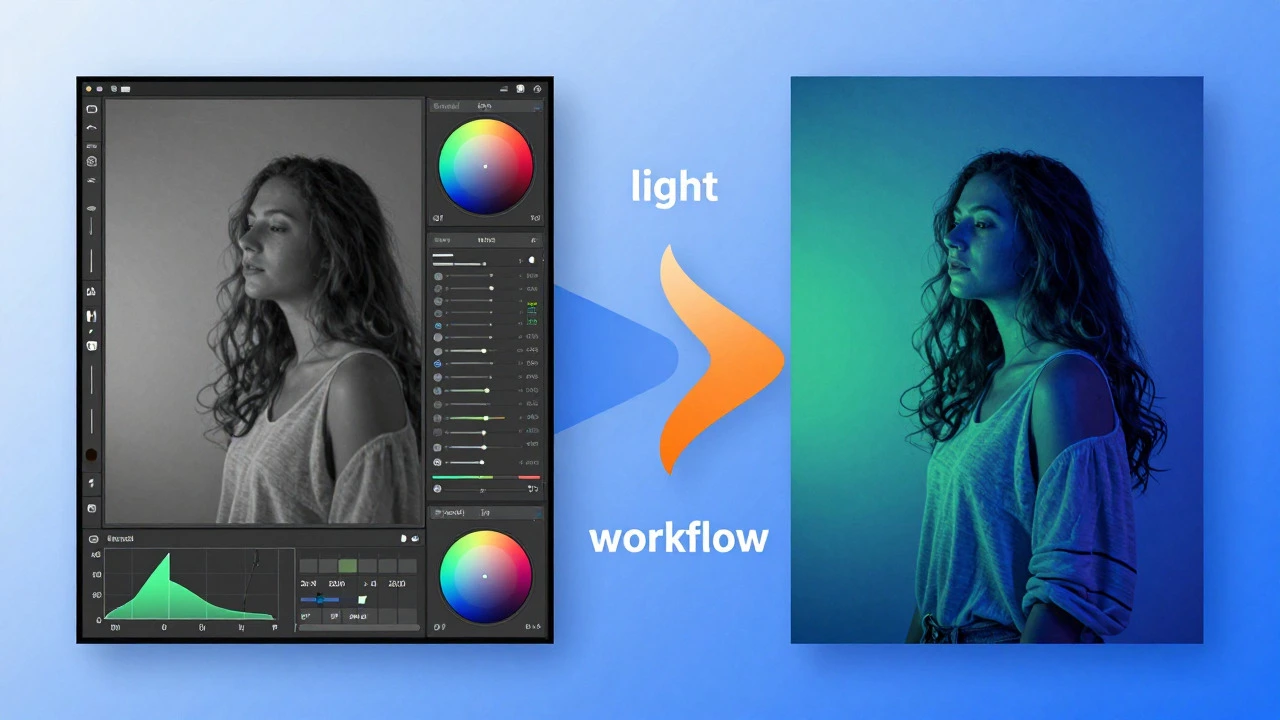
Having the tools is only half the battle. To edit like a pro, you need a systematic approach. Randomly sliding bars until the image looks "nice" usually leads to oversaturated, noisy messes. Follow this five-step workflow for consistent, high-quality results.
- Crop and Straighten: Before touching any colors, fix the geometry. Use the rule of thirds grid to align horizons and remove distracting elements from the edges. A tilted horizon is the fastest way to make an image look amateur.
- Exposure Correction: Adjust the overall brightness. Look at your histogram-a graph showing the distribution of tones. Aim for a balanced curve without clipping (cutting off) details in the pure whites or pure blacks. Lift the shadows slightly to reveal detail, but don’t push them so far that you introduce digital noise.
- White Balance: This is crucial. Does your photo look too blue (cold) or too orange (warm)? Use the white balance eyedropper tool on a neutral gray area in your image, or manually adjust the temperature and tint sliders. Accurate white balance makes skin tones look natural and colors pop realistically.
- Contrast and Clarity: Add depth. Increase contrast slightly to separate the subject from the background. Use clarity or texture adjustments sparingly. Too much clarity creates a harsh, unnatural look known as the "halo effect."
- Color Grading: This is where you add your style. Adjust saturation for vibrant colors or desaturate for a moody look. Use HSL (Hue, Saturation, Luminance) sliders to target specific colors. For example, if you want greener grass, shift the yellow hue toward green and increase its luminance. If you want blue skies to stand out, lower the luminance of the blue channel.
Advanced Techniques That Are Actually Free
Once you master the basics, these advanced techniques will set your work apart. The best part? All of them are available in the free tools mentioned above.
Frequency Separation: This is a skin-retouching technique used in high-end fashion photography. It separates the texture of the skin (high frequency) from the color and tone (low frequency). You can smooth out blemishes and uneven skin tone without blurring the pores and fine hairs. Both GIMP and Snapseed (using the Healing brush carefully) can achieve similar results, though GIMP offers more control with layers.
Local Adjustments: Global adjustments affect the whole image. Local adjustments allow you to brighten just the subject’s face or darken just the sky. In Lightroom Mobile, use the Radial Filter or Brush tool. In Snapseed, use the "Selective" tool. This mimics how a photographer uses reflectors or strobes on set to shape light.
Dodge and Burn: Derived from traditional darkroom techniques, dodging involves lightening specific areas to draw attention, while burning darkens areas to create depth. Use a soft brush with low opacity (around 5-10%) to paint light onto the highlights of your subject and darkness into the shadows. This adds three-dimensionality to flat images.
Avoiding Common Beginner Mistakes
Even with great tools, it is easy to ruin a good photo. Here are the pitfalls to avoid.
- Oversaturation: Cranking up the saturation slider to 100 makes everything look fake and garish. Instead, use vibrance, which boosts muted colors while protecting skin tones from looking orange.
- Ignoring Noise: When you lift shadows in a high-ISO photo, digital noise appears. Use the Denoise feature in Lightroom or Snapseed’s Details tool. Reduce noise before sharpening.
- Over-Sharpening: Sharpening enhances edges, but too much creates jagged artifacts. Apply sharpening last, and only enough to make the image crisp, not crunchy.
- Editing in JPEG Only: Whenever possible, shoot in RAW. JPEGs are compressed and discard data. RAW files retain all the information your sensor captured, giving you far more room to recover mistakes in exposure or white balance.
Building Your Own Presets
Professionals save time by using presets-pre-configured settings that apply a specific look to an image. You can create your own for free.
In Lightroom Mobile, once you have edited a photo to your liking, save those settings as a preset. Next time you shoot in similar lighting, apply the preset and then make minor tweaks. In Snapseed, you can save your edits as a "Look" within the app, though it is less flexible than Lightroom’s exportable DNG presets. Creating your own presets helps you develop a consistent visual style, which is key to building a recognizable brand as a photographer.
Is Snapseed still free in 2026?
Yes, Snapseed remains completely free to download and use on both iOS and Android. There are no in-app purchases, subscriptions, or hidden fees. Google continues to support it with occasional updates, making it one of the most reliable free editing tools available.
Can I edit RAW files for free?
Absolutely. Adobe Lightroom Mobile (free version), Darktable, and RawTherapee all support RAW file formats from major camera brands like Canon, Nikon, Sony, and Fujifilm. These tools unlock the full dynamic range of your photos, allowing for professional-grade color and exposure adjustments.
Which is better: GIMP or Lightroom?
It depends on your goal. Use Lightroom (or Darktable) for organizing large libraries of photos and performing color corrections efficiently. Use GIMP if you need to composite images, remove complex objects, or perform pixel-level manipulations similar to Photoshop. They serve different stages of the editing process.
Do free apps leave watermarks?
The best free professional tools, such as Snapseed, Lightroom Mobile, and GIMP, do not add watermarks to your exported images. Be cautious with lesser-known apps that may require a paid upgrade to remove branding. Stick to the established names listed in this guide for clean outputs.
How do I learn to use GIMP effectively?
GIMP has a steep learning curve due to its dense interface. Start by watching beginner tutorials on YouTube that focus on "GIMP for beginners" or "GIMP vs Photoshop" workflows. Focus on mastering layers, masks, and selection tools first, as these are the foundation of most advanced edits.