How to Make a 2x2 Passport Photo at Home: Easy Guide & Pro Tips
 Aug, 8 2025
You’ve probably groaned at least once while staring at that list of passport photo requirements. Two by two inches, head in the middle, neutral face, white background—why does something so small come with so many rules? But here's the kicker: you don’t have to pay a bunch at the drugstore or hunt down a photo booth at the mall. You can actually make a perfect, official-looking 2x2 passport photo at home with just your phone, a printer, and some patience. Ready to end the passport photo headache forever? Let’s get into the process and some surprising tricks that’ll make your photo smoother and 100% compliant.
Understanding Passport Photo Requirements
First things first—passport photos are picky. The U.S. Department of State is notorious for rejecting non-compliant photos, and other countries can be even stricter. A 2x2 inch photo translates to exactly 51x51 mm. There’s practically no wiggle room. Head size in the frame should be about 1 to 1.4 inches (25 to 35 mm) from chin to top. Your eyes need to fall between 1.125 and 1.375 inches (28 to 35 mm) from the photo’s bottom edge. Get any of that wrong and boom—application delayed.
Other than size, background color matters—a pure white or off-white. No patterns, no shadows, no odd colors. Lighting has to be even. Forget about selfies, as odd angles and wide-angle lens distortion will throw off proportions. No hats, glasses, or anything covering your face. Even a shadow under your chin is enough for a rejection. If you wear glasses every day, you still need to take them off for the shot—this rule’s been in place in the US since November 1, 2016. Expressions? Don’t even think about that new smile; neutral is the only emotion allowed.
Ever noticed how strict sizing creates so many rejections? Every year, the U.S. State Department rejects roughly 200,000 passport applications just for bad photos. But don’t get psyched out—these are all avoidable problems. Keep your subject (that’s probably you) facing the camera directly, both eyes visible, and shoulders relaxed. The photo needs to be recent, taken within the last six months, and must show your current look. This means if you’ve just changed your hairstyle dramatically or started growing a beard, snap a new one.
| Requirement | Details |
|---|---|
| Size | 2 x 2 inches (51 x 51 mm) |
| Head Height | 1 - 1.4 inches (25 - 35 mm), chin to top |
| Eye Height | 1.125 - 1.375 inches (28 - 35 mm) from the bottom |
| Background | Plain white or off-white, no patterns |
| Face | Centered, full-face, neutral expression |
| Attire | No hats, uniforms, or glasses (unless for medical reasons) |
| Recency | Taken in last 6 months |
Here’s something cool: passport photos must be printed on photo-quality paper—don’t just run it off on regular paper and call it done. Matte or glossy, either is fine, but avoid any retouching that changes how you look. That includes removing blemishes, fixing red-eye, or slimming your face, tempting as those options might be with common photo editors. The goal is an honest representation—think of your photo as a security measure, not a social post.

Step-by-Step Process: Shooting and Editing Your 2x2 Passport Photo
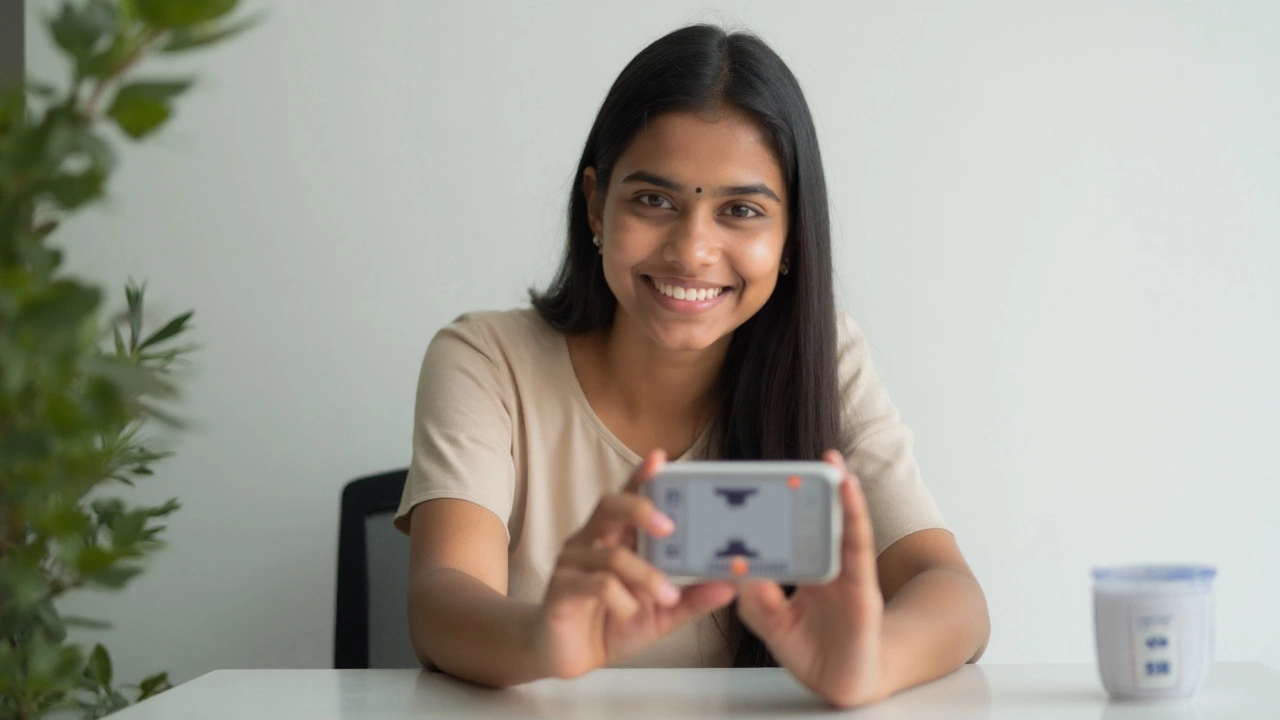
Alright, let’s get hands-on. To do this at home, you need a decent phone camera or digital camera—preferably 8 megapixels or higher, because you want crisp details. Grab a plain white wall or hang up a smooth white sheet. Don’t forget to iron out any wrinkles; shadows and creases show up stronger than you think. Good light is everything. Natural daylight (think by a large window, midday, so there aren’t strong shadows on your face) works best. Avoid overhead lighting, which casts ugly shadows under your eyes and nose.
- Set up your camera at eye level, about four feet away from where you’ll stand or sit. If possible, use a tripod or prop the camera securely. If you don’t have a helper, use the camera’s timer, and make sure the frame captures your head, shoulders, and some extra space around your head for cropping.
- Dress normally—think about what you’d wear to the DMV, not a night out. No uniforms, costumes, or, oddly enough, camouflage patterns. The shirt should contrast with the background so you don’t look like a floating head.
- Keep your hair out of your face. If you wear religious head coverings, those are allowed, but the face has to be fully visible.
- Stand or sit up straight, look straight at the camera, and relax your mouth and eyes. Don’t squint, don’t grin. Think of your go-to "I just woke up" face.
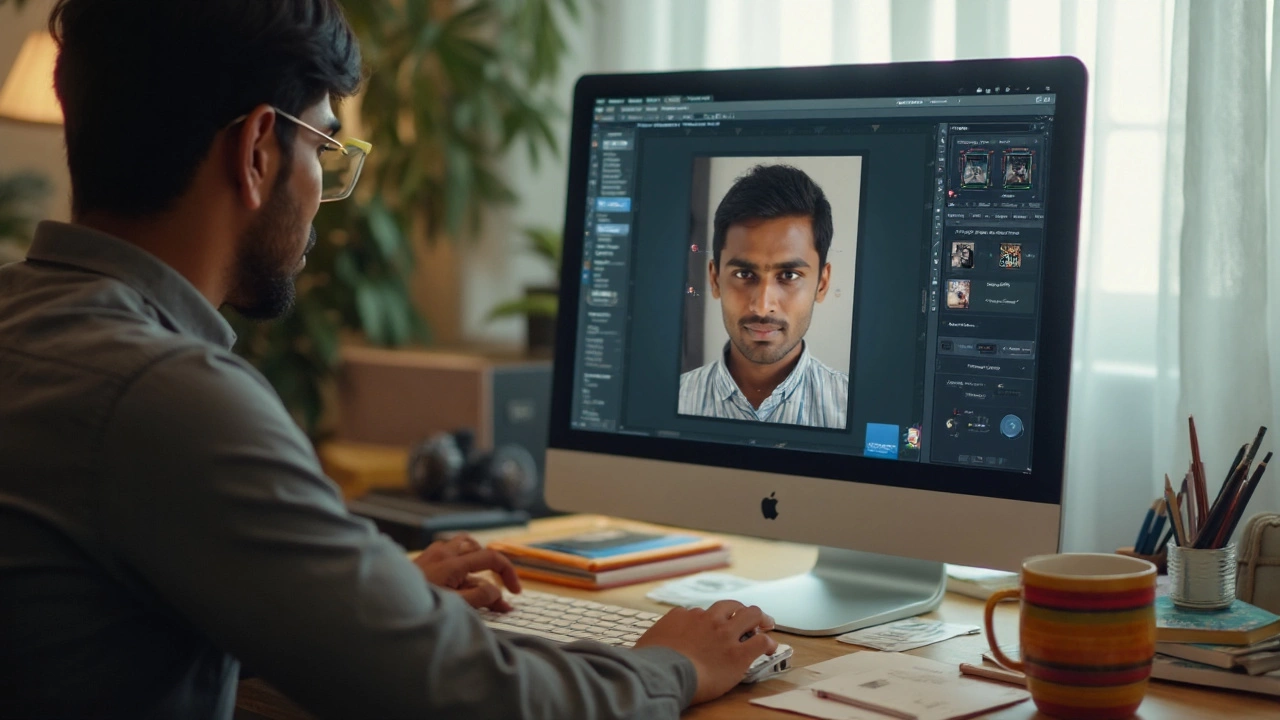
Once you have your shot, check the image quality. No blurriness, no glare, no weird shadows. Your face and hairline should be visible, so tie back bangs if needed. Crop the image. Almost every photo editor, even on your phone, lets you select a crop, but not all have a ready 2x2 template. Here’s a trick: set custom dimensions on free editors like Pixlr, Fotor, or Canva, input 600x600 pixels (that’s a crisp 2x2 inches at 300 dpi), and drag your face into the center. These tools even give you faint guidelines for head and eye height. If you want to spend nothing, Google Photos also lets you crop and adjust the image with size guides.
Remember the printing requirement. Make sure the exported file is set at 300 dots per inch (DPI)—this is what printers use for sharpness, and it’s the standard for U.S. passport photos. If you want to print several copies on a single page (which saves money), layout your 2x2 images side-by-side on a 4x6 canvas—classic photo paper size. Then, have it printed at any store with a photo kiosk or upload to a print service. Don’t just print straight from your phone to your home printer unless you have proper glossy or matte photo paper and can trust the output color and accuracy. Drugstore kiosks often charge about $0.35 for a 4x6 print, which gives you up to four photos—much cheaper than the $12 the post office charges.
Double-check your final print for color, contrast, and clarity. Some printers pump up colors or add noise. Compare your printed photo to the digital version before cutting. Use sharp scissors or, even better, a paper trimmer for a clean 2x2 cut. Keep your prints flat and avoid bending or folding them.
Saving a digital backup is also smart. If you ever need to reprint or upload digitally, you’ve got the perfect image ready—email it to yourself or save it in the cloud. For a digital passport photo (for online applications or visas), follow the pixel requirements (often 600x600 pixels for US) and file size limits (usually below 250 KB, but check your country’s rules).

Troubleshooting Common Problems and Expert Tips
Don’t beat yourself up if your first photo session didn’t go perfectly. Even professionals wrestle with getting the light or crop just right the first try. The most frequent rejection? The head isn’t the right size, usually because folks crop the picture too tight or leave way too much space above the head. Use a ruler or, if your photo tool has it, drag a guideline to check distance from chin to top of head in the finished crop. Double-check the size—just because it looks right on your phone doesn’t mean it actually measures two inches on paper! Print out a test on plain paper, cut it, and measure before final printing.
If there are shadows you can’t avoid, try changing rooms or add extra lamps around the camera. A sheet of white paper as a reflector below your chin bounces light up and softens shadows. Avoid using direct flash, which causes blowouts and red-eye. Indirect lighting aimed at a white ceiling diffuses the light nicely, creating that smooth, passport-worthy glow. Change camera settings if needed—turn off beauty modes or filters that mess with your skin tone, and make sure the "portrait" mode doesn’t blur the edges.
If you want to get serious, measure your head and eye positions with a printed sample before your official shoot. Google has sample passport photo overlays you can download and use as a transparent layer in editors like GIMP or Paint.NET to line everything up perfectly. This is how pros do batch passport photos for studios. If you prefer apps, dedicated passport photo apps like Passport Photo Maker or Passport ID Photo (found on app stores) often come with built-in compliance checks for major countries. But always double-check their exports—some free apps leave watermarks that must be cropped off, and a watermark will get you rejected instantly.
Unexpected fun fact: In 2017, the U.S. government found that almost 15% of home-taken passport photos failed because of poor lighting and busy backgrounds, not sizing. The simplest fix is a big sheet of white poster board taped to the wall. And don’t forget to stand at least two feet from the background to avoid shadow halos around your head. If you’re worried about background color, most editing apps have a "whiten background" feature—just make sure it doesn’t blur the edges or alter your face. Any background tampering that affects facial features is an instant fail.
Lastly, always check the country’s latest photo requirements. Some countries have weird extra rules—a blue background, different sizes, restrictions on earrings, even expressions. For the U.S., stick with the classic 2x2 passport photo. For visas or international IDs, toggle the app’s settings to match, but double-check with the official embassy site before sending in your pic.
Here’s a pro tip: keep your digital master in more than one place (cloud, USB, email). In 2024, DMV offices and even passport centers started letting folks email their digital files for printing on-site, so you’ll save time standing in lines. Knowing how to make these photos means you’ll never scramble again when you need a new ID—no more panicking the night before your appointment.
The whole process, from snapping your shot to holding a printed, compliant passport photo, takes less than 30 minutes once you know these tricks. You’ll have saved money, stress, and who knows—maybe you’ll even help out a friend next time they’re groaning about passport photos too.