How to Turn a Small Room into a Professional Photo Studio (India Guide)
 Jun, 20 2026
Small Room Studio Budget Calculator
DIY Savings Potential
You can save significantly by building your own reflectors and diffusers.
- Aluminum foil reflector: ~₹50 vs ₹800
- Bed sheet diffusion: ~₹0 vs ₹1,200
You don't need a warehouse to take professional photos. In fact, some of the sharpest portraits and cleanest product shots come from spaces smaller than a parking spot. If you are looking at your spare bedroom or that awkward corner in your living room and wondering if it can work, the answer is yes. But you have to be smart about how you use every inch.
The biggest mistake beginners make is trying to fit everything in. They buy big lights, huge backdrops, and wide-angle lenses, then wonder why their images look cluttered or dark. The secret isn't more stuff; it's better placement. You need to control light, manage space, and keep your workflow tight. Let’s walk through exactly how to build a functional studio in a small room, keeping costs low and quality high.
Before we get into the gear, let’s talk about the space itself. A small room has two main advantages: it’s easy to control the temperature, and you don’t need massive amounts of light to fill the space. Your challenge is avoiding shadows that creep in from corners and dealing with limited movement. Start by clearing the room. Remove anything that doesn’t serve the shoot. This means no posters on the walls unless they are part of the backdrop, no clothes hanging out, and definitely no random furniture cluttering the floor. You want a blank canvas.
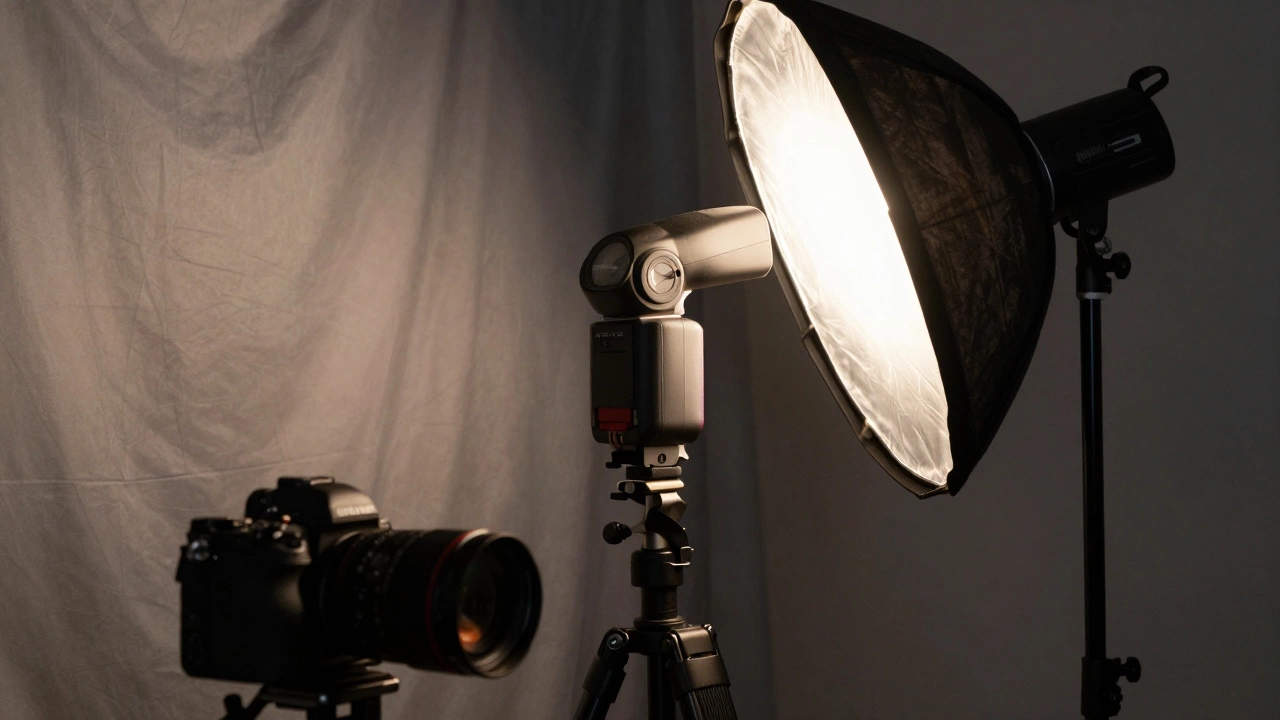
Lighting: The Core of Your Setup
Lighting is where most people overspend or underperform. In a small room, you cannot use large softboxes because they will bounce light off the opposite wall and create messy reflections. Instead, go for speedlights (flash units) with small modifiers. A beauty dish or a small octabox works wonders here. These tools focus the light precisely where you need it, reducing spill and keeping the background clean.
If you are on a tight budget, start with one light. Yes, just one. Position it at a 45-degree angle to your subject. Use a reflector on the opposite side to bounce light back into the shadows. This simple setup mimics natural window light and gives you that professional three-dimensional look without the complexity of multiple stands. As you grow, add a second light for hair separation or background illumination, but keep the modifiers small.
Continuous LED panels are another option, especially if you are shooting video as well. Look for panels with high Color Rendering Index (CRI) ratings-above 95 is ideal. This ensures colors look true to life. Place these lights close to your subject to maximize intensity while minimizing power draw. Remember, the closer the light source, the softer the shadow. In a cramped space, proximity is your friend.
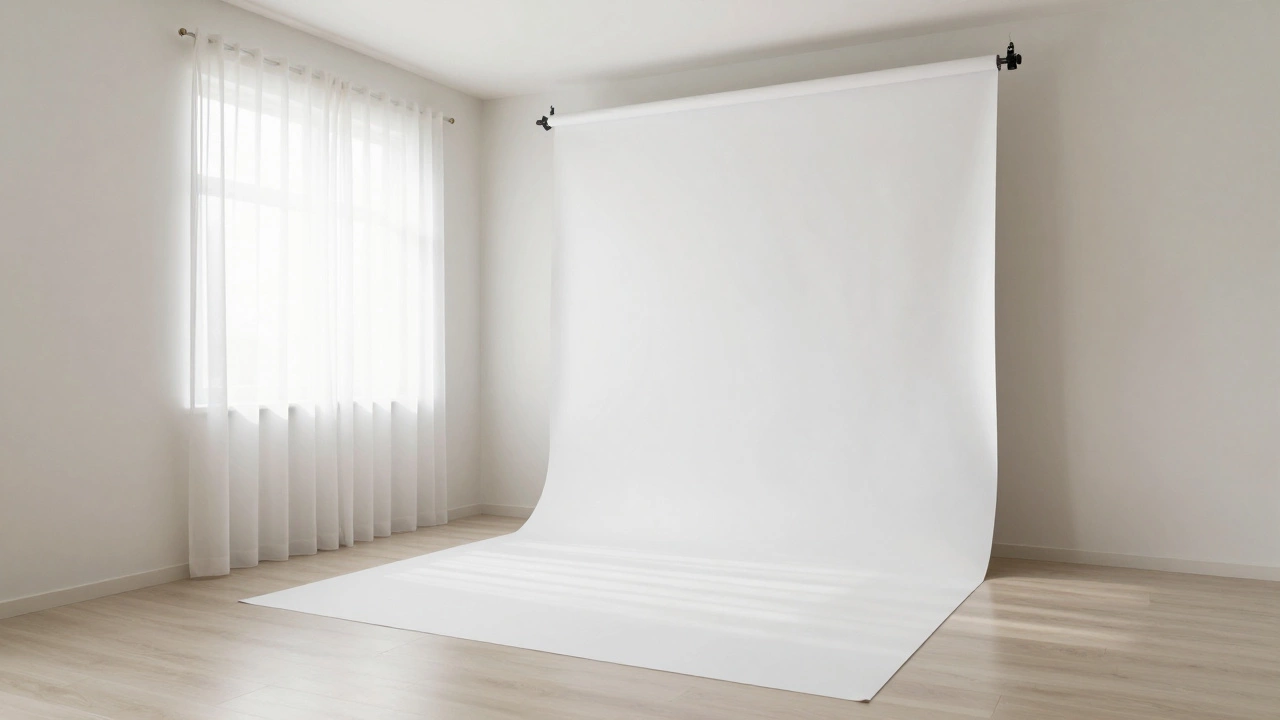
Backdrops: Creating Depth in Tight Spaces
In a small room, your walls are your enemy if they are close to the subject. You want infinite depth, not a visible corner behind your model’s head. The solution? Pull the backdrop away from the wall. Use a lightweight C-stand or a portable backdrop stand system. Even pulling the paper or fabric back by two feet makes a huge difference in how the light falls off and creates separation between the subject and the background.
Paper backdrops are cheap and durable. You can roll them out quickly and store them flat when not in use. White and grey are essential starters. Black can be tricky in small rooms because it absorbs light, making the space feel even smaller, but it’s great for dramatic portraits. Fabric backdrops are easier to store but wrinkle easily. If you use fabric, invest in a steamer, not an iron. Irons leave sharp creases that show up in high-resolution photos.
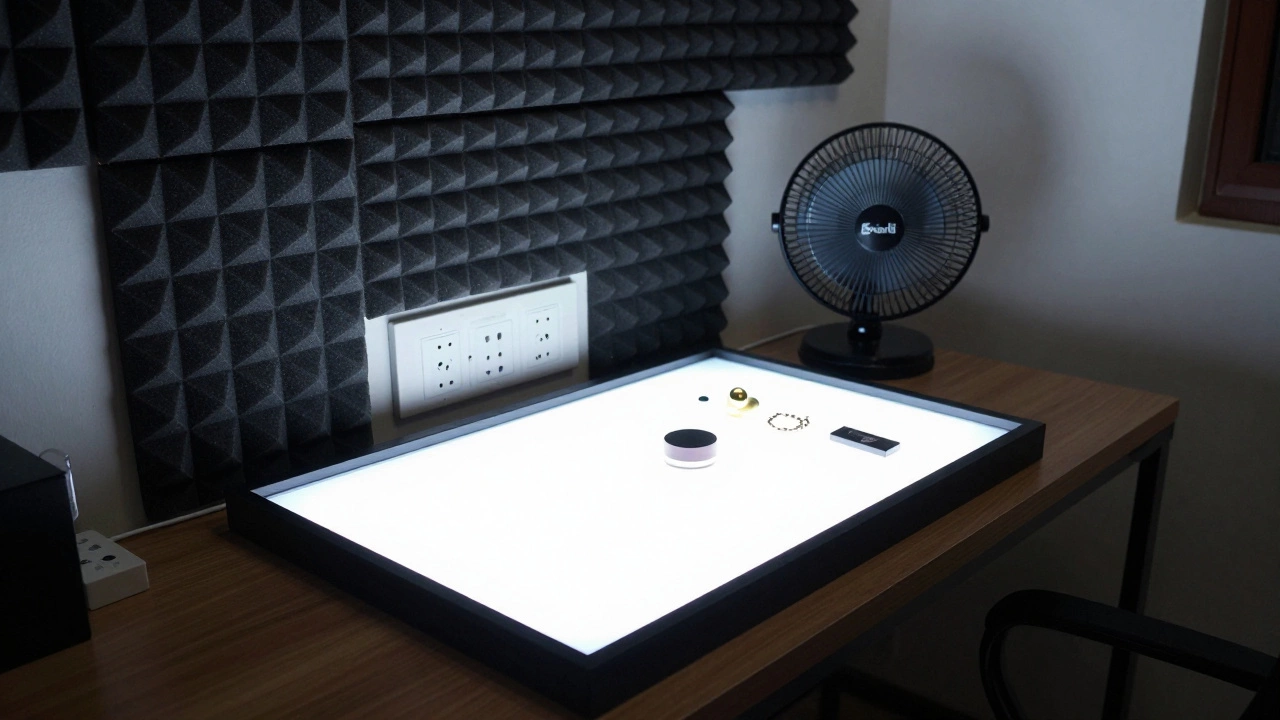
For product photography, consider using a lightbox or a infinity table. These are self-contained units that provide a seamless white background and diffused lighting all in one. They take up very little floor space and are perfect for e-commerce sellers who need consistent shots of small items like jewelry, cosmetics, or gadgets.
Camera Gear: Less is More
You do not need a $3,000 camera body to start. A modern mirrorless camera or even a high-end smartphone can produce stunning results if the lighting is right. The lens matters more than the body. For small rooms, avoid ultra-wide lenses (below 24mm) because they distort faces and exaggerate the smallness of the space. Stick to standard prime lenses like 35mm or 50mm. These focal lengths compress the scene slightly, making the room feel larger and the subject more flattering.
If you are shooting portraits, an 85mm lens is ideal, but it requires more distance between you and the subject. In a tiny room, this might be impossible. In that case, step back as far as you can and use a 50mm lens. It’s a versatile sweet spot. Make sure your lens has a wide aperture (f/1.8 or f/2.8) so you can let in more light and blur the background distractions.
A tripod is non-negotiable. In low-light situations or when using longer exposures, camera shake ruins images. A sturdy tabletop tripod saves floor space. When not in use, it collapses into a small bag. This allows you to lock down your composition and focus precisely, which is crucial when you don’t have room to move around much.
Acoustics and Comfort
If you plan to record audio or just want a pleasant working environment, soundproofing is key. Hard surfaces reflect noise, creating echo. Add rugs, curtains, or acoustic foam panels to the walls. These materials absorb sound waves, making the room quieter and more focused. Plus, soft furnishings help diffuse light naturally, adding another layer of control to your lighting setup.
Ventilation is often overlooked. Lights generate heat, and in a small, enclosed room, temperatures can rise quickly. Install a small exhaust fan or ensure there is airflow from an adjacent room. Overheating not only makes you uncomfortable but can also affect your camera sensor and battery life. Keep a small desk fan handy to circulate air without disturbing your backdrop or props.
Comfort extends to ergonomics. Set up a small monitor arm or a laptop stand to view your shots clearly without hunching over. Good posture prevents back pain during long editing sessions. Invest in a comfortable chair that supports your lower back. You’ll spend hours reviewing images, so treat your body well.
Budget-Friendly Tips for India
Finding affordable gear in India is easier than you think. Local markets like Nehru Place in Delhi or Lamington Road in Mumbai offer competitive prices on used equipment. Online platforms like OLX or Facebook Marketplace are goldmines for second-hand studio lights and stands. Just inspect them thoroughly before buying. Check for flicker in LEDs and test flash heads for proper recycling times.
DIY solutions can save thousands. Build your own reflectors using aluminum foil and cardboard. Create diffusion material from white bedsheets or tracing paper. These homemade tools perform surprisingly well and cost almost nothing. Join local photography communities on WhatsApp or Instagram. Members often sell or lend gear they no longer need. Networking can open doors to resources you didn’t know existed.
Power management is critical. Ensure your room has enough sockets. Use surge protectors to safeguard your expensive electronics from voltage fluctuations, which are still common in many areas. Avoid daisy-chaining extension cords, as this poses a fire hazard and can overload circuits. Plan your cable routing carefully to prevent tripping hazards in your already tight space.
| Item | Recommended Type | Why It Works |
|---|---|---|
| Light Source | Speedlight + Beauty Dish | Compact, powerful, controllable |
| Lens | 50mm Prime f/1.8 | Flattering perspective, low light capable |
| Backdrop | Roll Paper (White/Grey) | Clean, seamless, easy to store |
| Support | Tabletop Tripod | Saves floor space, stable |
| Modifier | Small Octabox | Softens light without taking up room |
Building a studio in a small room is about creativity, not square footage. By focusing on precise lighting, strategic backdrop placement, and efficient gear choices, you can produce professional-quality images anywhere. Start small, experiment often, and refine your process. Your next great shot is waiting in that corner you’ve been ignoring.
What is the minimum size needed for a home photo studio?
You can effectively set up a studio in a room as small as 6x6 feet. The key is vertical space and careful positioning of lights and backdrops to avoid shadows and clutter.
Can I use natural light in a small room studio?
Yes, but it’s inconsistent. Use large windows as your primary light source and position your subject close to them. However, for reliability and control, artificial lighting is recommended.
How do I prevent my backdrop from wrinkling?
Use heavy-duty clamps to secure the top of the backdrop tightly. For fabric, steam it before each session. Paper backdrops should be stored flat and rolled gently to avoid creases.
Is it safe to use high-power lights in a small room?
High-power strobes generate heat. Ensure good ventilation and keep flammable materials away. Use LED continuous lights if heat is a major concern, as they run cooler.
Where can I find affordable studio gear in India?
Check local electronics markets, online classifieds like OLX, and photography forums. Many photographers sell used gear at reasonable prices. Always test equipment before purchasing.