How Many Photos Do You Get From a 1 Hour Photoshoot? Expectations Explained
Wondering how many photos you should receive from a 1 hour shoot? Get the facts and learn what influences the final picture count.
If you only have an hour, you can still walk away with sharp, story‑telling images. Start by writing a tiny checklist: location, gear, outfit, and three pose ideas. Having this on paper stops you from scrambling mid‑shoot.
Grab the camera, a fast lens (50mm f/1.8 or 24‑70mm), and a spare battery. Set your mode to aperture priority, choose the widest aperture to let in light, and bump the ISO just enough to keep noise low. Turn on continuous autofocus so the camera tracks moving subjects without you touching any buttons.
Break the hour into three blocks. First 20 minutes: capture wide establishing shots that set the scene. Move around, change angles, and get at least five different compositions. Second 20 minutes: focus on mid‑range portraits or product details – use a reflector or a simple bounce board for soft light. Last 20 minutes: go for close‑ups and creative shots; experiment with motion blur by panning or using a slower shutter for a dreamy effect.
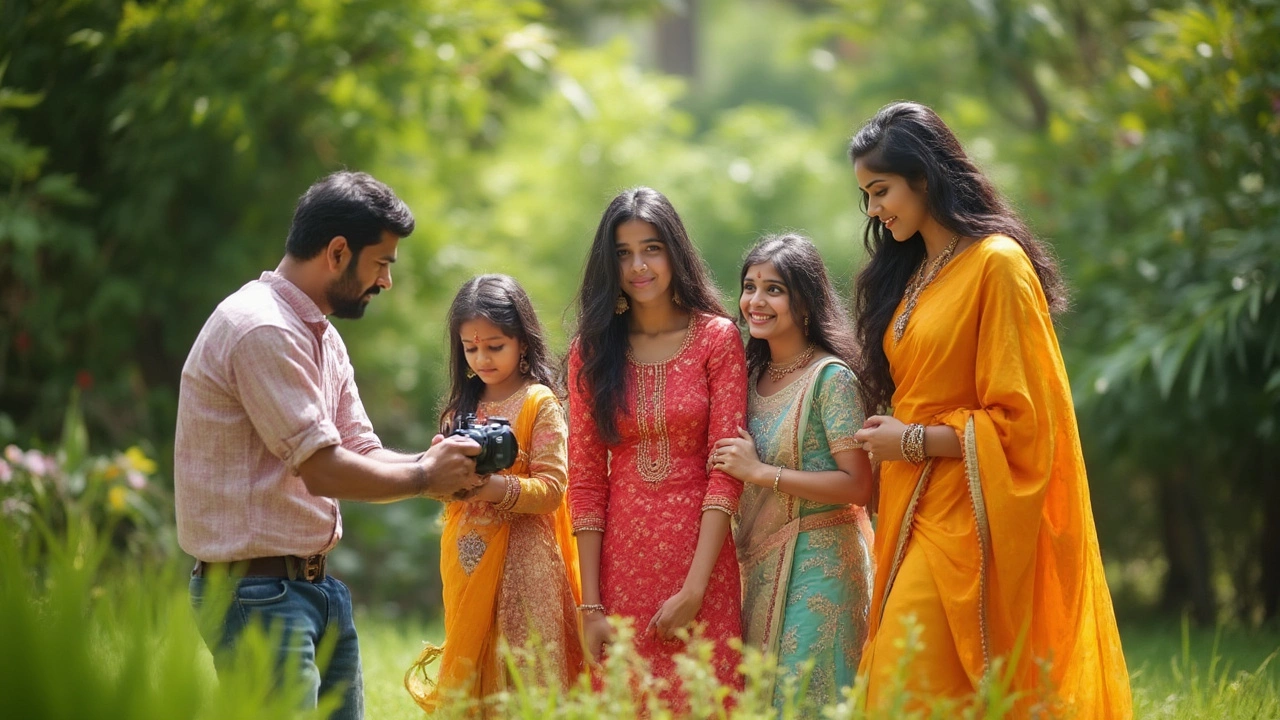
Keep the model or subject moving. Ask for simple actions – walk, spin, look over the shoulder. This creates natural variation without spending time on elaborate direction.
Lighting is your biggest ally in a short session. If you’re outdoors, shoot during the golden hour or find shaded areas to avoid harsh shadows. Indoors? Position a window as a key light and use white foam board as a reflector opposite it. You’ll get balanced light in seconds.
Stay organized while shooting. Review thumbnails every ten minutes and delete obvious misses. This prevents a pile‑up of bad images that waste editing time later.
When the clock hits 55 minutes, start wrapping up. Take a few “reset” shots: the model looking relaxed, a quick behind‑the‑scenes snap, or a simple product placed on a clean background. These extra frames add value and fill any gaps you might have missed.
After the shoot, export the RAW files to a folder named with the date and client. Spend the next 20–30 minutes on a quick cull and basic adjustments – exposure, contrast, and white balance. You don’t need a full retouch; a clean look is enough for most quick‑turn projects.
Finally, deliver the edited JPEGs in a shared cloud folder. Include a short note thanking the client and mentioning the fast turnaround. A personal touch turns a one‑hour session into a memorable experience.
With this simple structure – prep, segment, light, and quick edit – you can consistently produce high‑quality images in just 60 minutes. Try it on your next gig and watch how efficiency boosts both client satisfaction and your own confidence.
Wondering how many photos you should receive from a 1 hour shoot? Get the facts and learn what influences the final picture count.