Drone Import Guide: Bring Your Aerial Camera to India
If you love shooting from the sky, getting a drone in India feels like a big hurdle. The good news? It’s doable if you know the rules and plan ahead. Below you’ll find the real‑world steps that keep your gear legal, saved from extra charges, and ready to fly as soon as it lands.
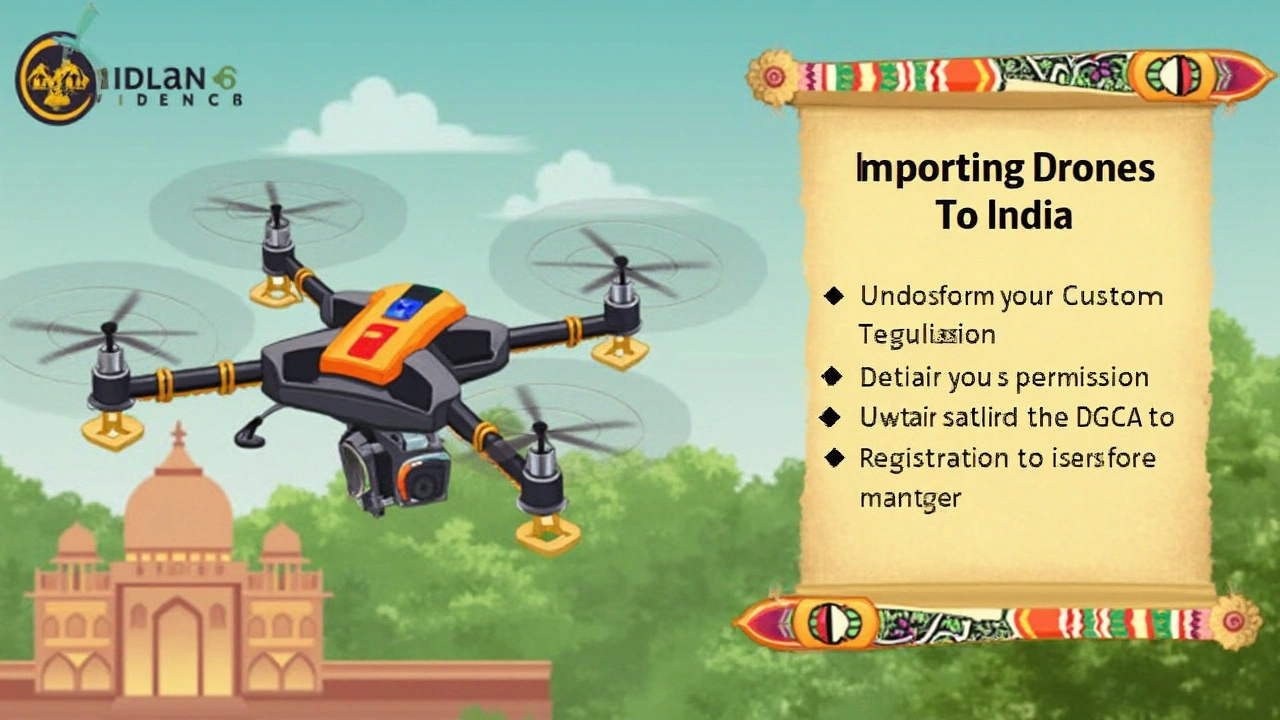
Understanding Indian Drone Laws
The Directorate General of Civil Aviation (DGCA) controls every drone that flies in Indian airspace. First, check the weight class of your drone. Anything under 250 g is generally free to use, but once you cross that line you need to register the UAV on the DigiLock portal and get an Unmanned Aircraft Operator Permit (UAOP). The paperwork asks for a copy of your purchase invoice, your ID, and a self‑declaration that you’ll follow the no‑fly zones.
Customs also cares about the model and purpose. If you’re importing a photography‑grade drone like the DJI Mini 2 or a Mavic series, you’ll fall under the “electronics” category. Be ready to pay a basic customs duty of 10 % plus GST on the total value. The duty can jump if the drone is declared as a commercial device, so keep the invoice clean and state it’s for personal use unless you have a business license.
Step‑by‑Step Import Process
1. Choose a reliable courier. Companies that handle electronics know how to label and pack drones safely. Ask for a tracking number and insurance – a lost drone can cost more than the device itself.
2. Prepare the import docs. You’ll need a commercial invoice, a packing list, and a copy of the DGCA registration proof (you can create a temporary one online). Attach a “No Commercial Use” note if you’re only shooting personal projects.
3. Clear customs. When the package arrives, the customs officer will inspect the invoice and the drone’s serial number. If everything matches, you’ll pay the duty and GST. Keep the receipt; you’ll need it for the DGCA registration later.
4. Register with DigiLock. Log in, upload the customs receipt, your ID, and the drone’s details. The system will generate a unique ID that you must stick on the drone’s body. This ID links the device to your name and is checked during any spot inspections.
5. Get your UAOP (if needed). For drones over 250 g, apply for the UAOP. The process is quick – upload your DigiLock ID, pay a small fee, and you’ll receive a PDF permit within a few days.
6. Follow the flight rules. Once you’re cleared, respect the no‑fly zones around airports, military bases, and certain city areas. Use the official “Bharat Drone” app to check live restrictions before each flight.
Quick tip: If you’re buying a new drone, ask the seller for a pre‑filled customs declaration form. It cuts down the back‑and‑forth with the authorities.
Importing a drone doesn’t have to be a nightmare. By sorting the paperwork, paying the right fees, and registering properly, you’ll be up in the air in no time. Remember, the DGCA and customs are just checking that you’re a responsible flyer – treat them like a partner, not a roadblock, and your aerial photography will thank you.