Photo Kiosks: Quick Guide to Using and Renting
Ever walked past a sleek box that prints your selfie in seconds? That’s a photo kiosk, a self‑service station that lets anyone snap, edit, and print pictures on the spot. Whether you’re at a mall, event, or office lobby, kiosks make instant prints a breeze.
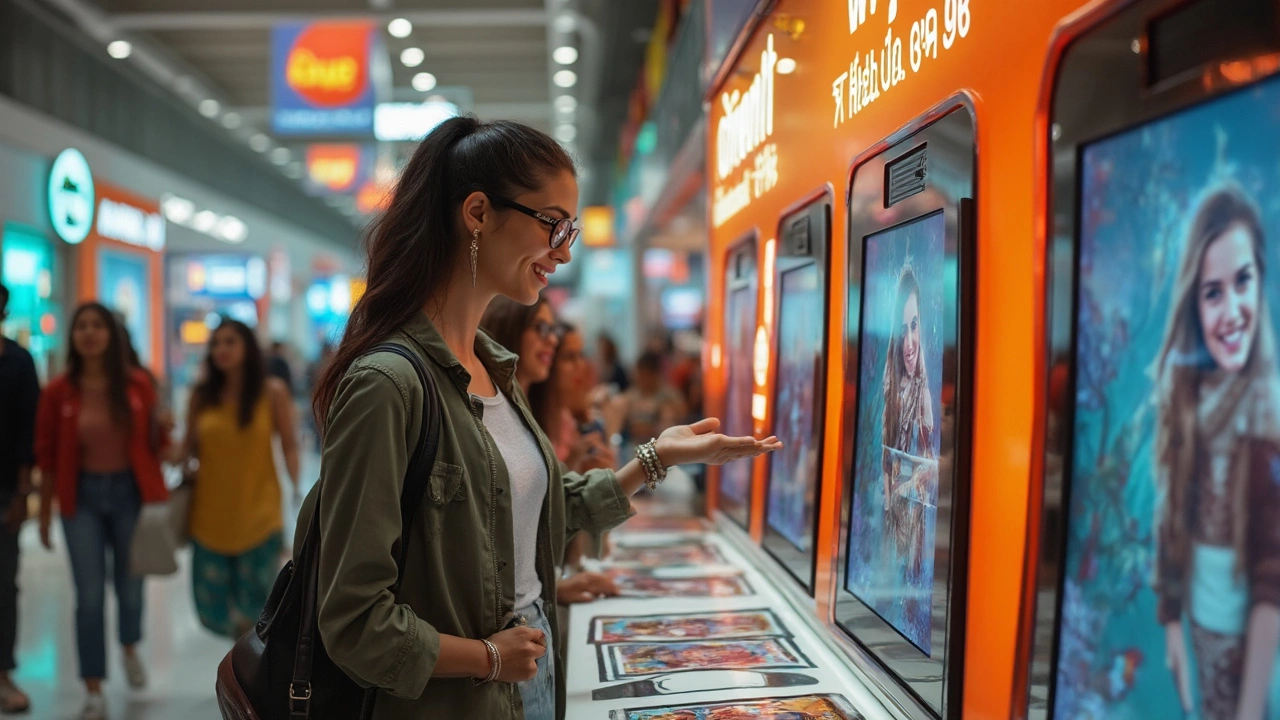
How Photo Kiosks Work
Most kiosks have a touch screen, a built-in camera, and a printer that uses dye‑sublimation or ink‑jet technology. You select a template, tap a few icons to adjust brightness or add a filter, and the machine prints a 4×6 or passport‑size photo in under a minute. Some models also let you upload files from a USB drive or phone, so you don’t have to take a new shot.
The payment process is usually simple: insert cash, swipe a card, or scan a QR code for mobile pay. After payment, the kiosk prints your image and often offers extra services like photo strips, stickers, or a digital copy sent to your email.
Tips for Perfect Prints and Rental Deals
1. Check lighting. Good light reduces the need for heavy editing. Stand near a window or use the kiosk’s built‑in flashes for even exposure.
2. Mind the background. A plain wall or backdrop keeps the focus on you and avoids unwanted shadows that the kiosk can’t fix.
3. Use the on‑screen tools. Most kiosks let you crop, rotate, and apply basic filters. Spend a few seconds adjusting before printing – it saves you from a blurry final product.
4. Compare prices. Rental fees for event kiosks range from ₹5,000 to ₹15,000 per day, depending on location and features. Ask for a demo before you sign; many providers offer a free trial print.
5. Ask about bulk discounts. If you need dozens of prints for a wedding or corporate function, vendors often lower the per‑print cost. Bring a list of required sizes and formats to negotiate a better rate.
6. Look for maintenance support. A good rental includes on‑site technician visits if the printer jams or runs out of paper. Confirm response times to avoid downtime during your event.
7. Check image quality. Dye‑sublimation prints are vibrant and durable, but they cost more per sheet. Ink‑jet models are cheaper but may fade faster. Choose based on how long you want the photos to last.
8. Plan location wisely. Place the kiosk where foot traffic is high but lines won’t block entry to other areas. A corner of a reception hall or near a coffee station works well.
9. Collect feedback. After the event, ask guests what they liked or didn’t like about the kiosk experience. Their input helps you fine‑tune settings for the next rental.
Photo kiosks are more than a novelty; they’re a fast, affordable way to give people a physical memory of a moment. By understanding how they work and following a few practical tips, you can get sharp prints, keep costs down, and make any event feel a bit more personal.
Ready to add a kiosk to your next party or office lobby? Start by searching “photo kiosk rental” in your city, compare a couple of providers, and ask for a quick demo. Within minutes you’ll be holding a fresh print that looks just as good as the original shot.