Can You Take a 2x2 Passport Photo with Your Phone?
 Oct, 12 2025
Passport Photo Validator
Verify Your Photo's Requirements
Enter your photo's measurements to check if it meets official 2x2 passport photo standards.
When it comes to official documents, a 2x2 passport photo is a square, 2‑inch by 2‑inch headshot that meets strict government standards for size, background, lighting, and facial expression. The big question is whether a modern smartphone camera can produce a file that ticks all the boxes. The short answer is yes - but only if you follow a few precise steps, use the right app, and double‑check the final image before you print or upload it.
Key Takeaways
- A phone can meet official 2x2 photo phone requirements if you use the correct settings and a plain background.
- Set your camera to the highest resolution, use natural lighting, and keep the head centered.
- Crop and adjust the image with a dedicated passport‑photo app or a free editor that supports exact dimensions.
- Print on matte photo paper at 300dpi or upload a digital file that meets the agency’s size specifications.
- Run through a final checklist - background color, head size, eye position - before you submit.
Do Phone Cameras Meet Official Requirements?
Most smartphones released after 2018 sport sensors of 12MP or higher, which translate to more than enough pixels for a 2‑inch square at 300dpi (that’s 900×900 pixels). The real hurdles are not resolution but lighting, background, and face positioning. Government guidelines usually demand a uniform, light‑colored background, no shadows on the face, and a clear view of both eyes.
Because phones let you preview images instantly, you can correct issues on the spot - something you can’t do with a traditional film camera.
Preparing Your Phone for a Passport‑Size Shoot
- Choose the right mode. Switch to the native camera app, disable HDR, and set the aspect ratio to 4:3 or 1:1. Avoid portrait‑mode AI enhancements that crop the image automatically.
- Set resolution to maximum. In Settings → Camera → Photo size, select the highest option (e.g., 12MP or 48MP).
- Stabilize the device. Use a tripod or a stack of books. A steady phone prevents blurry edges that can be mistaken for background noise.
- Pick a plain wall. A white or off‑white wall works best. If the wall is textured, hang a solid‑color sheet or a poster board.
- Light it right. Position the subject near a window with diffused natural light. Avoid direct sunlight or harsh ceiling lights that cast shadows.
Step‑by‑Step Guide to Capture a Perfect 2x2 Photo
- Stand about 4ft from the background. Center your head and keep a neutral expression - no smiling, no frowning.
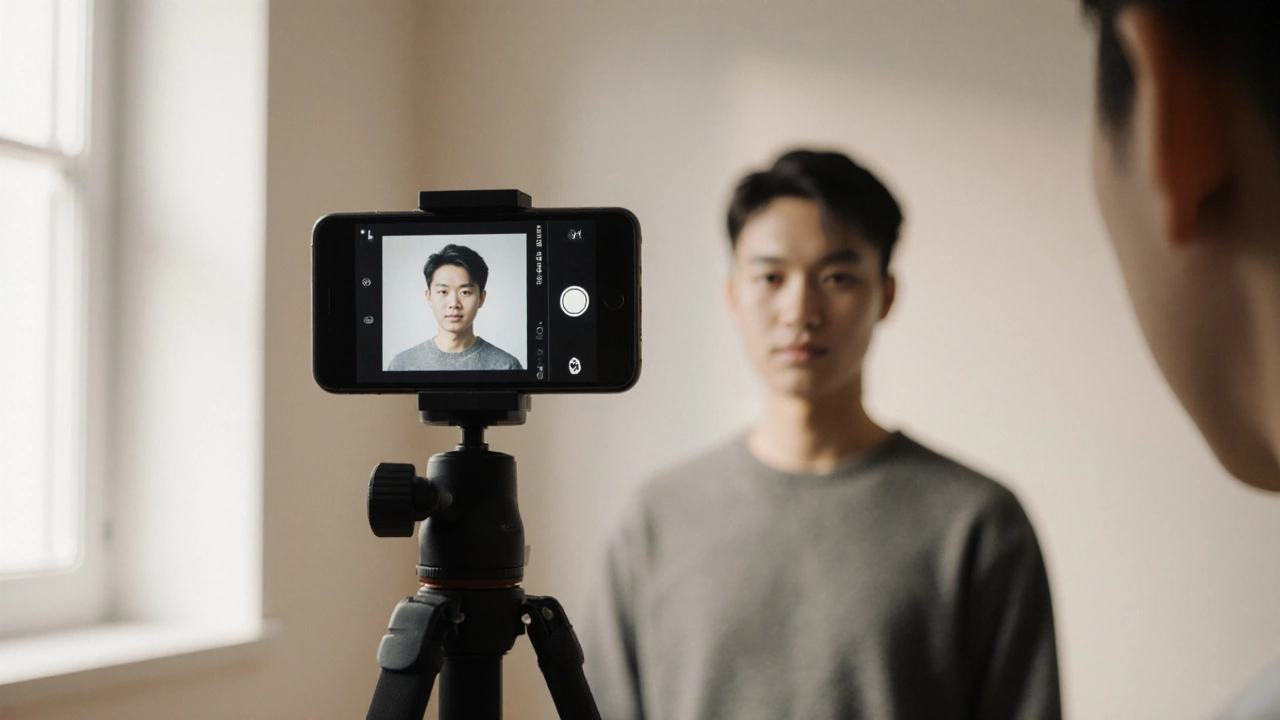
- Ask someone to hold the phone at eye level, about 1.5ft away from your face. The camera should capture the top of the shoulders to just above the head.
- Take three shots. Review each on the phone’s screen, zoom in to check for shadows, red‑eye, or stray hair.
- Select the clearest image and open it in a photo editing app (see table below).
- Crop the image to a square and ensure the head height occupies 1‑1.4inches (or 50‑70% of the frame) as defined by the issuing authority.
- Export the file as a JPEG with 300dpi. Name it clearly (e.g., "passport_photo_jane_doe.jpg").
Top Apps for Cropping and Adjusting Passport Photos
| App | Platform | Key Feature | Free / Paid |
|---|---|---|---|
| Passport Photo Maker | iOS / Android | Auto‑detects face, presets for US, UK, EU standards | Free with in‑app purchase |
| ID Photo Print | iOS only | Direct print to compatible photo kiosks | Paid $2.99 |
| PhotoAid - Passport & Visa | Android only | Built‑in background remover, DPI control | Free trial, $1.99/month |
| Adobe Photoshop Express | iOS / Android | Precise crop, color correction, 300dpi export | Free basic, premium $4.99 |
| Canva | Web / Mobile | Template for 2x2, easy drag‑and‑drop | Free, premium $12.99/mo |
All the apps above let you set an exact 2‑inch canvas and verify the DPI. If you already have a favorite photo editor, just make sure it offers a custom size and export at 300dpi.
Printing and Submitting Your Photo
Once the image meets the size and quality markers, you have two routes:
- Print at home. Use matte photo paper, set your printer to "Best" quality, and print at 300dpi. Cut the photo with a precision cutter or a 2‑inch square template.
- Use a professional service. Many drugstores and photo kiosks accept a digital file via USB or email and print it to exact specifications. Ask for the "passport photo" service to avoid accidental resizing.
After printing, double‑check the final product against the passport photo guidelines for your country. The UK, for example, requires a plain light‑gray background, head height of 29‑34mm, and the image to be free of shadows.
Final Checklist Before You Submit
- Background is uniform, light gray or white, with no shadows.
- Head height is within the required range (usually 1‑1.4inches).
- Both ears visible unless the photo is for a visa that allows covered ears.
- Eyes open, looking directly at the camera; no glasses with glare.
- Image is 300dpi, JPEG format, file size under the portal limit (often 2MB).
- Printed photo is trimmed to exactly 2×2inches.
Frequently Asked Questions
Can I use the front‑facing camera?
Yes, but only if it offers the same resolution as the rear camera. Most newer phones have a 12MP front sensor, which is sufficient. Just make sure the lighting is even, as selfie cameras can struggle with harsh shadows.
Do I need a professional photographer for a US passport?
No. The US State Department accepts digitally uploaded photos that meet the 2×2‑inch requirement. As long as your phone photo follows the guidelines and you upload the correct file format, you’re good to go.
What if my background isn’t perfectly white?
Most editing apps let you replace or lighten the background. Use the app’s background‑removal tool, then select a plain white or light‑gray canvas. Just avoid over‑blurring, which could be flagged as a manipulated image.
How do I ensure the photo is exactly 300dpi?
When exporting from your app, look for an option that says “Resolution” or “DPI”. Set it to 300 and export as JPEG. If the app doesn’t show DPI, you can verify the pixel dimensions: 2inches×300dpi = 600pixels per side.
Is a printed photo still required if I submit online?
Only if the agency asks for a hard copy. Many countries, including the US and UK, now accept a digital upload for the passport application and only request a printed photo for the actual passport booklet.