How to Convert Your Phone Photo to Passport Size
 Feb, 24 2026
Passport Photo Size Checker
Check Your Passport Photo
Verify if your photo meets the UK and international passport photo requirements before submission
Enter your photo dimensions to verify compliance with passport requirements
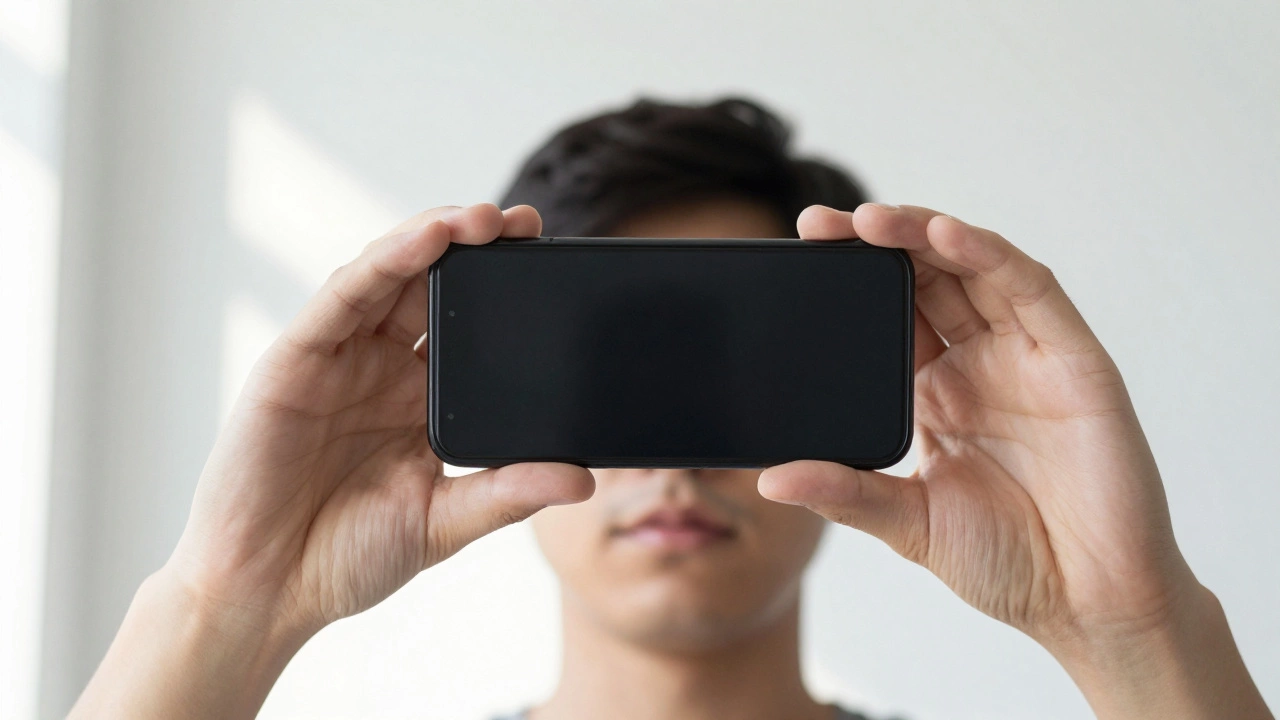
If you’ve ever had to renew your passport or apply for a visa, you know how strict the photo rules are. Too dark? Rejected. Too much background? Rejected. Smiling? Rejected. And if you’re using a photo taken on your phone, the chances of it being accepted are even lower-unless you know exactly what to do.
The good news? You can turn any photo taken on your phone into a passport-sized photo that meets UK and international standards. No studio needed. No expensive photo booth. Just your phone, a few free apps, and five minutes of your time.
What passport photo size do you need?
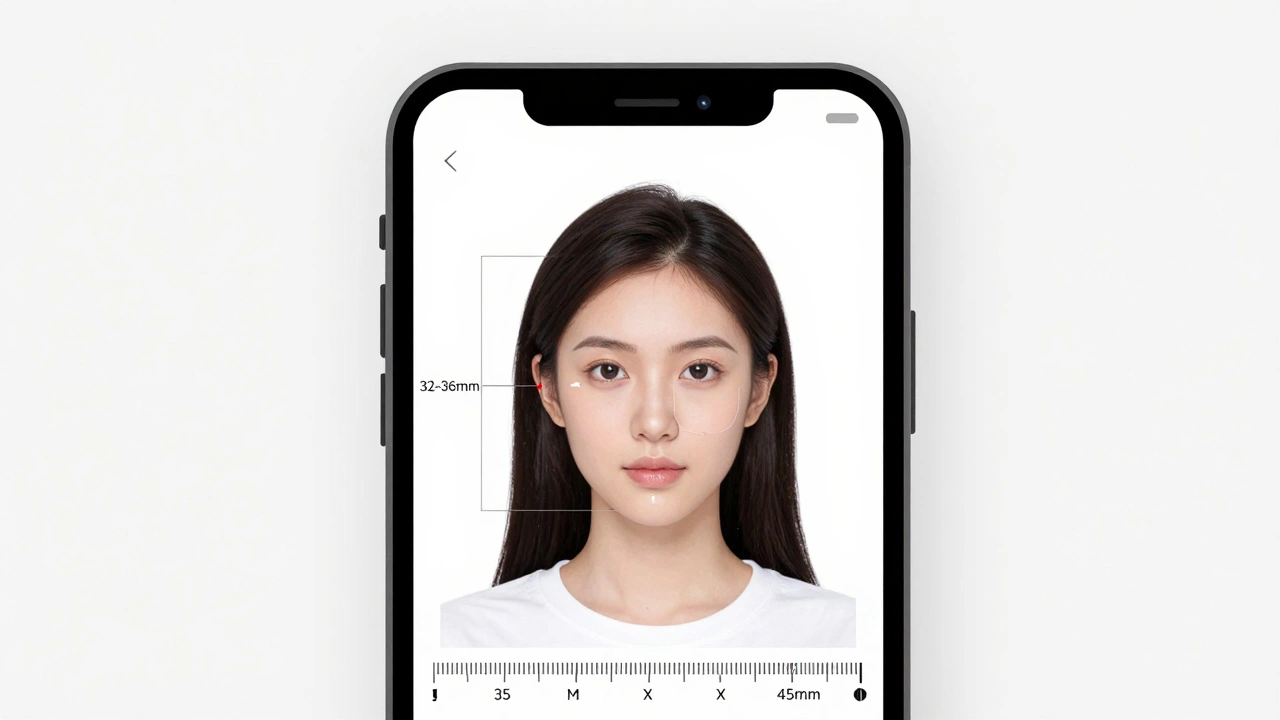
The UK and most countries follow the same basic passport photo size: 35mm wide by 45mm high. That’s about 1.38 inches by 1.77 inches. The face must fill 70-80% of the image, with the top of the head to the chin measuring between 32mm and 36mm. Your photo must be in colour, printed on plain white paper, and have no shadows or glare.
Many people think a passport photo is just a headshot. It’s not. It’s a precise measurement. A photo that looks fine on your phone screen might be rejected because the face is too small or the background isn’t pure white. That’s why you can’t just crop a selfie and call it done.
Step 1: Take the photo correctly
Before you edit anything, you need to get the original photo right. Here’s how:
- Use natural daylight. Stand near a window-no flash. Flash creates glare on skin and glasses.
- Use a plain white or off-white wall behind you. No patterns, no doors, no furniture.
- Hold your phone at eye level. The camera should be directly facing your face.
- Look straight ahead. Eyes open, mouth closed. No smiling, no frowning. Neutral expression only.
- Remove hats, headbands, or anything covering your hairline. Glasses are okay, but no reflections.
- Don’t use filters. No beauty mode. No portrait blur. Keep it real.
Take at least five photos. One might have a shadow. Another might have your chin cut off. Pick the best one.
Step 2: Use a passport photo app
Manual cropping won’t cut it. You need an app that checks the size, face position, and background automatically. These apps use AI to detect your face and adjust everything to official standards.
Here are three reliable apps available on iOS and Android as of 2026:
- Passport Photo Online - Free to try, pays for high-res downloads. Uses government-compliant templates.
- ID Photo App - UK-specific templates. Checks for glare, shadows, and head size. Works offline.
- Passport Photo Maker - Supports over 100 countries. Includes UK, US, EU, and Schengen formats.
Open the app, upload your photo, and let it do the work. It will crop your face to the exact size, remove the background, and replace it with pure white. Some apps even let you preview how it’ll look printed.
Step 3: Check the background
Background errors are the #1 reason photos get rejected. Even if your face looks perfect, a slightly grey or blurry background will get you sent back.
Good apps automatically replace the background with #FFFFFF white. But if you’re using a manual editor like Photoshop or Canva, here’s how to do it:
- Zoom in to 200%. Look for any shadows or texture behind your head.
- Use the magic wand tool to select the background. Adjust tolerance to 20-30.
- Fill with pure white (#FFFFFF). No cream, no light grey.
- Check the edges. Your hairline should be sharp. If it’s fuzzy, use the refine edge tool.
Test it: Print a small version on plain white paper. Hold it up to a bright light. If you see any grey or texture behind your head, it’s not good enough.
Step 4: Get the right resolution
Your photo needs to be at least 600x600 pixels, but 1200x1200 is ideal. Most phones take photos at 4000x3000 or higher, so you’re not short on pixels.
When exporting from the app, choose 300 DPI (dots per inch). That’s the standard for printing. Lower than that, and the photo looks blurry when printed.
Don’t use JPEG compression above 80%. Too much compression causes pixelation around your hair and shoulders.
Step 5: Print it right
You can print at home or at a local print shop. If printing at home:
- Use matte photo paper. Glossy paper causes glare.
- Set your printer to "Photo Quality" mode.
- Print at actual size (100% scale). Don’t let the printer auto-fit.
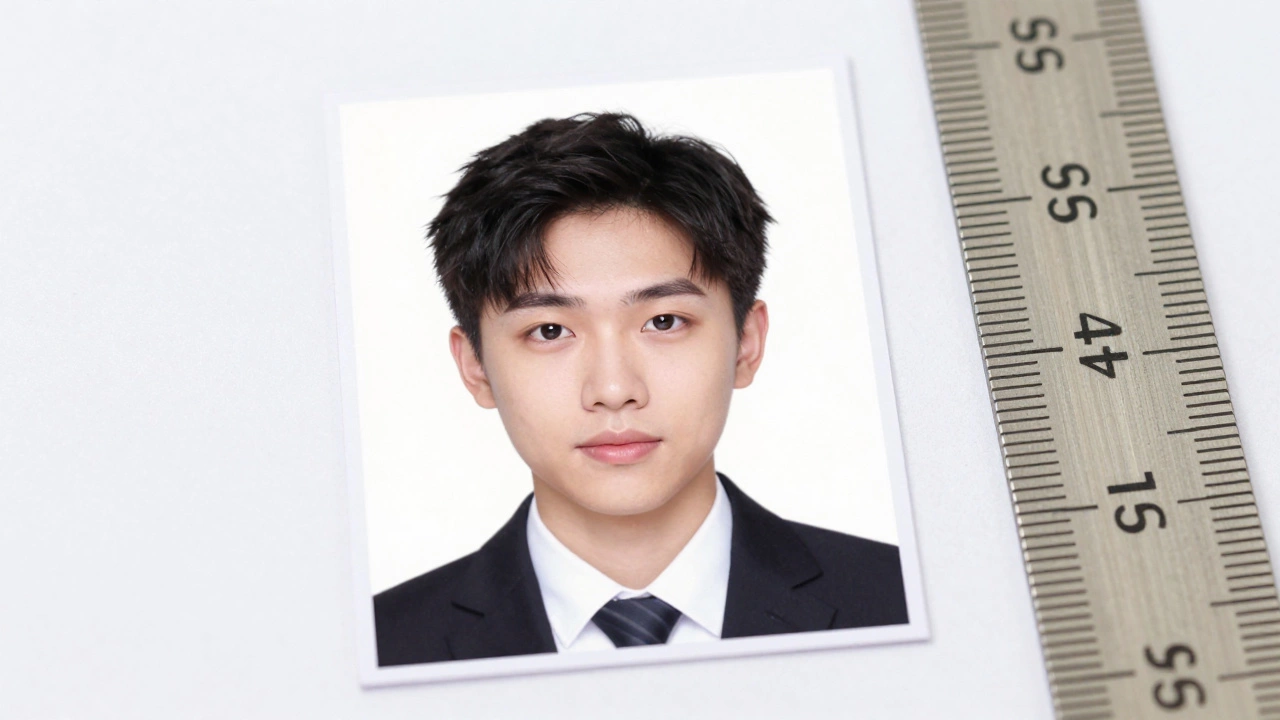
- Check the dimensions with a ruler. It must be exactly 35mm x 45mm.
If you’re printing at a shop (like Tesco, Sainsbury’s, or a local photo kiosk), ask for "passport photo print" and give them the file. Most now have automated systems that reject bad photos before printing.
Common mistakes (and how to avoid them)
- Wearing glasses - Reflections are a problem. Tilt your head slightly or use anti-glare lenses. Some offices still reject glasses, so check your country’s rules.
- Dark hair against dark background - Creates a halo effect. Make sure there’s contrast between your hair and the background.
- Wearing headphones or earbuds - Not allowed. Remove them.
- Photo taken in front of a mirror - Too many shadows and reflections. Always use a plain wall.
- Using a selfie - The angle is wrong. Your face will look distorted. Hold the phone straight, not above your head.
What if your photo gets rejected?
If your application is turned down because of the photo, don’t panic. Most passport offices will give you a letter explaining why. Common reasons:
- Face too small
- Background not white
- Shadow on face or wall
- Photo taken more than 6 months ago
Re-take the photo using the steps above. Most apps let you save your edited version so you can re-print without starting over.
Can you use the same photo for multiple applications?
Yes, as long as it’s still recent (within the last 6 months) and meets the requirements for each country. A UK passport photo works for Schengen visas. But US visa photos have slightly different rules (e.g., no glasses allowed). Always double-check the destination country’s guidelines.
How long does it take to get it right?
Once you know the rules, you can get a perfect passport photo in under 10 minutes. The first time might take longer-maybe 20-30 minutes while you learn the app. After that, it’s a breeze.
Many people in Birmingham and across the UK now use their phones to create passport photos. It’s cheaper than photo booths, faster than waiting for appointments, and just as accurate-if you follow the steps.
Can I use a photo taken with my phone’s selfie mode?
No. Selfie mode uses wide-angle lenses that distort your face, especially around the edges. Your nose might look bigger, your ears smaller. Passport photos require a straight-on, true-to-life view. Use manual mode or a standard camera app-not portrait or selfie mode.
Do I need to wear the same clothes as in my old passport photo?
No. You can wear any clothing, as long as it’s not white (it blends into the background) or has a pattern that distracts. Uniforms are okay if you wear them daily (e.g., nurses, police). Religious headwear is allowed if it’s worn daily and doesn’t cover your face.
Can I edit the photo myself in Photoshop?
Yes, but it’s risky. You need to know exact measurements: face height (32-36mm), head position (centered), background colour (#FFFFFF). Most people make mistakes with lighting and contrast. Using a dedicated passport app is safer and faster.
What if my phone photo is blurry?
Blurry photos are automatically rejected. Make sure you’re holding the phone steady. Use a tripod or rest your arms on a table. If the photo is blurry, retake it in better lighting. No app can fix a blurry image.
Is there a fee for using passport photo apps?
Most apps offer free trials to crop and preview your photo. You’ll usually pay £1-£3 to download the high-res print-ready file. That’s cheaper than a photo booth, which charges £5-£10. Some apps even let you email the file to yourself for free.