How to Make a Pre-Wedding Photoshoot: A Stress-Free Guide for Couples
 Oct, 2 2026
Pre-Wedding Photoshoot Readiness Checker
Answer these questions to see how prepared you are for a stress-free, beautiful pre-wedding photoshoot.
Your Readiness Score
Most couples panic about their pre-wedding photoshoot because they treat it like a high-stakes performance rather than what it actually is: a relaxed date with a camera. You’re not trying to win an Oscar; you’re just trying to look happy and comfortable together. If you’ve ever looked at your own engagement pictures and thought, "Why do we look so stiff?" or "Where was the light coming from?", this guide is for you. We’ll break down exactly how to plan, pose, and execute a shoot that feels authentic, even if neither of you has ever been in front of a professional lens before.
The Big Picture: Why Do This Before the Wedding?
Think of this shoot as a trial run. It’s not just about getting pretty pictures for your save-the-date cards or Instagram feed. It’s about building chemistry with your photographer. By the time the actual wedding day arrives, you won’t be awkward strangers posing for a stranger. You’ll know which angles work, how to relax your shoulders, and when to laugh naturally. This familiarity saves hours on the big day and results in far better candid shots.
Plus, let’s be honest-weddings are chaotic. The lighting changes, the timeline slips, and stress levels spike. A pre-wedding session gives you controlled conditions where you can experiment with different looks and locations without the pressure of 150 guests waiting for dinner.
Pick Your Vibe: Location and Theme Strategy
Choosing a location is usually the hardest part. Avoid picking somewhere just because it’s "Instagrammable." If you hate hiking, don’t pick a mountain trail. If you’re not into urban grit, skip the graffiti walls. Pick a place that means something to you or reflects who you are as a couple.
Here are three reliable approaches that work well in the UK and beyond:
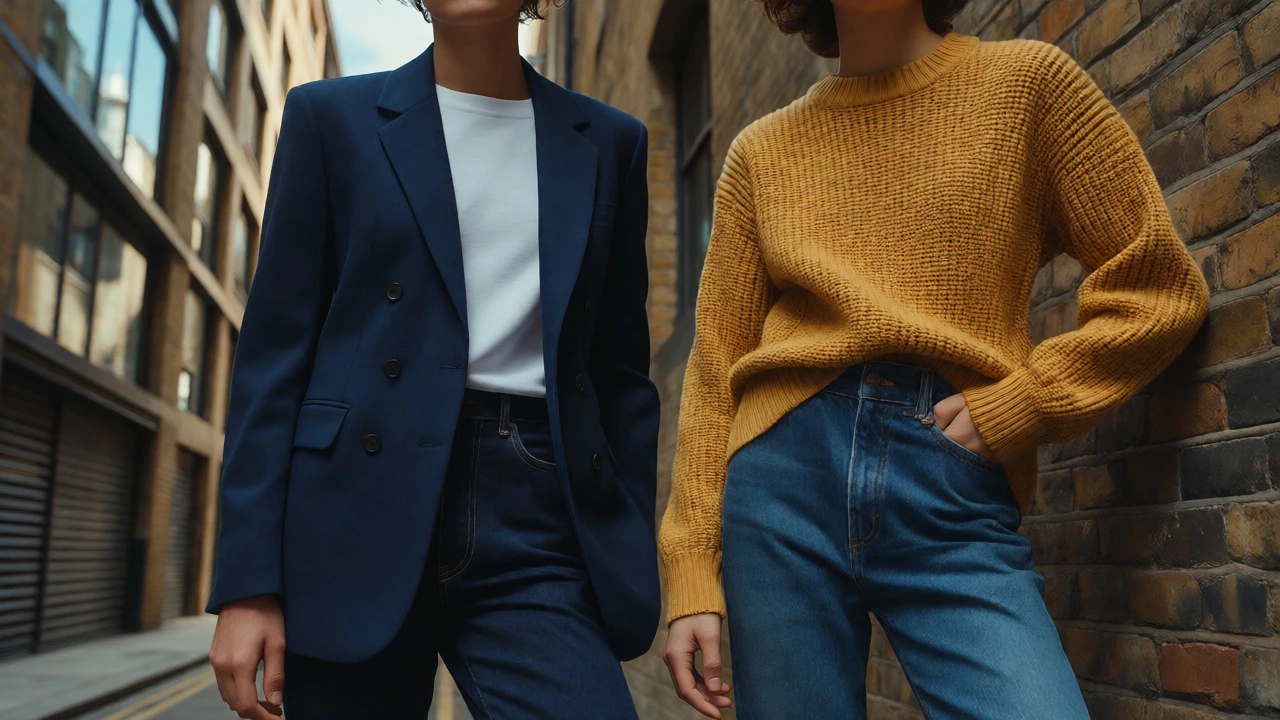
- The Urban Chic: City centers, brick alleyways, or modern architecture. Great for sharp suits and cocktail dresses. Works best during golden hour (the hour after sunrise or before sunset) to soften harsh shadows.
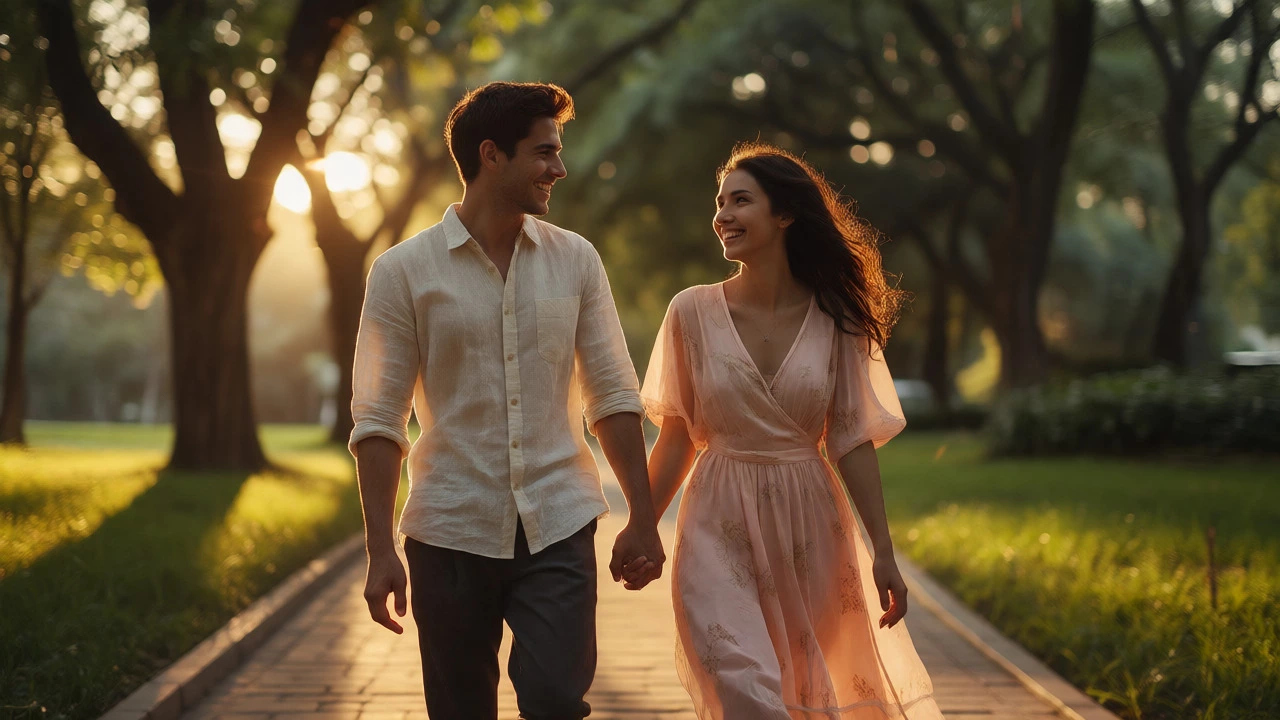
- The Natural Escape: Parks, beaches, or countryside fields. Ideal for casual wear like jeans and knits. This style relies heavily on movement-walking, holding hands, looking away from each other-to avoid static poses.
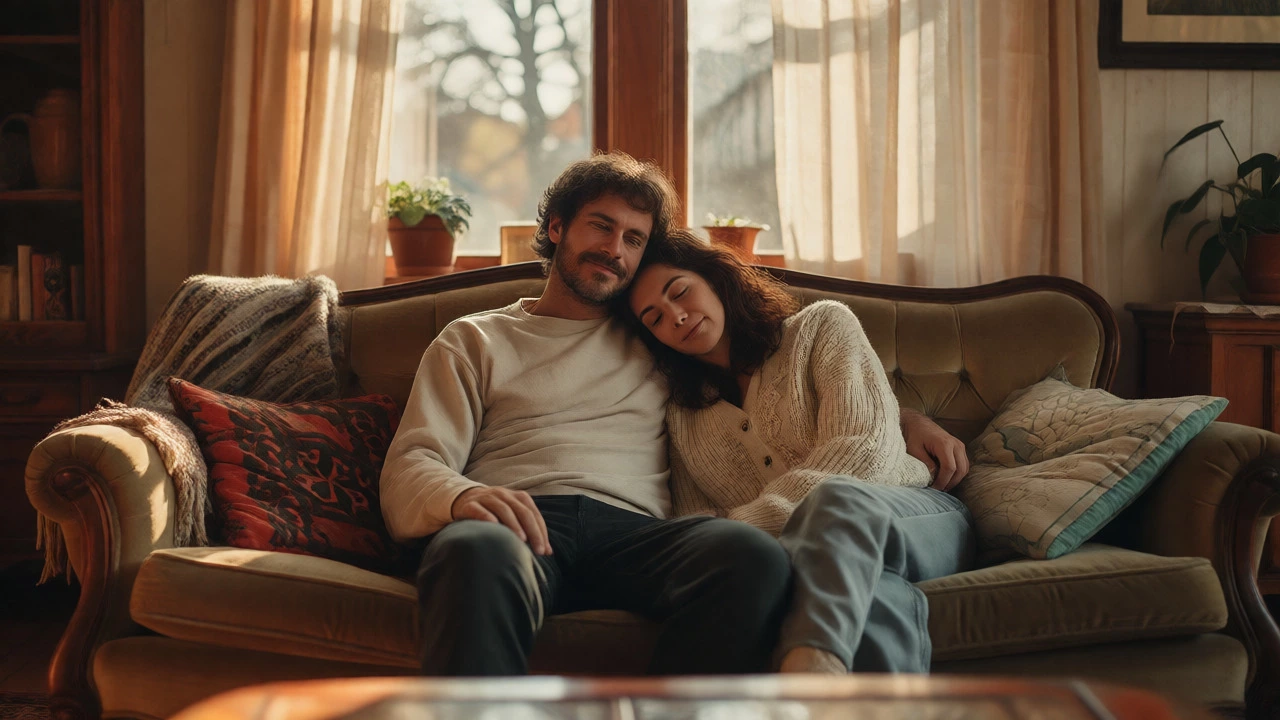
- The Cozy Home: Yes, your living room. Shooting at home captures intimacy. Making coffee, reading on the sofa, or cooking together creates genuine moments that studios can’t replicate.
Pro Tip: Check the weather forecast two weeks out. In the UK, rain happens. Have a backup indoor location ready, like a museum lobby or a cozy café, so you don’t have to reschedule.
Wardrobe: What to Wear (And What to Ditch)
Clothing choices make or break a photo. You want coordination, not matching. If both of you wear identical white shirts and blue jeans, you’ll look like twins, not partners. Instead, aim for complementary colors and textures.
| Do | Don't |
|---|---|
| Wear solid colors or subtle patterns (plaids, stripes). | Wear large logos or busy floral prints that distract from faces. |
| Choose fabrics with texture (wool, linen, denim) for depth. | Wear pure black or pure white unless intentional; they can blow out highlights or lose detail. |
| Coordinate color palettes (e.g., earth tones, pastels). | Match exact shades; it looks too staged. |
| Bring layers (jackets, scarves) for variety. | Wear uncomfortable shoes you can’t walk in. |
Remember, comfort equals confidence. If your collar is choking you or your heels are killing you, it will show in your posture. Bring a change of outfit if you want variety-one formal, one casual-but keep it simple. Two outfits are plenty; three is often unnecessary stress.
Posing Without Panic: Simple Moves That Work
You don’t need to memorize 50 poses. You need three core concepts that create connection. Most amateur photos fail because couples stand side-by-side facing the camera like a police lineup. Here’s how to fix that:
- The Forehead Touch: Close your eyes and touch foreheads. This instantly creates intimacy and blocks out distractions. It’s great for close-up shots.
- The Walk and Talk: Walk slowly towards the camera while talking to each other. Look at each other, not the lens. This captures natural laughter and interaction.
- The Lean: One person leans against a wall or tree, the other stands next to them, leaning in slightly. This adds dynamic angles and prevents stiffness.
A common mistake is tensing up the jaw. Try breathing out through your mouth slightly-it relaxes facial muscles automatically. And remember, if you feel silly, say so! Laughing at yourselves makes for the best photos anyway.
Working With Your Photographer
Your photographer is your partner in crime. Share your Pinterest board or mood images beforehand so they understand your vision. But also give them space. Trust their eye. If they ask you to move ten feet to the left, there’s probably a reason-maybe the light hits your face better there.
Communication is key. Tell them if you’re self-conscious about a certain angle. Say, "I hate my profile shot," and they’ll likely minimize it or use angles that flatter you. Good photographers adjust their approach based on your comfort level. If you’re shy, they might start with wide shots before moving to close-ups.
Also, consider hiring a hair and makeup artist for the bride. Even if she wears minimal makeup daily, HD cameras pick up everything. A pro ensures shine control and longevity, especially if the shoot lasts several hours.
Lighting and Timing: Chasing the Golden Hour
Lighting is more important than location. Midday sun is harsh. It creates squinting eyes and unflattering shadows under the nose and chin. Aim for "golden hour"-the first hour after sunrise or the last hour before sunset. The light is soft, warm, and diffused, giving skin a glowing appearance.
In October 2026, depending on your latitude, sunset times vary. In Birmingham, sunset in early October is around 7:00 PM. Plan your shoot to start about two hours before sunset. This gives you enough time for setup, initial shots, and then the magic light. Overcast days are also excellent-they act as a giant softbox, eliminating harsh shadows entirely.
Post-Production: What Happens After?
Once the shoot is done, don’t expect final images immediately. Photographers typically take 2-4 weeks to edit. Ask for a preview gallery sooner if you need images for save-the-dates. When selecting favorites, look for emotion over perfection. A blurry shot where you’re genuinely laughing beats a sharp shot where you’re faking a smile every time.
Consider printing a few favorites for your home. Digital files are great, but physical prints bring memories to life. Place them in frames at eye level in your hallway or living room. They serve as a reminder of this chapter in your relationship, long after the wedding chaos fades.
How long should a pre-wedding photoshoot last?
Typically, 1 to 2 hours is ideal. Any longer, and fatigue sets in, leading to forced smiles. Shorter sessions may feel rushed. Plan for 90 minutes to allow for travel between spots and outfit changes.
Can we bring our pet to the shoot?
Absolutely! Pets add personality and help break the ice. Just ensure they are well-behaved and leashed. Bring treats and toys to keep them engaged. Inform your photographer in advance so they can plan accordingly.
What if it rains on the scheduled day?
Light rain can actually produce beautiful, moody shots with umbrellas. However, heavy rain requires a backup plan. Discuss indoor alternatives with your photographer beforehand, such as a studio, museum, or covered arcade.
Do we need to hire a professional photographer?
While a friend with a good phone camera can work, a professional brings expertise in lighting, posing, and editing. They also have insurance and equipment backups. For a significant milestone like a wedding prep, investing in a pro usually yields higher-quality, lasting memories.
When is the best time to schedule the shoot relative to the wedding?
Aim for 3 to 6 months before the wedding. This allows enough time to receive edited photos for save-the-dates or invitations, while still being close enough to the event that your appearance hasn’t changed drastically due to wedding prep stress or diet changes.