How to Remove the Background of an Image
 Feb, 21 2025
Ever wondered why removing the background from an image can sometimes seem like magic? Well, it’s a handy trick in the photo-editing world and is much easier than you might think. Whether you’re trying to highlight an object, create a unique design, or just want to get crafty with your photos, knowing how to ditch the background can be really useful.
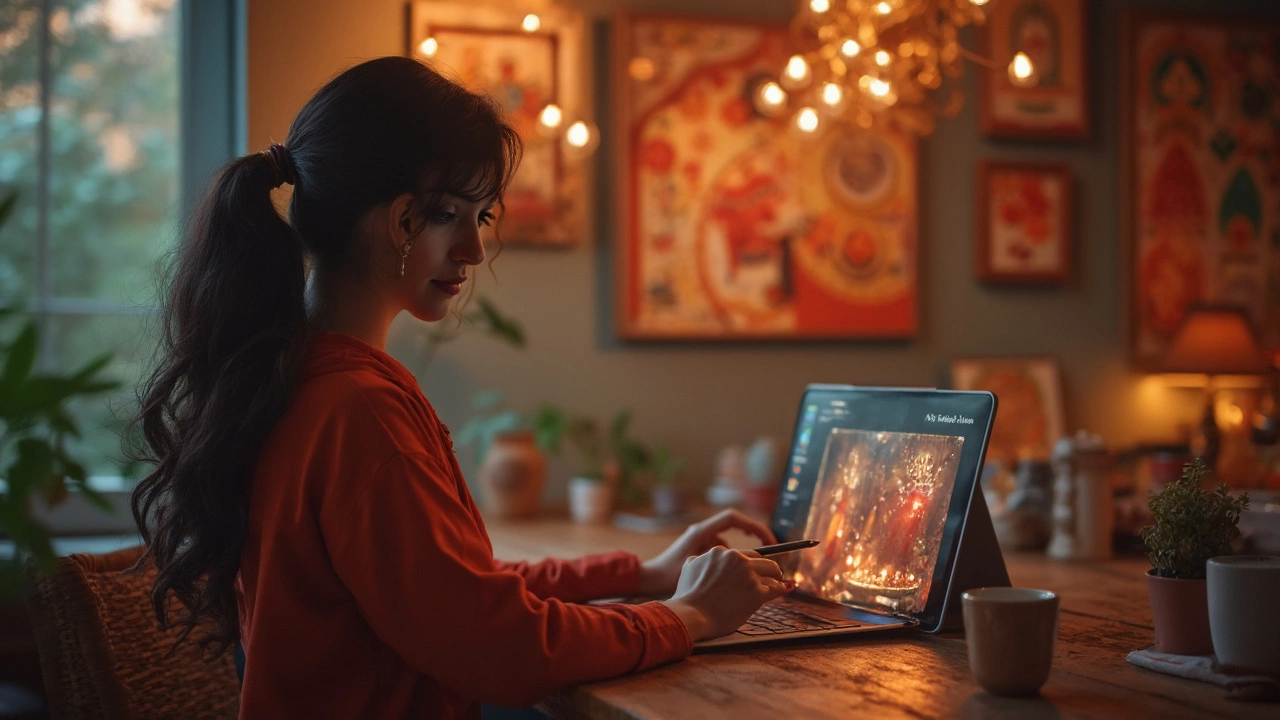
First off, let's talk tools. Apps like Canva and Photoshop are big names here. Canva is great if you're after something quick and simple. Just upload your image, use the 'Background Remover,' and voilà! It's good for those everyday users who need something efficient without too much fuss.
- Why Remove Backgrounds?
- Popular Tools and Apps
- Manual vs Automatic Removal
- Tips for Perfect Background Removal
Why Remove Backgrounds?
You might be thinking, why go through the hassle of removing a background? Well, there are plenty of reasons these days. One of the top ones is creating professional-looking images. When you remove distractions, the focus stays right where it should be—on the subject. This is a game-changer for eCommerce. According to a 2023 Shopify study, products with clear backgrounds can boost sales by up to 30%!
Imagery without a backdrop is also incredibly versatile. Say you're designing a logo or a graphic—having a transparent image allows it to be placed on different backgrounds effortlessly. This flexibility is a designer’s dream!
"Photography is the story I fail to put into words." - Destin Sparks
In the social media sphere, attention spans are short. A clean and crisp image grabs people’s focus far better than a cluttered one. If you're working on presentations or marketing material, this can make all the difference between holding an audience’s attention and losing it.
Enhance Your Creativity
With a clean slate, your creativity can let loose. Whether you're making mash-ups, memes, or collages, having control over your photo's elements can ignite your creative spark. This small tweak is a big step in personalizing content.
The takeaway? Knowing when and how to remove backgrounds can significantly elevate your visual content. It's a simple trick in your image editing toolkit, but one that can have a huge impact. And with all the easy-to-use photo apps available, getting the hang of it is no sweat.
Popular Tools and Apps
Alright, let’s dive into some of the top tools and apps for background removal that make life a bit easier. Whether you're a beginner or a seasoned pro, there's something here for everyone!
Canva
If simplicity is your thing, then Canva is the go-to. This cloud-based app has a nifty background remover that’s perfect for those quick edits. Just click a button, and the background is gone. Canva’s free version has loads of features, but for the super cool stuff like this, you might need a pro plan.
Adobe Photoshop
For those who are a bit more advanced, Photoshop is your playground. Yes, it’s got a steeper learning curve, but it’s powerful. Using tools like the Magic Wand or Quick Selection, you can manually fine-tune to perfection. And with the new AI-powered features, background removal is becoming as easy as pie!
remove.bg
Not looking to download anything? remove.bg is an online tool where you just upload your image, and it works the magic for you. It's fast and accurate, surprisingly handles tricky edges like hair well. For single images, it’s free, but bulk operations need a paid account.
Adobe Lightroom
Particularly if you're editing on your mobile, Lightroom offers a mobile version that’s surprisingly robust. While it’s usually known for color correction and adjustments, it has handy features to adjust backgrounds subtly. It's not an outright background remover app, but with the right tricks, you can blend and blur backgrounds effectively.
Background Eraser
This app does exactly what it says on the tin—erases backgrounds. It's pretty straightforward and really useful for mobile users who need quick edits on the go. Plus, it’s available for both Android and iOS.
So there you go, with these tools in your toolkit, image editing becomes way less daunting. Dive in and start playing around; you’ll be amazed at what you can do!
Manual vs Automatic Removal
So, you're ready to remove backgrounds, but where do you start? Well, there are two main ways: manual and automatic removal. Each has its quirks and advantages, so let's break them down.
Manual Background Removal
Manual removal is the hands-on approach where you get to be the artist. Think of it as carefully tracing around the object in your image. Apps like Photoshop are champs here, offering tools like the Pen Tool for precise cutting.
Here's how it usually goes down:
- Open your image in an editor like Photoshop.
- Use the Pen Tool to outline the object you want to keep.
- Once outlined, create a selection and reverse it to remove the background.
- Finish off with some fine-tuning on the edges to smooth everything out.
This method can be detailed and time-consuming, but it often gives you the most control and the best results, especially if your images are complex.
Automatic Background Removal
On the flip side, automatic tools do the heavy lifting for you. They use algorithms to identify the main object and shave off the background. This is where apps like Canva or online tools like Remove.bg excel.
Usually, it's as simple as:
- Upload your image on the platform.
- Click on 'Remove Background,' and let the app process it.
- Download your image with the background gone.
Super quick and easy, right? Automatic tools are great for simple images and when you're short on time. However, they might struggle with more detailed or intricate photos.
Here's a quick rundown of what suits your needs:
| Method | Best For |
|---|---|
| Manual Removal | Complex images with intricate details. |
| Automatic Removal | Simple images or when speed is key. |
Whether you go manual or automatic, mastering both can up your image editing game, giving you slick, professional results every time.
Tips for Perfect Background Removal
Getting rid of backgrounds in images can be a slick trick to make your photos pop. But how do you get it right every time? Let's break it down.
Choose Your Tool Wisely
The tool you use makes a big difference. For simple tasks, apps like Canva introduce easy-to-use features. But if you need precision, Photoshop is your friend. It's got robust options to fine-tune even the tiniest details. Don’t hesitate to experiment and see which fits your style best.
Mind the Edges
We've all seen those awkward outline mistakes, right? Pay attention to the edges of your subject. Zoom in, and use fine brushes or selection tools for tricky spots. This can make or break your image editing job.
Lighting Matters
Poor lighting can ruin everything. If your original photo has strange shadows or overexposure, removing the background won't be much help. Try to use images with natural lighting for best results.
Check the Resolution
Lower resolution might make things pixelated when background removing. Use high-res images for a clean, professional look when posting online or printing. It's worth it!
The Right Format
Remember, some formats work better than others for background removal. PNGs are ideal because they've got a transparent background option, which is perfect when you're editing. JPEG might not work so well here.
Use AI Features
Feeling lazy? No shame in using tech here. Many apps now have AI features that let you auto-remove backgrounds in no time. It’s fast and getting smarter each day.
Background removal might sound tricky, but it just needs a bit of attention and practice. With these tips, you're set to make your images look seamless and professional. Happy editing!
| Tool | Best For | Feature |
|---|---|---|
| Canva | Quick Edits | One-click removal |
| Photoshop | Detailed Work | Advanced selection tools |