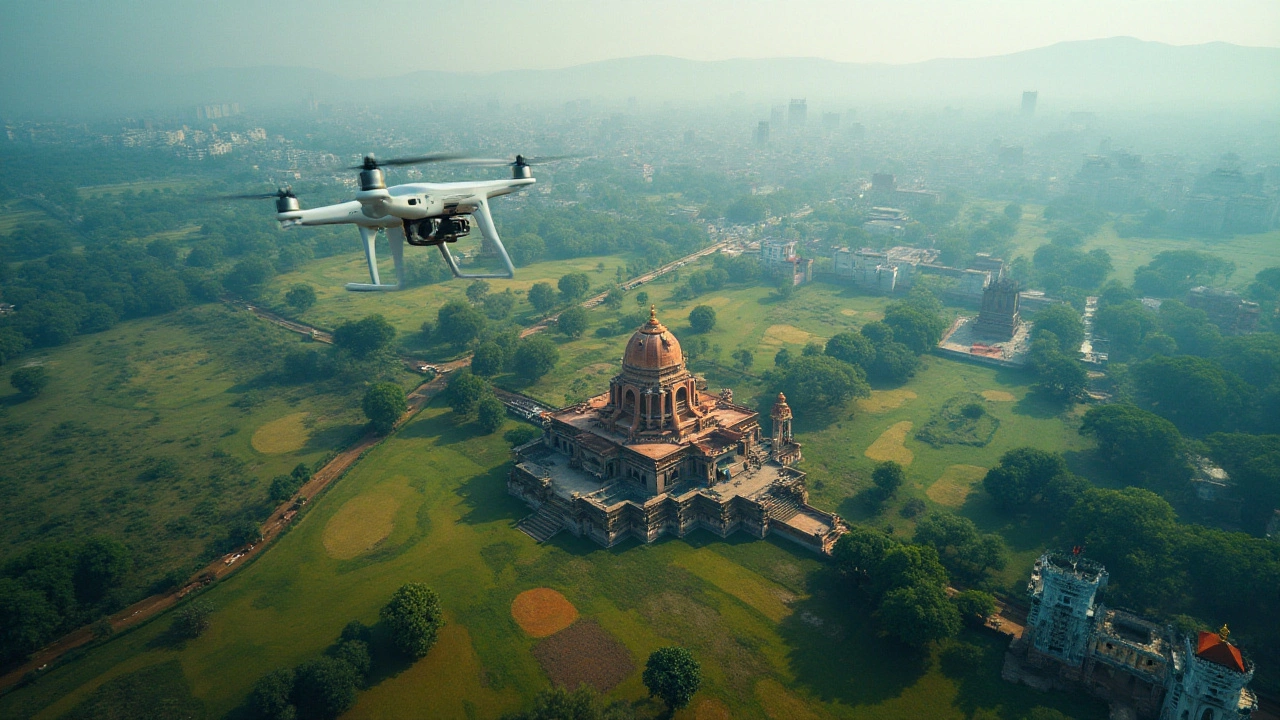
Drone Photography Tips: Your Quick Guide to Better Aerial Shots
Flying a drone can feel like a magic trick – you get a bird’s‑eye view that most people never see. But a great view doesn’t happen by accident. With a few simple habits you can turn shaky footage into crisp, eye‑catching photos.
Plan Your Flight Before You Take Off
First thing is to scout the location. Open up Google Maps or a satellite view and mark the spots you want to capture. This saves you from flying blind and wasting battery. Check the weather – light wind is ideal, anything over 10 km/h makes the drone wobble and blurs the image.
Next, look up local rules. In India you need to register drones over 250 g and follow the DGCA guidelines. In the US you’ll need to know the FAA’s Part 107 limits. Knowing the no‑fly zones ahead of time prevents a surprise grounding or a fine.
Finally, set your flight path. Write down a simple route: take‑off, rise to 30 m, glide to the first point, hover for a few seconds, then move on. A clear plan keeps the drone steady and helps you capture the composition you want.
Camera Settings and Shooting Techniques
Most consumer drones use a small sensor, so you have to work with what you’ve got. Start with the manual mode if your model offers it. Set ISO low – 100 or 200 – to avoid grain. Keep shutter speed at least double your frame rate; for 30 fps, aim for 1/60 sec or faster. This stops motion blur when the drone moves.Use the rule of thirds. Most drone apps let you overlay a grid, so place the main subject on a line or intersection. It makes the picture feel balanced without extra editing.
Try different angles. A straight‑down shot is great for patterns, but a 45‑degree tilt adds depth. If you have a gimbal, make sure it’s calibrated before each flight – a wobble in the gimbal shows up as a blurry picture no matter how steady the drone is.
Don’t forget to shoot in RAW if you can. RAW files keep all the data, so you can fix exposure or white balance later without losing quality. Even if you end up sharing JPEGs, starting with RAW gives you a safety net.Finally, watch the battery. Most drones give a warning at 20% remaining. Landing early preserves the motor and gives you time to transfer the files before the next flight.
Putting these steps into practice turns a casual hobby into a reliable workflow. You’ll notice sharper images, fewer missed shots, and a lot more confidence when you’re up in the air. Ready to test it out? Grab your drone, do a quick pre‑flight check, and start shooting – the sky’s waiting.
