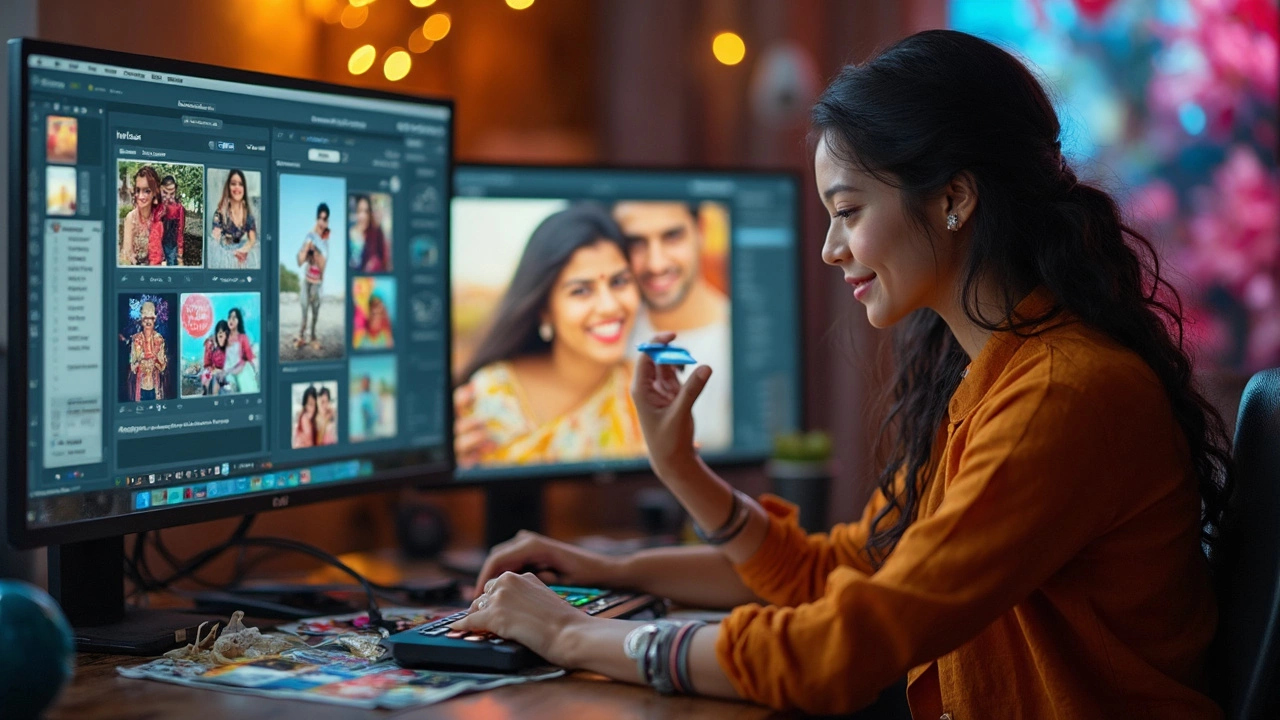
Editing Tips: Simple Tricks to Boost Your Photos Fast
Ever wonder why some pictures look crisp while others stay dull? A few smart edits can make a huge difference. You don’t need pricey software or a year of training—just the right moves. Below are practical tips you can start using right away, whether you’re cleaning up a passport photo or polishing a wedding snap.
Fast Fixes You Can Do in Minutes
First, trim excess space. Cropping removes distractions and puts the subject front‑center. Aim for the rule of thirds: imagine a grid and place the main element on a line or intersection.
Next, adjust exposure. Most phones and free editors have a simple slider for brightness and contrast. Raise the shadows a bit to reveal details, then pull down highlights if the sky looks blown out.
White balance is another quick win. If your image has a yellow cast, slide the temperature toward blue until skin tones look natural. This instantly gives a more professional vibe.
Sharpness matters for detail. A modest increase (around 10‑15%) usually clears edges without adding noise. For portrait shots, use a selective sharpen on the eyes to make them pop.
Finally, erase small blemishes. Tools like the healing brush or clone stamp work wonders on stray hairs or dust spots. One click and the photo looks cleaner.
Advanced Tweaks Without the Hassle
If you want deeper control, try layered editing in free programs like GIMP or Photopea. Create an adjustment layer for color grading; this lets you experiment without ruining the original image.
Masking lets you edit only specific parts. For example, darken a background while keeping the subject bright. Simply paint black on the mask where you want the effect hidden.
When dealing with passport photos, size matters. Crop to the exact dimensions (usually 2x2 inches) and ensure the head occupies the correct portion of the frame. Then export as a high‑resolution JPEG to avoid pixelation.
Wedding photos often need a subtle glow. Add a low‑opacity overlay of a soft light layer, then reduce the layer's opacity until the image feels warm but not over‑processed.
Remember to export in the right format. JPEG is fine for online sharing; TIFF or PNG works better for prints because they preserve more detail. Keep the file size reasonable to avoid long upload times.
These editing tips work on any device—desktop, laptop, or even a smartphone. The key is to start simple, test a change, and see how it affects the overall look. With a little practice, you’ll edit faster and get consistently better results.

