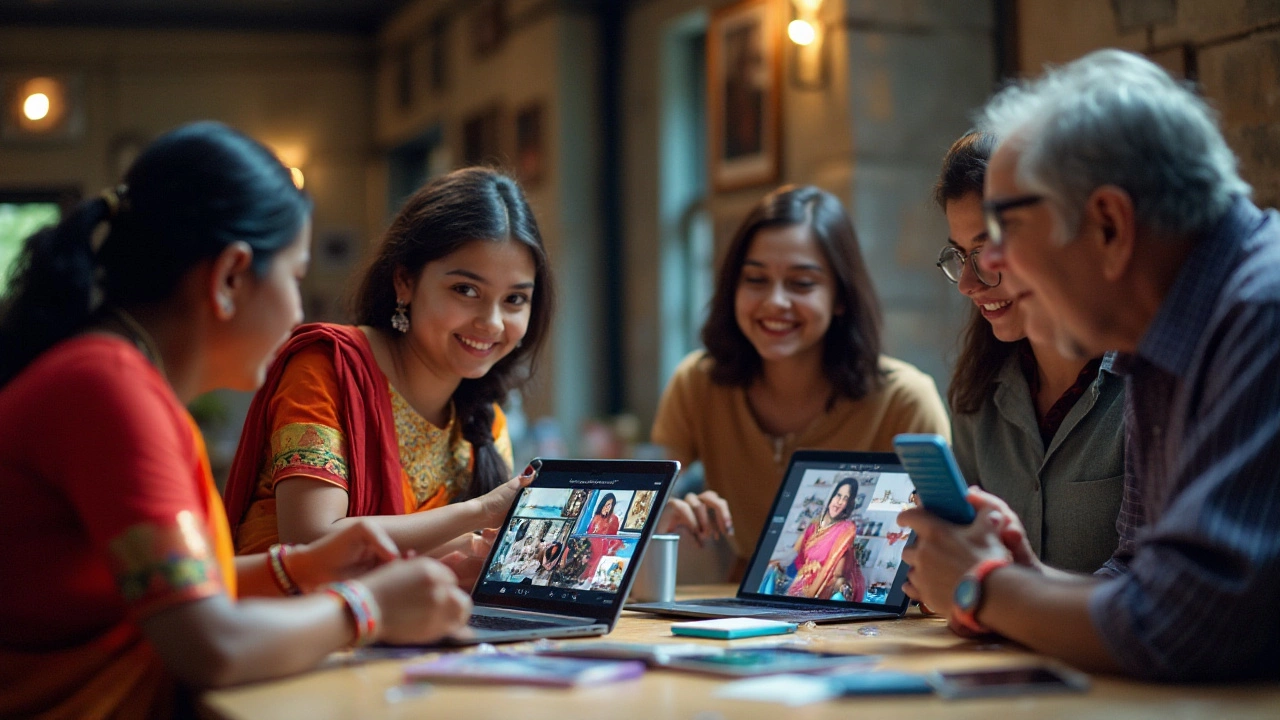
Image Enhancement: Easy Ways to Make Your Photos Shine
If you’ve ever looked at a picture and thought it could look sharper, brighter, or more vibrant, you’re not alone. Almost every photo can be tweaked with a few smart moves. In this guide we’ll walk through simple fixes you can do at home, the best free apps, and when it makes sense to hand the job to a professional studio like Rio Photography.
Quick Fixes with Free Tools
Start with what’s already on your phone or computer. Most smartphones let you adjust exposure, contrast, and color temperature in the native gallery app. A few taps can remove a dull sky or brighten a shadowed face. If you need a bit more control, download a free editor such as GIMP, Paint.NET, or Snapseed. These programs let you crop, sharpen, and apply selective edits without any cost.
When you’re cleaning up a portrait, use the “heal” or “clone” brush to hide blemishes or dust spots. For landscape shots, the “gradient filter” can deepen blues in the distance while keeping foreground tones natural. Remember to keep changes subtle – over‑processing looks fake and can ruin the original mood.
When to Use Professional Services
Free tools are great for everyday snaps, but some images need the extra push that only a pro can give. High‑resolution wedding photos, product shots for a catalog, or large‑format prints benefit from professional color grading, noise reduction, and precise retouching. Rio Photography offers a dedicated enhancement service that fine‑tunes exposure, balances whites, and sharpens details while preserving the image’s authenticity.
Prints are another reason to go pro. An image that looks good on a screen can lose quality when it’s enlarged for a photo book or canvas. Professional labs use calibrated monitors and industry‑standard profiles to ensure the final print matches what you see online. If you’re planning a photo album or a wall‑size portrait, ask Rio Photography for a proof before the bulk run.
Beyond editing, think about the output format. JPEGs are fine for social media, but TIFF or PNG files retain more detail for printing. When you send a file to a studio, include the original high‑resolution version and note any specific preferences – like a warm tone for a wedding or a cooler look for a corporate brochure.
One quick pro tip: ask for a soft‑proof preview. This shows you how the image will appear under different lighting conditions, helping you avoid surprises when the print arrives. It’s a small step that can save time and money.
Finally, keep your workflow organized. Store original files in a separate folder, then save edited versions with a clear naming convention (e.g., "IMG_1234_edit_v1.jpg"). This makes it easy to revert to the original if you need a different style later.
Whether you’re polishing a selfie or preparing a client’s portfolio, the right enhancement approach makes all the difference. Use free tools for quick tweaks, and trust a professional studio for high‑stakes projects. Rio Photography is ready to turn your good shots into great ones with expert editing and top‑quality prints.