How to Convert Your Phone Photo to Passport Size
Learn how to turn any phone photo into a passport-sized image that meets UK and international standards. Follow simple steps using free apps and basic tools to get a rejection-free photo in minutes.
Need a passport photo fast and cheap? You don’t have to hunt down a studio or wait weeks for a print. With a smartphone, a plain backdrop, and a few simple steps, you can create a passport‑ready image that passes every official test. This guide walks you through the whole process – from lighting tricks to sizing, printing options, and where to find the lowest prices.
First, clear a wall and hang a white sheet or use a plain light‑colored sheet as your background. No patterns, no shadows – the background should be completely uniform. Position the sheet about a meter away from where you’ll stand to avoid any spill‑over.
Use natural daylight whenever possible. Stand near a window, face the light, and make sure the light hits your face evenly. If daylight isn’t an option, set up two soft lamps at 45‑degree angles on either side of you to eliminate harsh shadows.
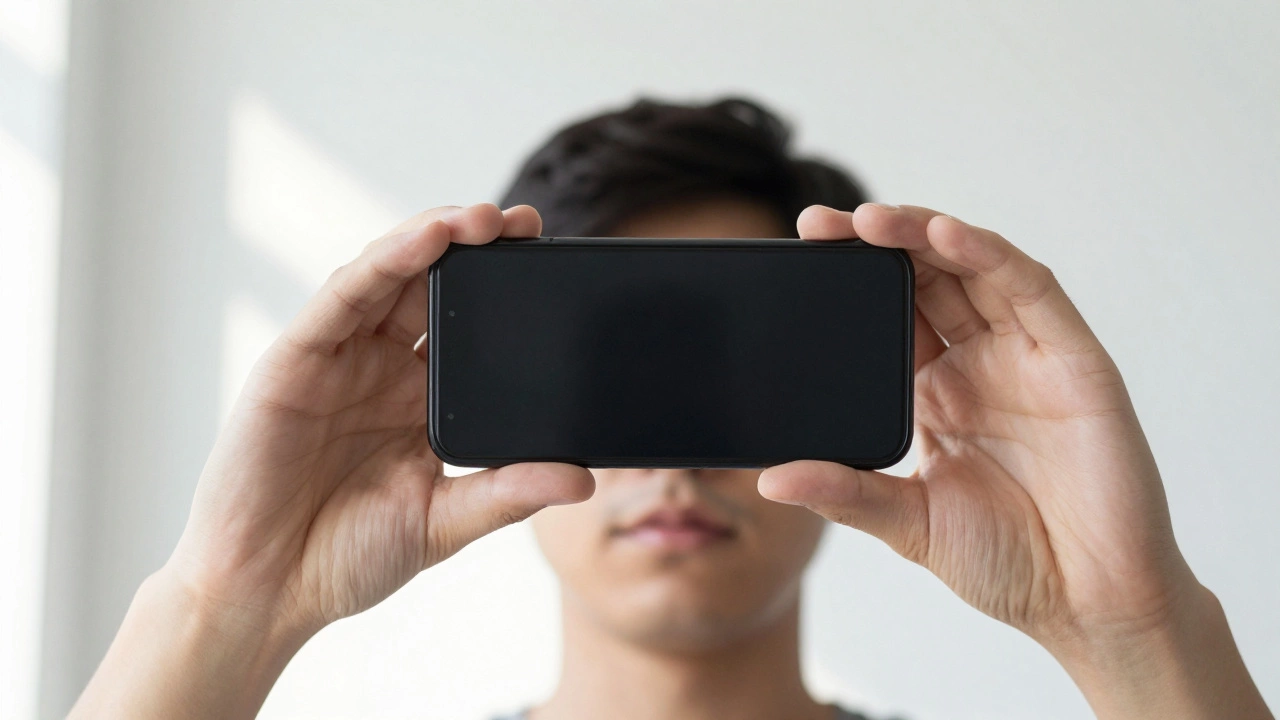
Set your phone camera to the highest resolution. Turn off any beauty filters or HDR – you want a true representation of your skin tone. Keep the camera at eye level and step back until your head and shoulders fill the frame, leaving a small amount of space above the head.
When you’re ready, adopt a neutral expression: mouth closed, eyes open, and look straight at the camera. No smiling, no frowning. The goal is a clear, unobstructed view of your face.
Take several shots. Review them on a larger screen to spot any issues – shadows, red‑eye, or the background showing through. Choose the sharpest, most evenly lit image.
Open the chosen picture in a free editor like GIMP, Paint.NET, or an online tool such as Photopea. Crop the image to a square shape, then adjust the dimensions to match the passport specifications of your country. For most Indian passports, the size is 35 mm × 45 mm with the head height between 32 mm and 36 mm. For a US passport, the photo must be 2 × 2 inches (51 mm × 51 mm) with a head height of 1‑1.4 inches.
Use the editor’s ruler or grid to measure the head size. If it’s too small, zoom in and crop closer; if it’s too big, zoom out a little. Keep the background pure white (RGB 255,255,255) – most editors let you fill the background with a color if any edge shows.
When the size is correct, export the file as a high‑resolution JPEG (300 dpi). Avoid heavy compression; 80‑90% quality is a safe range.
Printing the photo yourself is often the cheapest route. Use a high‑quality inkjet or laser printer with glossy photo paper. Many office supply stores sell packs of A4 photo paper for under $5, and a single passport photo costs only a few cents per print.
If you don’t own a printer, look for local copy shops or supermarkets that offer passport‑photo printing. In India, chains like Printvenue, Printo, and even large grocery stores have self‑service kiosks that print a compliant photo for ₹30‑₹50.
Online services are another option. Upload your edited photo to a site that specializes in passport prints, choose the “passport size” option, and have the prints mailed to you. Prices usually range from $5 to $10 for a set of two prints, and delivery is often next‑day.
Finally, double‑check the photo before you submit it. A tiny mistake can cost you a re‑application fee. By following the steps above, you’ll have a ready‑to‑go passport photo, saved money, and avoided a trip to a photo studio.
Got more questions? Our team at Rio Photography Services can help fine‑tune your image or provide professional printing if you prefer a hands‑off approach. Whatever you choose, you now have the know‑how to ace your passport photo on your own.
Learn how to turn any phone photo into a passport-sized image that meets UK and international standards. Follow simple steps using free apps and basic tools to get a rejection-free photo in minutes.
Uploading a passport-sized photo online might seem tricky, but it's actually straightforward with a few clear steps. This guide will walk you through preparing your photo, ensuring proper dimensions, and some handy tips for uploading successfully. Discover how to avoid common pitfalls and ensure your passport photo meets all necessary requirements. With the right tools and knowledge, you'll have your photo uploaded in no time.
Passport photos are often rejected due to various common mistakes that can be easily avoided. Understanding the exact requirements can save you time and frustration. From issues with lighting and background to incorrect sizes and expressions, this article dives into the specifics of getting your passport photo right the first time. Follow our handy tips to ensure your passport photo meets all necessary guidelines. These practical insights will help ensure your photo sails through the review process without a hitch.
Getting a passport photo taken can sometimes be a hassle, but with services available at your local post office, the process is simplified. In the UK, post offices offer convenient solutions for passport photo needs, whether you prefer in-person services or need guidance for online submissions. Understanding the requirements and exploring the post office's available services can make your passport application smoother. This guide covers all aspects of obtaining a compliant passport photo at the post office.
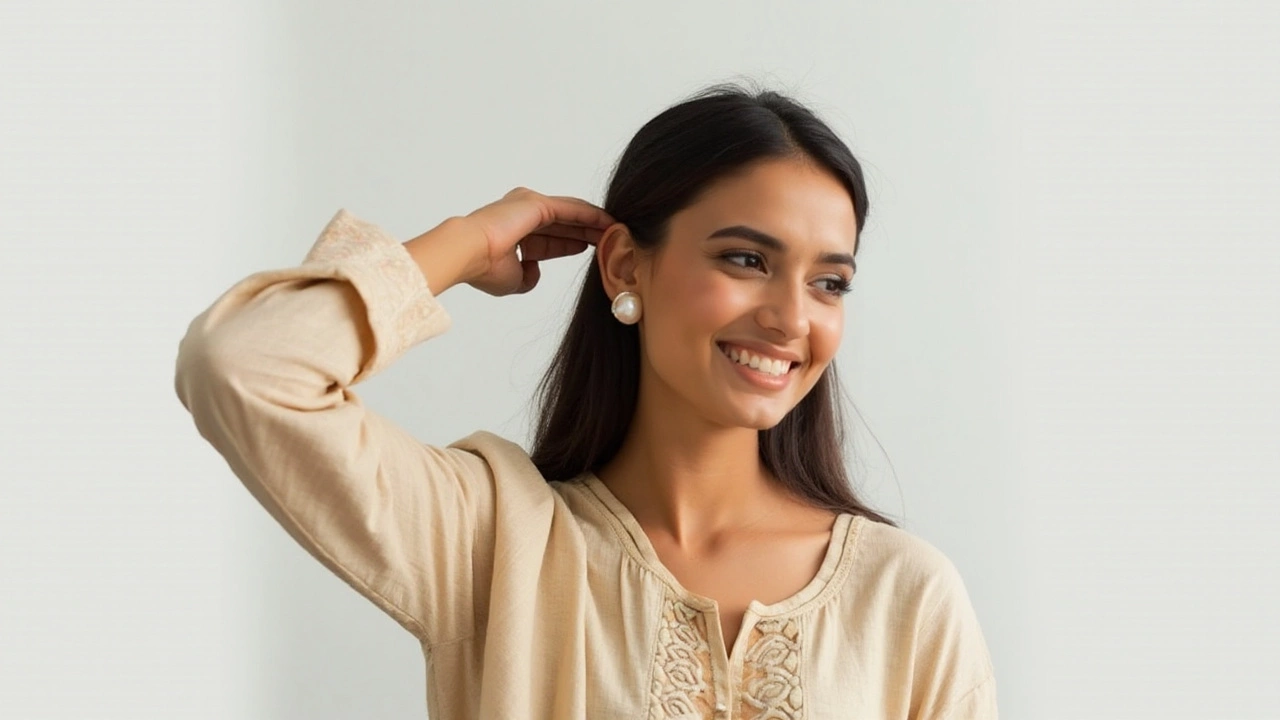
When preparing for a passport photo, understanding what accessories can be worn is crucial. Earrings, often a part of one's personal style, raise questions about their acceptability in official photos. This article explores the rules and guidelines surrounding wearing earrings in a passport photo. It provides tips on what types of earrings are permissible and how they might affect the acceptance of your photo. We'll also discuss the reasoning behind these guidelines to help you prepare correctly for your next passport picture.