What Cannot Be in a Passport Photo? Rules You Can't Ignore
Learn exactly what’s not allowed in a passport photo-from hats and glasses to shadows and filters. Avoid common mistakes that cause rejections and ensure your photo passes on the first try.
When you submit a passport photo, a standardized image used for official identification in travel and government documents. Also known as biometric photo, it’s not just a picture—it’s a legal document that must meet strict global standards. A single mistake—like wearing white or smiling too much—can get your entire application delayed or rejected. No one wants to resubmit after waiting weeks for an appointment. The truth? Most rejections happen because people follow old advice or guess what looks "good," not what’s actually allowed.
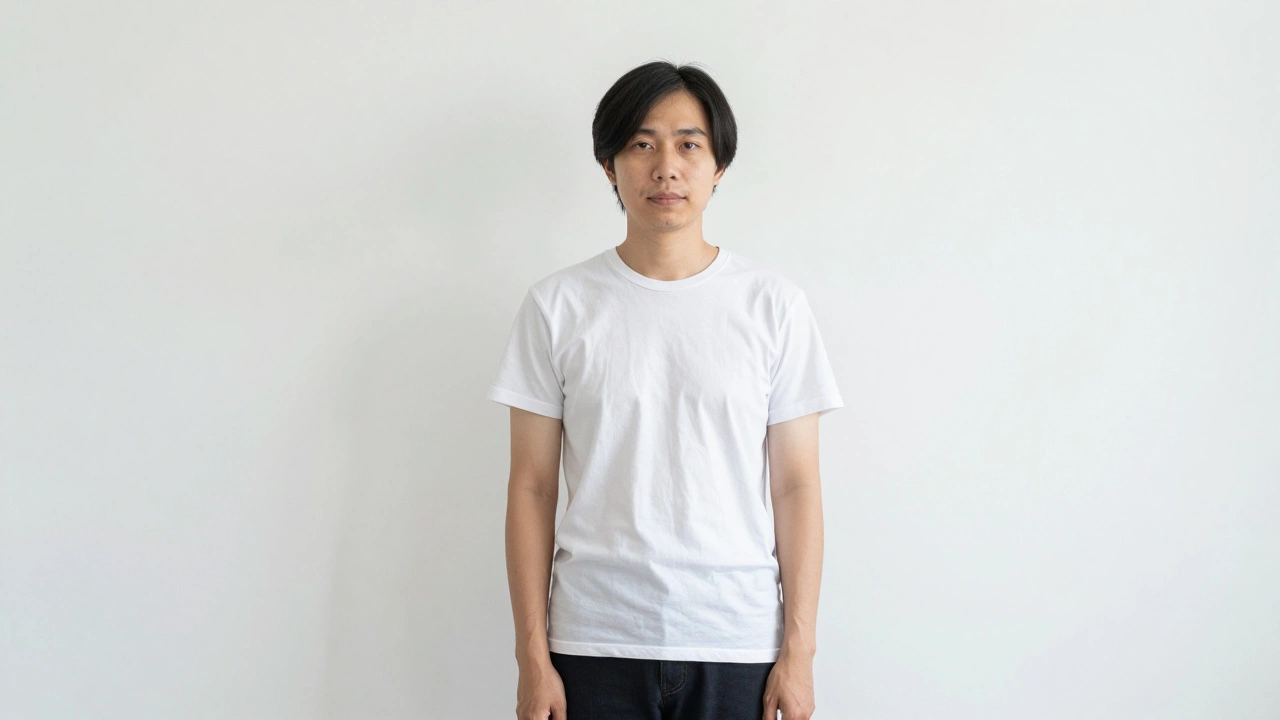
Behind every rejected passport photo are a few repeat errors. The passport photo background, the plain, uniform color behind the subject required by most countries must be white or off-white—no shadows, no patterns, no windows in the background. Even a faint gray blur from a dirty wall can cause issues. Then there’s the passport photo color, the clothing hue that must contrast with the background to ensure facial recognition works. Dark blue, black, or dark gray are safe. White? Rejected. Red? Rejected. Even light beige can trigger an alert in automated systems. And don’t forget the passport photo size, the exact dimensions (usually 35mm x 45mm) required by the issuing country. Zoomed-in selfies or cropped prints rarely meet the pixel density needed for facial recognition systems.
Lighting matters more than you think. Harsh shadows under the eyes or chin? Rejected. Too much glare on glasses? Rejected. Even a slight head tilt or looking off-camera can trigger a fail. Most people don’t realize that neutral expressions are required—no smiles, no frowns, just a relaxed face. And yes, glasses are allowed, but only if they don’t reflect light or hide your eyes. If you’re using a photo booth or a local shop, ask if they’ve printed passport photos for your country before. Not all services know the difference between a U.S. and UK standard.
The good news? Getting it right is simple once you know the rules. You don’t need a studio. You don’t need to pay extra. Just follow the checklist: plain background, dark clothing, no accessories, flat lighting, centered face, and exact size. Skip the trendy filters, the selfies, and the "it looks nice" mindset. This isn’t Instagram. It’s your passport.
Below, you’ll find real advice from people who’ve been there—whether it’s why Walgreens won’t print your photo in-store, what color to wear for your next submission, or how to fix a rejected image without starting over. These aren’t guesses. They’re fixes that actually work.
Learn exactly what’s not allowed in a passport photo-from hats and glasses to shadows and filters. Avoid common mistakes that cause rejections and ensure your photo passes on the first try.