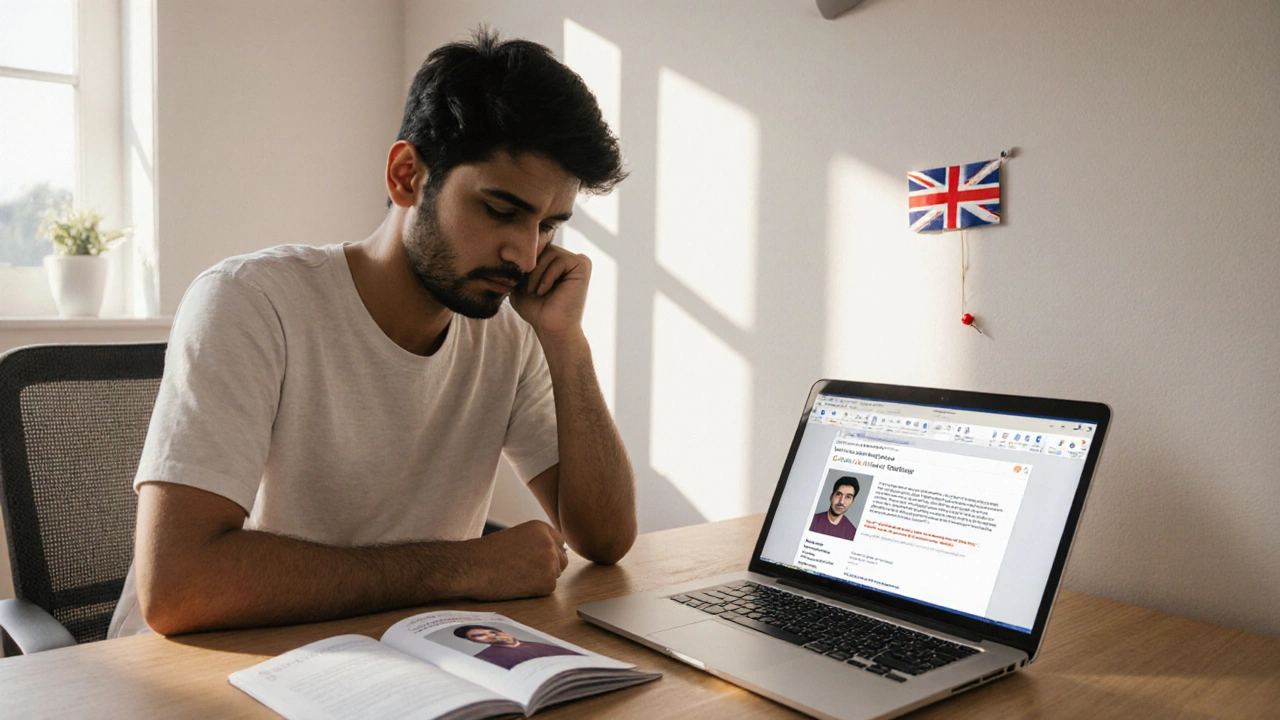
Top Reasons Passport Photos Get Rejected - 2025 Guide
Learn the exact reasons passport photos get rejected, how to fix common mistakes, and use a checklist to ensure your UK passport image meets every requirement.
Ever stared at a passport photo and thought, "What went wrong?" You’re not alone. A bad shot can delay a visa, cost extra money, and just feel annoying. The good news? You can avoid most problems with a few simple moves that anyone can follow.
First, ditch the selfie‑stick vibe. Phones are fine, but holding them too close or at an angle creates distortion. Use a tripod or set the phone on a stable surface and step back a foot or two. Next, watch the background. A plain, light‑colored wall works best; patterned curtains or busy rooms add shadows that trip up the algorithm.
Lighting matters more than you think. Natural light from a window is ideal, but make sure the light hits your face from both sides, not just from above. Overhead bulbs cast harsh shadows under the eyes and chin. If you need to use indoor lighting, add a soft lamp in front of you to flatten the light.
Facial expression is another trap. The passport office wants a neutral look—no smiles, no frowns. Keep your mouth closed, eyes open, and chin straight. A quick tip: think of saying "E" silently; it relaxes the mouth without forming a grin.
1. Set up your space. Find a wall with a light, neutral color. Clear any clutter behind you. Place a piece of white paper on the floor if you need a reference for height.
2. Adjust the camera. Position the phone or DSLR at eye level. Use the rear camera for better resolution. Ensure the frame captures the top of your shoulders to just below the chin.
3. Check the lighting. Turn on a lamp in front of you or stand near a window. Make sure there are no shadows on your face or background.
4. Take several shots. Move slightly left and right, then up and down, to find the clearest picture. Review each one on a larger screen to spot blur or red‑eye.
5. Crop to the right size. Most passports require a 2x2 in (51 mm × 51 mm) image. Free tools like GIMP, Paint.NET, or online croppers let you set exact dimensions. Zoom in to confirm the head height fits the required range—usually 1‑in to 1.4‑in from chin to crown.
6. Save in the correct format. JPEG at high quality (90‑100%) is standard. Keep the file under the size limit set by the issuing authority—usually 350 KB.
7. Print or upload. If you need a physical copy, print on glossy or matte photo paper, not regular printer paper. Make sure the print is crisp and not pixelated. For digital passports, upload the file directly through the official portal.
Following these steps cuts down on re‑submission and saves you time. Remember, the goal is a clear, evenly lit, neutral‑expression headshot that matches the exact dimensions. If you get stuck, Rio Photography Services offers quick passport‑photo verification and printing—just drop by or send your file online.
Now you have a solid game plan. No more frantic trips to the studio; you can nail that passport photo from the comfort of home and be ready for any travel adventure that comes your way.
Learn the exact reasons passport photos get rejected, how to fix common mistakes, and use a checklist to ensure your UK passport image meets every requirement.
Hunting for the cheapest place to grab a passport photo? Discover fresh insights, real numbers, and clever hacks to save money on UK passport photos in 2025.