Smartphone Passport Photo: Quick DIY Guide
Need a passport photo fast and don’t want to drive to a studio? Your phone can do the job in minutes. All you need is a decent camera, a plain wall, and a few simple tricks. Follow this guide and you’ll have a government‑approved picture ready to upload or print.
Step‑by‑Step Shooting Tips
First, pick a solid, light‑colored background. A white or off‑white wall works best; avoid patterns, shadows, or anything that could confuse the border detection software used by passport offices.
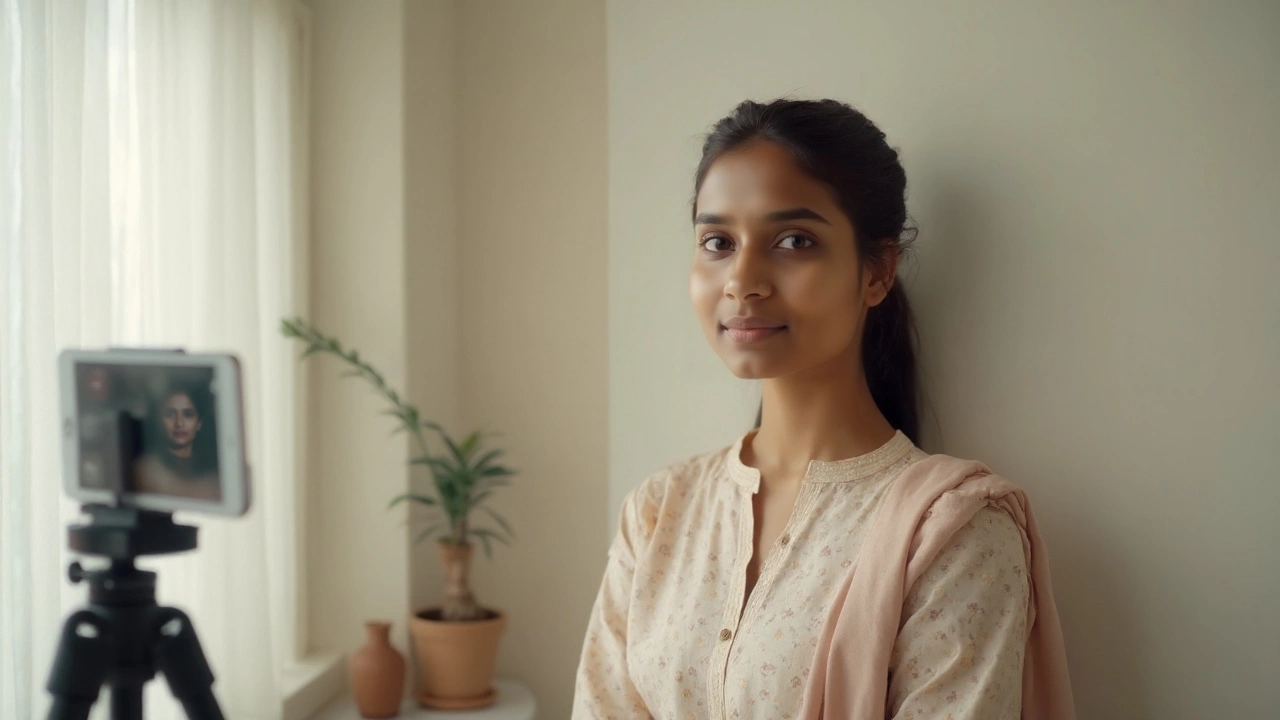
Stand about a meter away from the wall and set your phone on a stable surface or a tripod. Use the rear camera – it’s higher resolution than the selfie lens. Turn on the grid lines (most phones have this option) to keep your head centered.
Lighting is crucial. Natural daylight from a window in front of you gives even illumination. If you’re inside, use a soft lamp placed next to the wall, not behind you, to avoid backlighting. Make sure there are no harsh shadows on your face.
Position yourself with a neutral expression – no smile, no frown. Keep your head straight, eyes open, and shoulders relaxed. The camera should be at eye level; tilt the phone up or down if needed.
Take a few shots. Review them on the phone screen: check for red‑eye, shadows, or a tilted head. Delete the blurry ones and keep the clearest.
Editing & Printing Made Easy
Now you need to crop and size the image. Free apps like Passport Photo Maker, ID PhotoStudio, or even built‑in photo editors let you set the exact dimensions (usually 2×2 inches or 35×45 mm depending on your country). Choose the “passport” template, upload your picture, and let the app auto‑detect the face.
If the app doesn’t auto‑detect, manually adjust the cropping box so that your head occupies about 70‑80% of the height, with the top of the hair and the bottom of the chin visible. Make sure there’s at least a 5 mm margin around the face.
Check the resolution – most passport offices require 300 dpi. Most modern apps export at the right DPI automatically, but if you see a “low quality” warning, increase the resolution in the settings before saving.
Save the final file as a JPEG or PNG. For printing, you have three cheap options: print at home on high‑quality photo paper, use a local print‑shop (many offer passport‑size prints for under ₹100), or upload to an online service that delivers ready‑to‑cut photos.
When you print at home, set the printer to “best quality” and select “photo paper” if possible. Cut the print carefully with a ruler and a sharp blade – many people use the built‑in passport‑photo cutter on store‑bought kits.
Finally, double‑check the printed photo against the official guidelines (size, background, expression). If everything matches, you’re ready to attach it to your application or scan it for online submission.
That’s it – no appointment, no waiting line, just a few minutes with your phone and you’ve got a passport‑ready picture. Give it a try next time you need a fresh photo – you’ll save time, money, and the hassle of chasing a studio.