How to Convert a Picture into Passport Size Quickly
 Mar, 11 2025
Ever stared at a picture and wondered how you'd make it work for your passport? You're not alone! Transforming a regular picture into a passport-sized one might sound tricky, but it's easier than you think. Let’s tackle this step by step.
Start by knowing what a passport photo needs. Usually, it’s around 2x2 inches in physical size, but it’s not just about the measurements. You’ve got background color, head size, and proportions to consider. This stuff matters because passport officials are pretty strict with these.
Next up, tools! There are plenty of free apps and software that can help. Whether you’re using a PC, a Mac, or just your phone, there are options available. Think about downloading something like ‘Passport Photo Maker’ or using online services like ‘iVisa Photo’. They do most of the grueling work for you.
Stay tuned as we delve into the nitty-gritty of resizing photos and share some pro tips to make your passport photo look like it came straight out of a studio.
- Understanding Passport Size Requirements
- Choosing the Right Tools and Software
- Step-by-Step Photo Conversion Guide
- Tips for a Professional-Looking Passport Photo
Understanding Passport Size Requirements
When converting a regular photo into something that’ll pass as a passport size photo, you’ve got to get the details right. First off, let’s talk about size. Most countries, including the UK and the US, require photos to be 2x2 inches or 51x51 mm. But it's not just about the overall dimensions.
Your face should fill about 70% - 80% of the photo. Head size is key here. From chin to top of the head, the measurement should usually be between 25 to 35 mm. And don't forget the eye line: it needs to be positioned between 28 and 35 mm from the bottom of the photo.
Background Matters
The background is just as important. A stark white or light grey background is almost always required. This helps set your features apart and ensures the focus is solely on you. Any patterns or colors can cause a photo to be rejected, so keep it simple and plain.
Other Important Specs
Clothing-wise, there aren't hard and fast rules, but avoid uniforms or anything that blends you into the background. Glasses? Sure, but no glare is allowed. Hats or head coverings are generally a no-go, unless it’s for religious or medical reasons.
While it sounds a bit much, meeting these criteria is crucial for getting the green light on your passport photo online. Miss one detail, and you might end up having to redo the whole thing—definitely not a fun experience.
In a nutshell, do a quick check before you even get started. Make sure your photo matches these requirements, and you’ll save yourself a lot of hassle. Simple as that!
Choosing the Right Tools and Software
Alright, so you've decided to turn that normal photo into a passport size photo. Choosing the right tools for this transformation is crucial. It's not just about resizing; it's about getting those details spot on.
Online Tools
If you're not too keen on downloading stuff, online services are your best buddies. Websites like iVisa Photo and Make Passport Photo are easy to use and super convenient. Just upload your photo, and they take care of resizing and formatting.
Software for PC and Mac
For those who prefer software, check out Passport Photo Maker on Windows and IDPhotoStudio for Mac. They allow you to fine-tune your adjustments, whether it’s fixing the background or tweaking head size.
Mobile Apps
Want to do it all on your phone? There are apps like Passport Photo Booth (available on both iOS and Android) that let you snap and edit all in one go. They’re designed to handle the whole process and ensure your photo meets official standards.
Pro Tips
- Always use a photo taken in good lighting. This reduces the need for heavy edits, which could alter your photo too much.
- Check out user reviews before choosing any tool. The last thing you want is to spend time on an app that doesn't deliver.
- Most tools have a free version, which is often just perfect for simple tweaks. No need to jump straight to a paid plan.
Relying on these tools ensures you're not left with a photo the authorities won't accept. It’s all about making smart choices that save time and frustration... and getting your passport photo online without a hitch.

Step-by-Step Photo Conversion Guide
Ready to turn that regular pic into a neat passport size photo? Let’s walk through the process together!
Step 1: Understand the Requirements
Before you start, get clear on what's required. A passport photo typically needs to be 2x2 inches. The head must make up about 50-69% of the photo height. Make sure the background is plain white or off-white.
Step 2: Choose the Right Tool
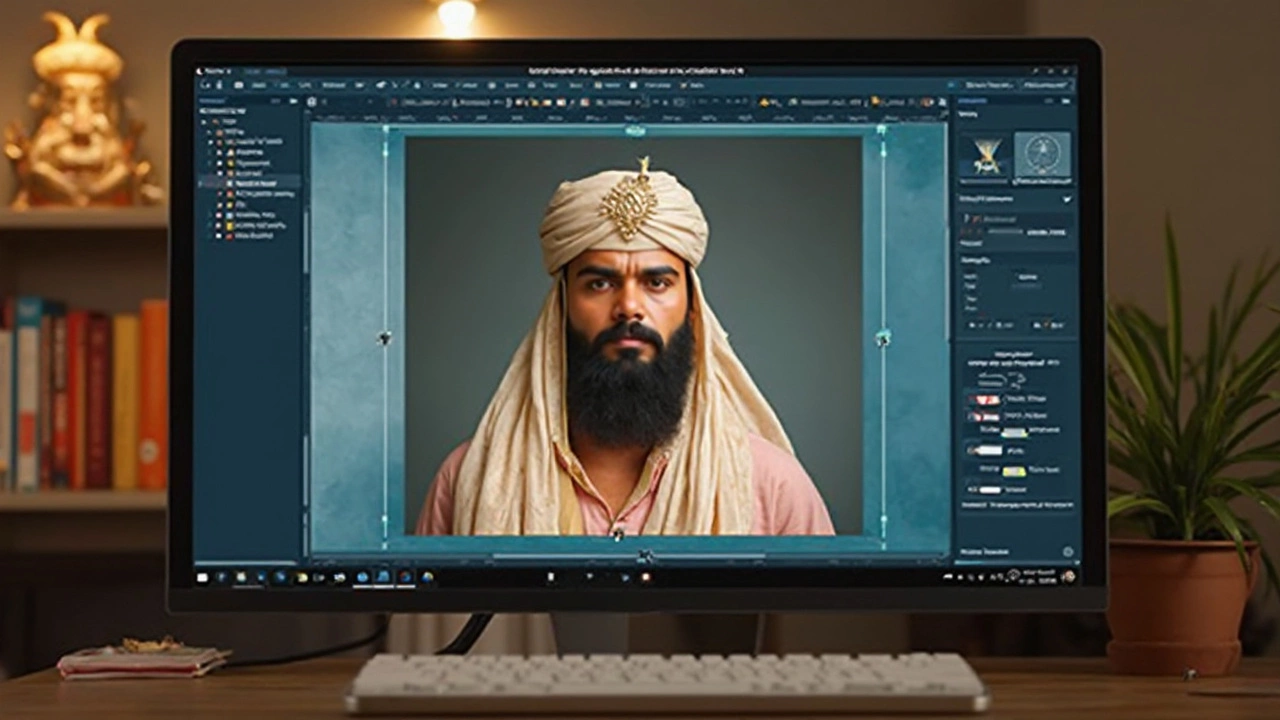
Using software or an app makes this much smoother. For desktops, programs like Adobe Photoshop or GIMP are handy; for phones, try the ‘iVisa Photo’ app. It's built for this exact purpose.
Step 3: Upload and Crop
Upload your picture into the chosen tool. Look for the cropping feature. Set the dimensions to the standard 2x2 inches. Most apps provide guidelines or a grid to help position your face correctly.
Step 4: Adjust Settings and Resolution
Ensure your photo resolution is at least 300 DPI (dots per inch). This ensures clarity and crispness, critical elements for passport photos. Use the 'adjust size' or 'resize' option if needed.
Step 5: Check Background and Lighting
Most conversion tools will help you edit the background. Brighten or smooth it out if necessary, ensuring it’s consistent. A white background is key. If corrections need more finesse, use manual editing features.
Step 6: Save and Export
Happy with your photo? Save and export your passport photo online. Opt for formats like JPEG, as they're commonly accepted. Double-check everything meets your local passport guidelines.
It might seem a bit detailed, but taking time with each step ensures you’ll get a professional-looking photo without leaving your house.
| Photo Element | Requirement |
|---|---|
| Size | 2x2 inches |
| Resolution | 300 DPI |
| Head Size | 50-69% of the photo height |
| Background | Plain white or off-white |
Tips for a Professional-Looking Passport Photo
Getting your passport size photo to look top-notch isn’t just about sizing. The devil's in the detail! Here’s how you nail that picture without heading to the studio.
Check the Background
Your background should be plain—plain and light-colored at that. White or off-white does the trick. Avoid patterns or shadows creeping in. If you’re taking the photo at home, a white wall or large sheet can work wonders.
Lighting is Key
Light up your face evenly. Natural light is your best friend here. Stand facing a big window, and avoid any direct overhead lighting that can cast weird shadows. The aim is to have a clear, shadow-free face.
Dress Appropriately
Solid colors are the way to go. Stay away from busy patterns or logos. Better yet, wear something that stands out against the background, so you don't blend into it.
Face Front, Please!
Stand or sit directly in front of the camera with your face centered. Look straight at the lens—let your charm shine! No squinting or tilting of the head.
Maintain a Neutral Expression
Most guidelines prefer you to have a neutral expression. A slight natural smile's okay, but a serious mug is a safer bet. Whatever you do, eyes must be open and visible.
Frame it Right
- Ensure your head covers between 50% and 70% of the picture’s height.
- Measure roughly; your head should be around 1 inch to 1.4 inches in size.
- If you’ve got a printer and can crop photos, use those skills.
All set? Once you’ve got your passport photo, and you think it’s good to go, double-check the official guidelines for any last-minute tweaks. It’s annoying but better than getting turned away at the airport!