How to Make a 2x2 Passport Photo on Your Phone for Free Online
 Dec, 9 2025
Passport Photo Size Checker
Check your passport photo requirements
This tool verifies if your photo meets the official requirements for a 2x2 inch passport photo based on your country. Enter the height of your head in the photo (from chin to top of head) and select your country.
You need a 2x2 passport photo for a visa application, passport renewal, or government form-and you’re stuck. No studio nearby. No printer. No time. And you don’t want to pay $20 for something that should cost nothing. Good news: you can make a perfect 2x2 passport photo on your phone, for free, in under 10 minutes. No design skills needed. No software downloads. Just your phone and a white wall.
Why 2x2 inches? And why does it matter?
The 2x2 inch size (51mm x 51mm) isn’t arbitrary. It’s the standard for U.S. passports, visas, green cards, and many other official documents worldwide. The U.S. Department of State requires exact dimensions because their automated systems scan faces at a fixed scale. If your photo is too big, too small, or cropped wrong, your application gets rejected. No second chances. No warnings.
Most people fail because they use the wrong tools. They crop a selfie to 2x2 and think that’s enough. But it’s not. The face must be centered, the head size must be between 1 inch and 1.375 inches from chin to crown, the background must be plain white or off-white, and there can’t be any shadows, glasses, or headwear (unless for religious reasons). Even the lighting matters. Too dark? Rejected. Too bright? Rejected.
What you need before you start
You don’t need a studio. But you do need three things:
- A plain white or light-colored wall (no patterns, no windows behind you)
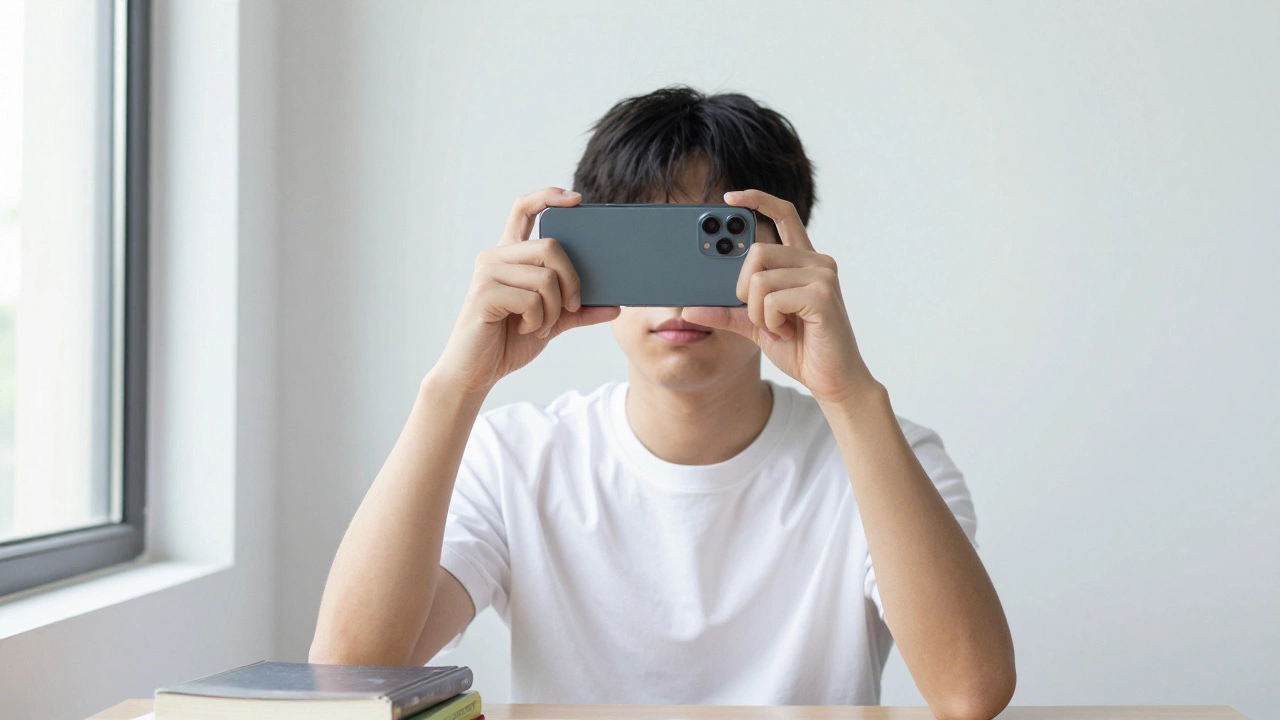
- A smartphone with a rear camera (better quality than front-facing)
- Free online tool: Passport Photo Online (works on any browser, no app needed)
Why the rear camera? It has higher resolution and better color accuracy. Front cameras are optimized for selfies, not official docs. Use the rear camera even if you have to hold the phone farther away.
Step-by-step: Take the photo right
Follow this exact process. Skip a step, and you’ll waste time.
- Wear plain clothing. No uniforms, no high collars, no white shirts (they blend into the background).
- Stand 2-3 feet from the wall. Make sure your shoulders are square to it.
- Turn on bright, even lighting. Natural daylight near a window works best. Avoid overhead lights-they cast shadows under your eyes or chin.
- Hold your phone at eye level. Keep it steady. Use a book or stack of papers to prop it up if needed.
- Take the photo in portrait mode. Look straight at the camera. Neutral expression. Mouth closed. Eyes open and clearly visible. No smiling.
- Take 5-7 photos in a row. One will be better than the rest. Pick the clearest one.
Pro tip: If you wear glasses, remove them. Glare from lenses is the #1 reason for photo rejection. If you can’t remove them for medical reasons, make sure there’s no reflection and your eyes are fully visible.
Upload and crop for free online
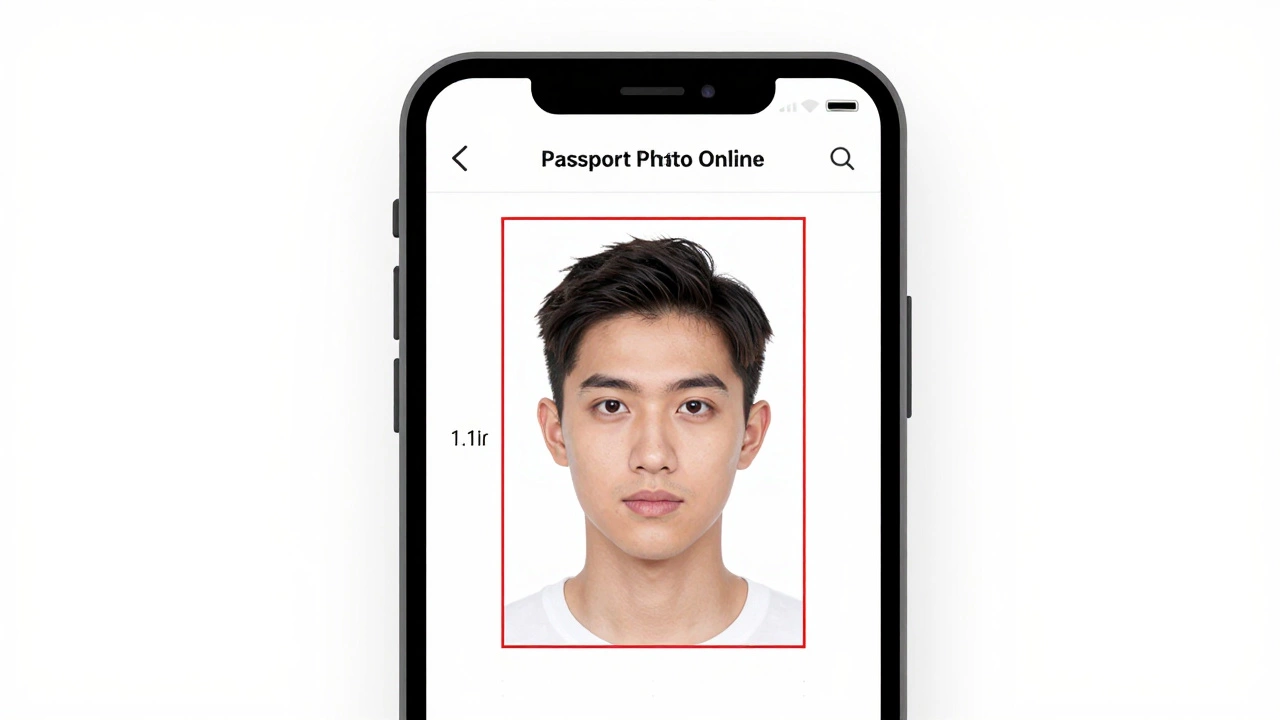
Now go to Passport Photo Online in your phone’s browser. No sign-up. No email. No payment.
Click “Create Passport Photo.” Select “United States” as the document type. The tool automatically sets the size to 2x2 inches and applies the correct resolution (300 DPI).
Upload your photo. The site will scan your face and show you a red box around your head. If the box doesn’t fit perfectly-your head is too small or too high-take another photo. If it fits, click “Apply.”
The tool will automatically:
- Remove the background and replace it with pure white
- Adjust brightness and contrast
- Center your face
- Resize to exact 2x2 inches
Preview the result. Check for:
- Is your head between 1 and 1.375 inches tall?
- Is the background completely white with no gray shadows?
- Are your eyes clearly visible and not closed or squinting?
If yes, download the file. You’ll get two versions: one single photo and one with multiple copies on a single page (useful for printing at home or at a store).
How to print it
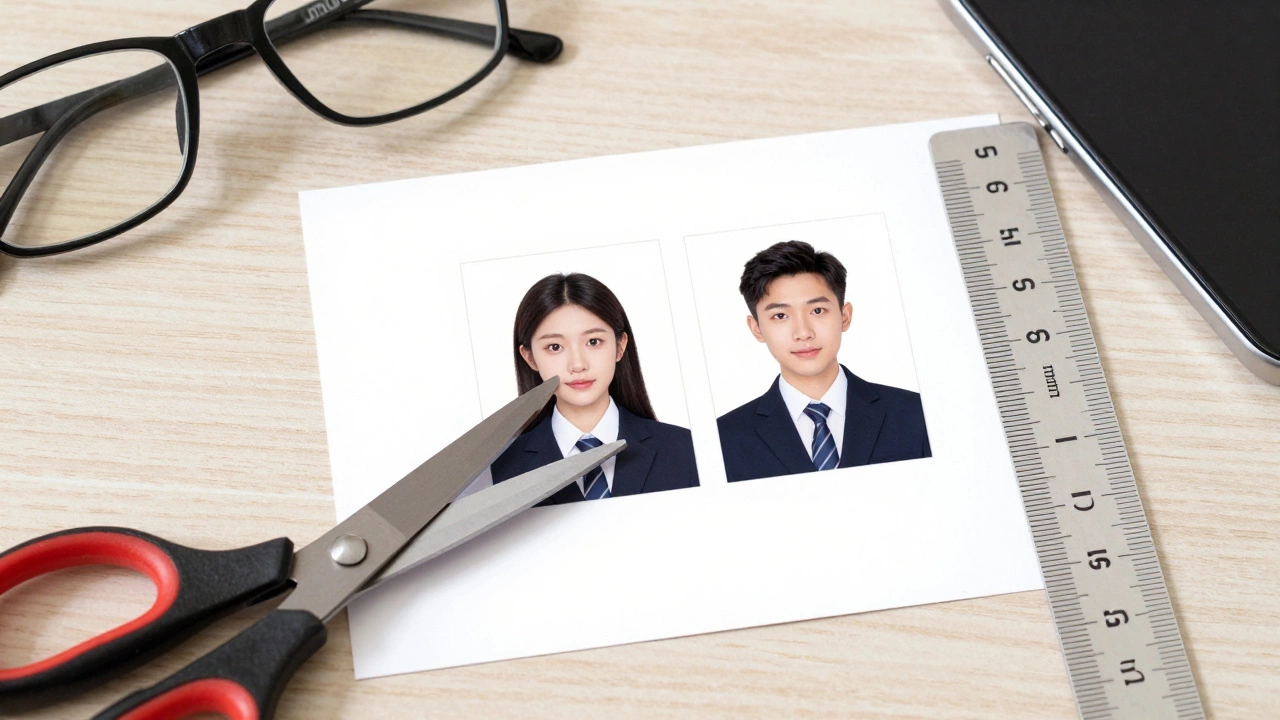
You don’t need a professional printer. Any home printer that does 300 DPI or higher will work. Use standard 4x6 inch photo paper. Print the multiple-photo layout-it’s cheaper and easier.
Use scissors or a paper cutter to trim the photos. Make sure each one is exactly 2x2 inches. Don’t guess. Measure with a ruler. Even 1mm off can cause problems at the embassy or DMV.
Pro tip: Test print on regular paper first. Check the white background. If it looks off-white or gray, adjust the brightness in the tool and try again.
Common mistakes and how to fix them
Most people fail on the same five things:
- Wrong background: Not pure white. Fix: Use the tool’s auto-bg removal. Don’t try to edit it yourself.
- Head too small: Your head takes up less than 1 inch. Fix: Stand closer to the wall and zoom in slightly when taking the photo.
- Shadows under chin: Poor lighting. Fix: Move to a brighter spot. Use a lamp in front of you, not behind.
- Smiling or teeth showing: Official photos require neutral expression. Fix: Relax your face. Think “resting” not “happy.”
- Using a front camera: Low resolution. Fix: Always use the rear camera, even if it’s harder to hold.
One real example: A client from Birmingham sent me a photo they took with an iPhone front camera. The background was blurry. The head was 0.7 inches tall. The eyes were half-closed. It got rejected by the U.S. Consulate. They came back, took a new photo with the rear camera, used Passport Photo Online, and got approved in 2 days.
What tools to avoid
Don’t use:
- Instagram filters
- Adobe Photoshop (unless you’re an expert)
- Random “passport photo maker” apps from the App Store
Most apps add watermarks, charge hidden fees, or use outdated templates. Some even sell your photo to third parties. Stick to trusted, free, web-based tools like Passport Photo Online. They’re updated monthly to match U.S. and international guidelines.
How long does it take?
From start to finish: 8-12 minutes.
- 2 minutes: Set up lighting and position
- 3 minutes: Take and pick the best photo
- 2 minutes: Upload and auto-process
- 2 minutes: Download and print
- 1 minute: Cut and check size
That’s faster than walking to a photo booth. And it costs $0.
Can I use this for other countries?
Yes. Passport Photo Online supports over 100 countries. Just select your destination when you start. Canada, UK, Australia, Schengen countries-all have different rules. The tool adjusts the size, background, and head position automatically. For example, the UK requires a light gray background, not white. The tool knows that.
Just make sure you pick the right country before uploading your photo.
Final checklist before you submit
Before you mail your application or upload your photo:
- Photo is 2x2 inches (51mm x 51mm)
- Head size: 1 to 1.375 inches from chin to top of head
- Background: Pure white (U.S.) or light gray (UK/Canada)
- No shadows, glare, or blur
- No hats or head coverings (unless religious)
- No glasses (unless medically required)
- Neutral expression, mouth closed, eyes open
- Printed on matte or glossy photo paper, not regular paper
If all these are checked, your photo will pass. No guesswork. No delays.
Can I use a selfie for my passport photo?
No. Selfies taken with the front camera are almost always rejected because they’re low resolution, poorly lit, and often taken at an angle. Always use the rear camera, hold the phone at eye level, and stand in front of a plain wall. The tool will fix the background-but it can’t fix a blurry or crooked face.
Is it legal to make your own passport photo?
Yes. The U.S. Department of State and other governments allow applicants to submit self-taken photos as long as they meet all technical requirements. Many people do it. It’s not only legal-it’s encouraged to reduce costs and wait times.
What if my photo gets rejected?
If your photo is rejected, you’ll get a notice with the reason. Common ones: wrong size, shadow, or background color. Go back to the tool, retake the photo following the exact steps above, and re-upload. Most rejections are fixed in one try. Don’t pay for a professional photo unless you’ve tried this method first.
Do I need to print it at a store?
No. You can print it at home on any photo printer using 4x6 inch photo paper. Just print the multi-photo layout and cut it out. If you don’t have a printer, take the downloaded file to a local pharmacy like CVS or Walgreens-they print photos for under $0.20 each. Just tell them you need 2x2 inch prints from a digital file.
Can I use this for a visa application outside the U.S.?
Yes. Passport Photo Online supports over 100 countries, including Canada, the UK, Australia, Japan, and Schengen countries. Each has different rules for background color, head size, and facial expression. The tool automatically adjusts based on your selected country. Just pick your destination before uploading your photo.