DIY Passport Photo: Simple Steps to Create a Perfect Shot at Home
Need a passport photo but don’t want to pay a studio? You can get a flawless, government‑approved picture right from your living room. All you need is a smartphone, a plain wall, and a few minutes. Follow this guide and you’ll have a ready‑to‑upload photo without leaving the house.
Set Up Your Space
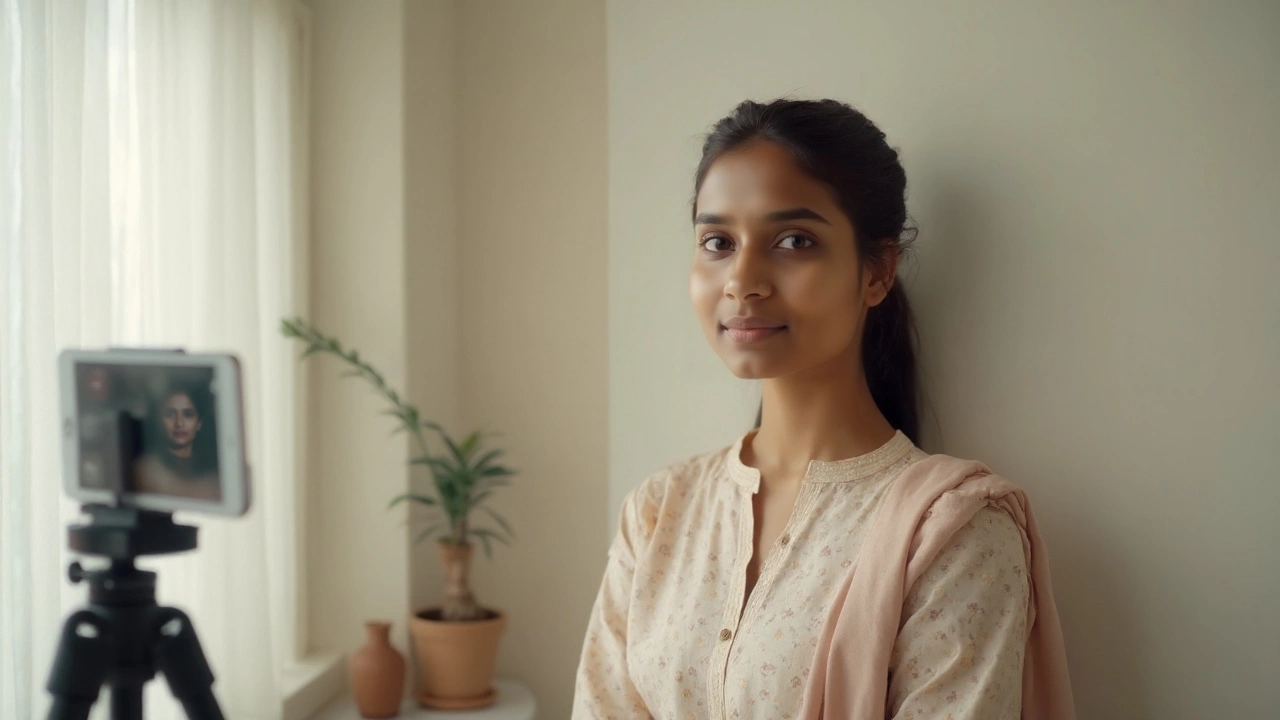
First, find a wall that’s plain white or light gray. Remove any pictures, clocks, or decorations – the background must be uniform. Stand about three feet away so the lighting falls evenly on your face. Natural light works best; a window behind you will cast shadows, so face the light source.
Make sure your camera is set to the highest resolution. Clean the lens, then position the phone on a stable surface or a tripod. The frame should capture your head and shoulders, leaving a little room above the top of your head.
Capture the Right Pose
Look straight at the camera with a neutral expression – no smiles, no frowns. Keep your mouth closed and eyes open. Your head must be centered and upright; avoid tilting forward, back, or sideways. If you wear glasses, remove them unless the passport rules allow them.
Take several shots. Check each one for shadows, glare, or hair covering the face. The best photo will have even lighting, a clear view of both ears, and no background distractions.
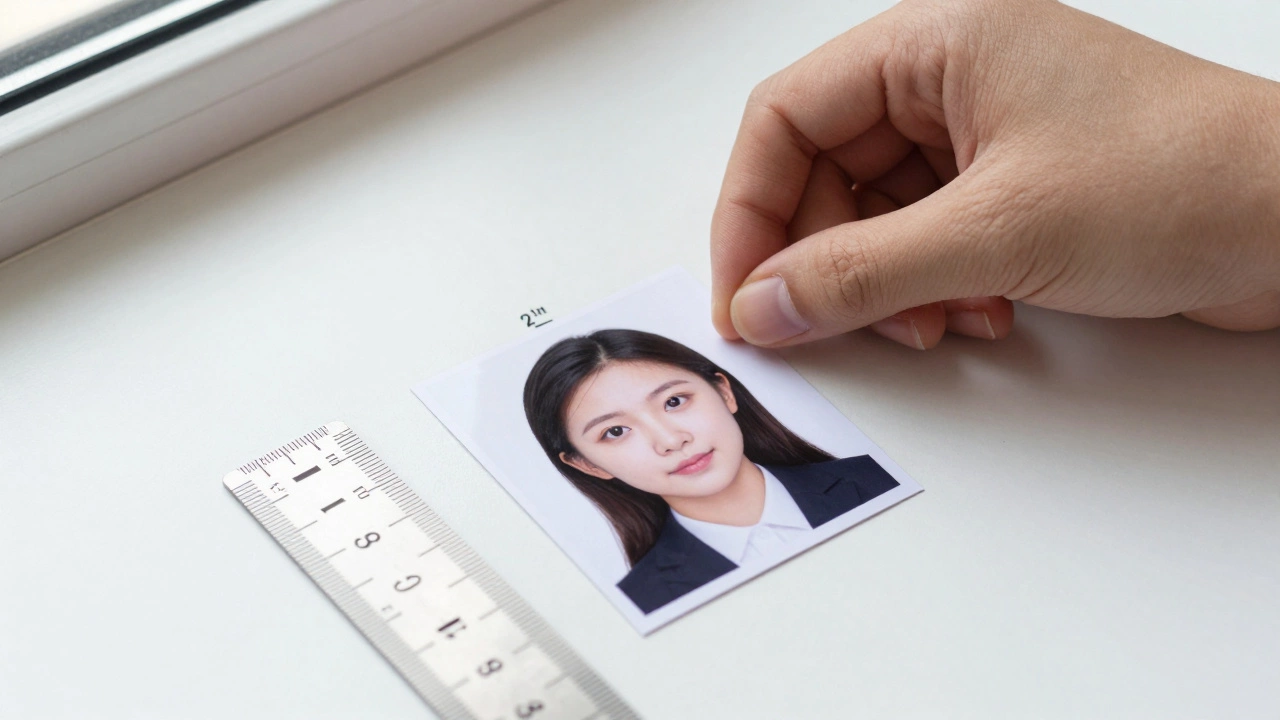
Once you have a good shot, it’s time to crop. Most passport requirements ask for a 2 x 2 inch (51 x 51 mm) image with the head height between 1 inch and 1 3/8 inch (25‑35 mm). Use a free online passport photo tool – just upload your picture, select the country, and the tool will automatically resize and crop to the correct dimensions.
If you prefer manual editing, open the photo in any basic editor (even the built‑in phone editor works). Cut the image to a square, then resize it to 600 × 600 pixels, which translates to the required size when printed at 300 dpi. Save the final file as a JPEG with high quality.
Print the photo on glossy or matte photo paper. The printer settings should be set to “photo quality” and the paper type matched. Make sure there’s no border or glare on the printed image.
Finally, double‑check the printed photo against your country’s passport guidelines. Look for any shadows, uneven background, or improper dimensions. If everything matches, you’re ready to submit the photo with your application.
Doing it yourself saves money and gives you control over the final result. With a little practice, you’ll make passport photos that meet every official standard – no need for expensive studio visits.