iPhone Photography Tips & Tricks – Rio Photography Services
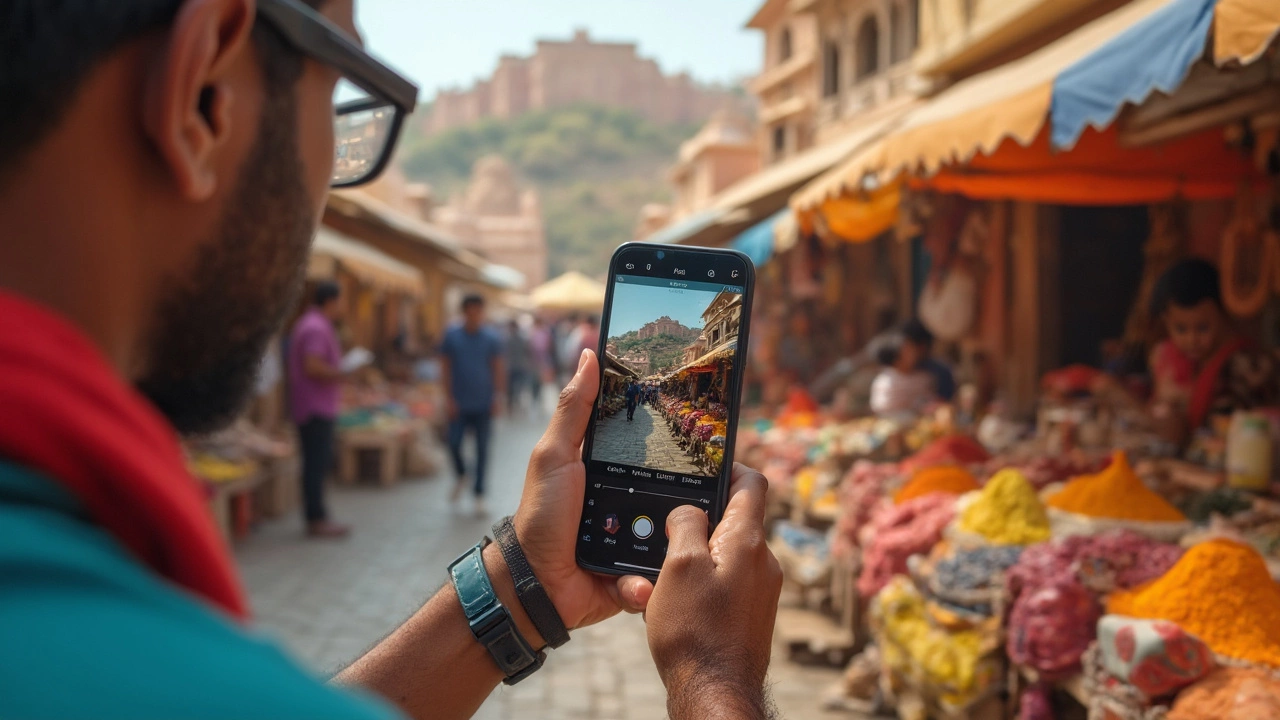
If you think the iPhone is just for selfies, think again. The built‑in camera can capture stunning images when you know a few simple tricks. In this guide we’ll cover the basics of framing, lighting, and editing so you can make the most of your phone without buying extra gear.
Master the Basics of Composition
Start with the rule of thirds. Turn on the grid in Settings > Camera and place the subject along the intersecting lines. This instantly adds balance and makes the photo feel more natural. Next, watch your background. A cluttered scene can distract from the main subject, so move a few steps back or change angles until the backdrop looks clean.
Use Light to Your Advantage
Natural light is your best friend. Shoot near a window or outdoors in the early morning or late afternoon for soft, flattering light. If you’re indoors, avoid harsh overhead bulbs; instead, use a lamp with a diffuser or bounce light off a white wall. When the light is too strong, tap the screen to lock exposure and slide your finger up or down to brighten or darken the shot.
Don’t forget HDR. On bright days, enabling HDR helps preserve details in both shadows and highlights. It merges multiple exposures into one balanced picture, which is especially useful for landscapes or city skylines.
For close‑up shots, use the iPhone’s focus lock. Tap the screen where you want sharp detail, then hold to lock focus and exposure. This prevents the camera from refocusing when you move slightly, keeping the subject crisp.
Editing can turn a good picture into a great one. Apps like Snapseed, Lightroom Mobile, or even the built‑in Photos editor let you adjust brightness, contrast, and saturation with a few slides. Try the “Levels” tool to fine‑tune shadows and highlights, and use “Selective” adjustments to brighten just the subject’s face without affecting the background.
When you’re ready to share or print, export the image at the highest resolution. The iPhone stores photos in 12‑ or 48‑megapixel files, which are perfect for large prints. If you want a professional finish, send the file to Rio Photography Services. We can print your iPhone shots on canvas, photo paper, or even create custom photo books, preserving the quality of your mobile capture.
Finally, practice makes perfect. Experiment with different modes—Portrait for blurred backgrounds, Night mode for low‑light scenes, and the new Macro setting for tiny details. The more you play, the better you’ll understand what the iPhone can do.
Ready to level up your iPhone photography? Grab your phone, apply these tips, and watch your everyday moments turn into gallery‑ready images. Need help turning digital files into physical prints? Rio Photography Services is just a call or email away, ready to bring your mobile photos to life.