Studio Setup India: How to Build a Photo Studio That Works
Ever walked into a studio and felt the space just click? That feeling comes from smart planning, not magic. Below are the exact moves you can make today to turn any room into a functional, attractive photo studio – no matter if you’re in Delhi, Mumbai, or a small town.
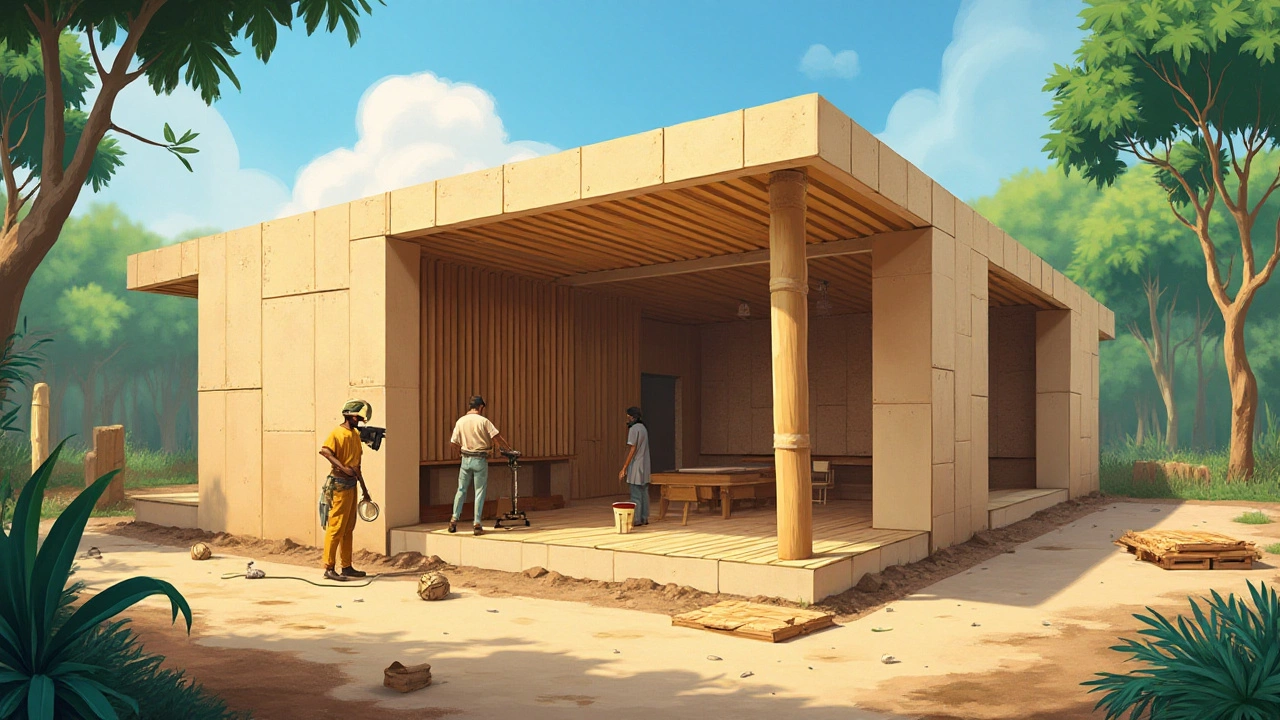
Pick the Right Space and Layout
First thing: measure the room. You need at least 12‑15 feet of clear floor space for full‑body shots and a 6‑foot distance from the subject to the background. If you’re in a rented shop, ask the landlord about ceiling height – 9‑10 feet gives you room for softboxes and overhead lights without crushing the light.
Next, map out zones. Most studios work best with three areas: a shooting zone, a prep zone, and a storage zone. Keep the shooting zone centered on the main backdrop, the prep zone near a mirror and a small table for changing, and the storage zone against a wall for gear you don’t use every day.
Lighting Made Simple
Lighting is the heart of any studio. In India, you can get great results with a mix of natural light and a few key strobes. Start with a large softbox (around 60‑80 inches) as your key light. Pair it with a reflector or a bounce board on the opposite side to fill shadows. If you can afford a second strobe, set it up as a hair light behind the subject for that clean edge.
Don’t forget power. Indian outlets vary, so invest in a solid power strip with surge protection. A 15‑amp strip is enough for two or three lights; if you plan to grow, look for a 20‑amp version.
For budget‑friendly alternatives, hunt down used gear on local marketplaces like OLX or Facebook groups. Many photographers sell lightly used softboxes and light stands at a fraction of the new price.
When you’re ready, check out our related post “How Much to Charge for Studio Time: A Photographer’s Step‑by‑Step Guide” for pricing tips that will help you recoup your equipment costs.
Finally, think about backdrop options. A plain white paper roll is cheap and versatile. For a pop of color, grab a vinyl backdrop in a bold hue – they’re easy to clean and last years. If you want texture, a painted brick wall or a fabric drape adds depth without extra cost.
By following these steps, you’ll have a studio that feels professional, runs smoothly, and can adapt as your business grows. Need more detailed gear lists? Grab our guide “Top Studio Mistakes to Avoid: Essential Photography Studio Etiquette and Pitfalls” – it covers everything from cable management to client comfort.